


18
Maintenance Procedures cont’d ...
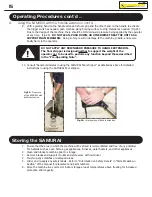
If any rubber bushings are too tightly bound to the bolts,
apply a small dab of liquid soap in between the bushing and
the bolt for lubrication.
B.
General Service Procedures cont’d ...
1.Changing the bushings for the SAMURAI Floor Stripper cont’d ...
A. Disassembling the SAMURAI Floor Stripper ...
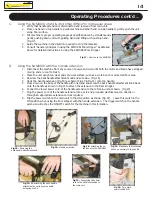
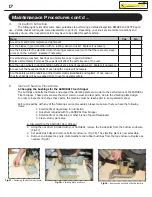
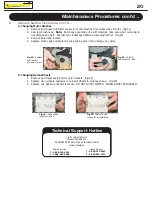
4. Turn the SAMURAI upside down, taking care to support the unit as shown in Fig.30. Remove the
4 bolts from the vibrating plate, and set aside bolts and washers aside.
NOTE:
There are rubber
washers set inside each of the 4 bolt holes on both sides of the vibrating plate as well as those
threaded on the bolt.
ALL RUBBER WASHERS MUST BE REMOVED FOR INSPECTION.
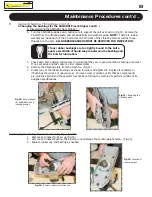
5. Check each bolt, bushing and washer to ensure that they are in good condition, showing even wear.
If not, set aside and take note to order replacements.
6. Remove the vibrating plate from the machine. (Fig.31).
7. Inspect any of the rubber bushings as shown for wear and alignment. Replace if necessary or
if bushings show signs of uneven wear. If uneven wear is evident, verify that ALL components
are properly aligned and the operator has not been forcing the machine to perform outside of its
designed specifi cations.
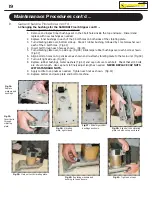
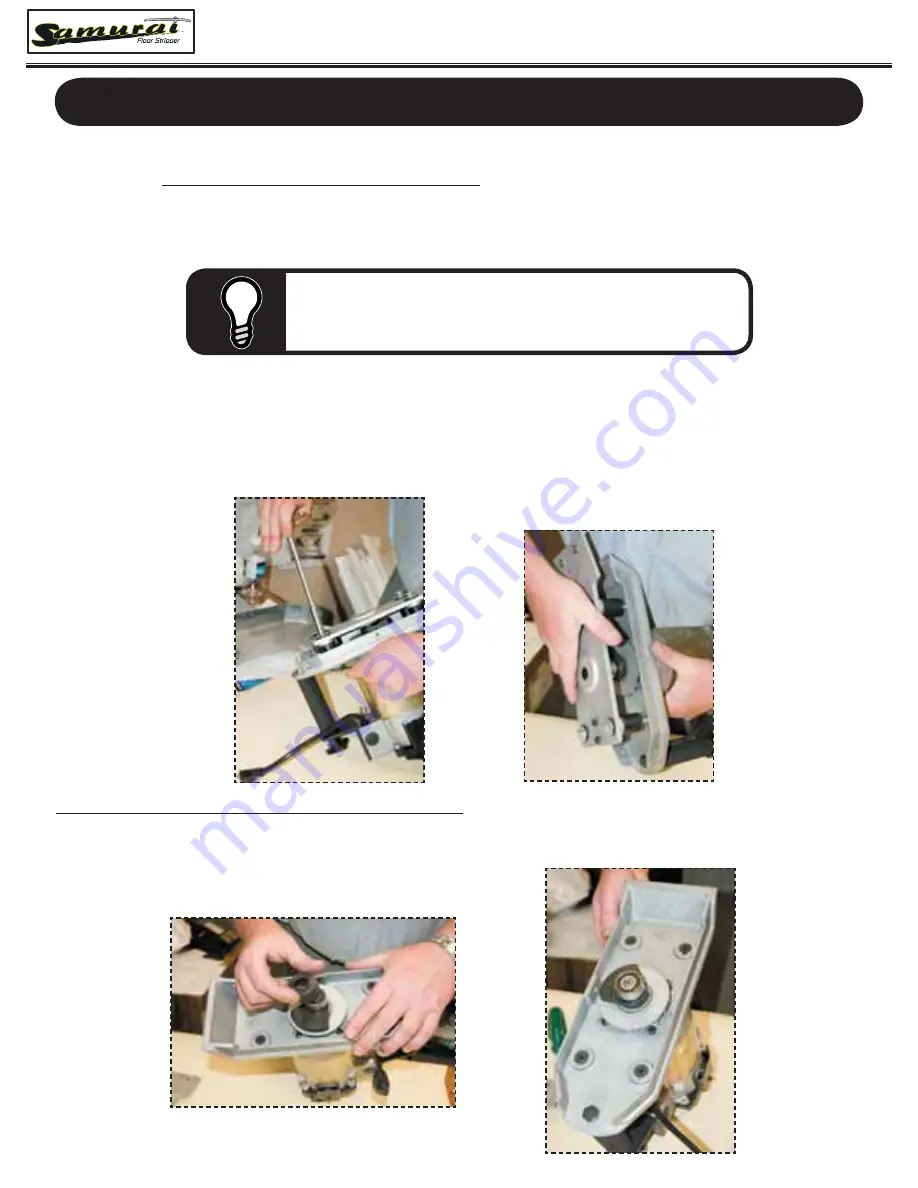
B. Changing the bearing SA-49 and rubber bearing cup SA-50
1. Remove and inspect rubber cup (Fig.32)
2. Remove and inspect bearing, taking care to not damage the counterweight below. (Fig.33)
3. Replace rubber cap and bearing as needed.
Fig.31:
Removing the
vibrating plate.
Fig.30:
Safely support
the SAMURAI when in
inverted position.
Fig.32:
Remove rubber protection cup.
Fig.33:
Location of
counterweight.


