Installation and Operation Manual
37
3-9 Routes
A trip from one place to another often
involves several course changes, requiring a
series of waypoints which you navigate to,
one after another. The sequence of
waypoints leading to the final destination is
called a route. The unit can automatically
advance to the next waypoint on a route. So
you do not have to change the destination
waypoint repeatedly.
The unit has the capability to store 100
routes with maximum of 100 waypoints each.
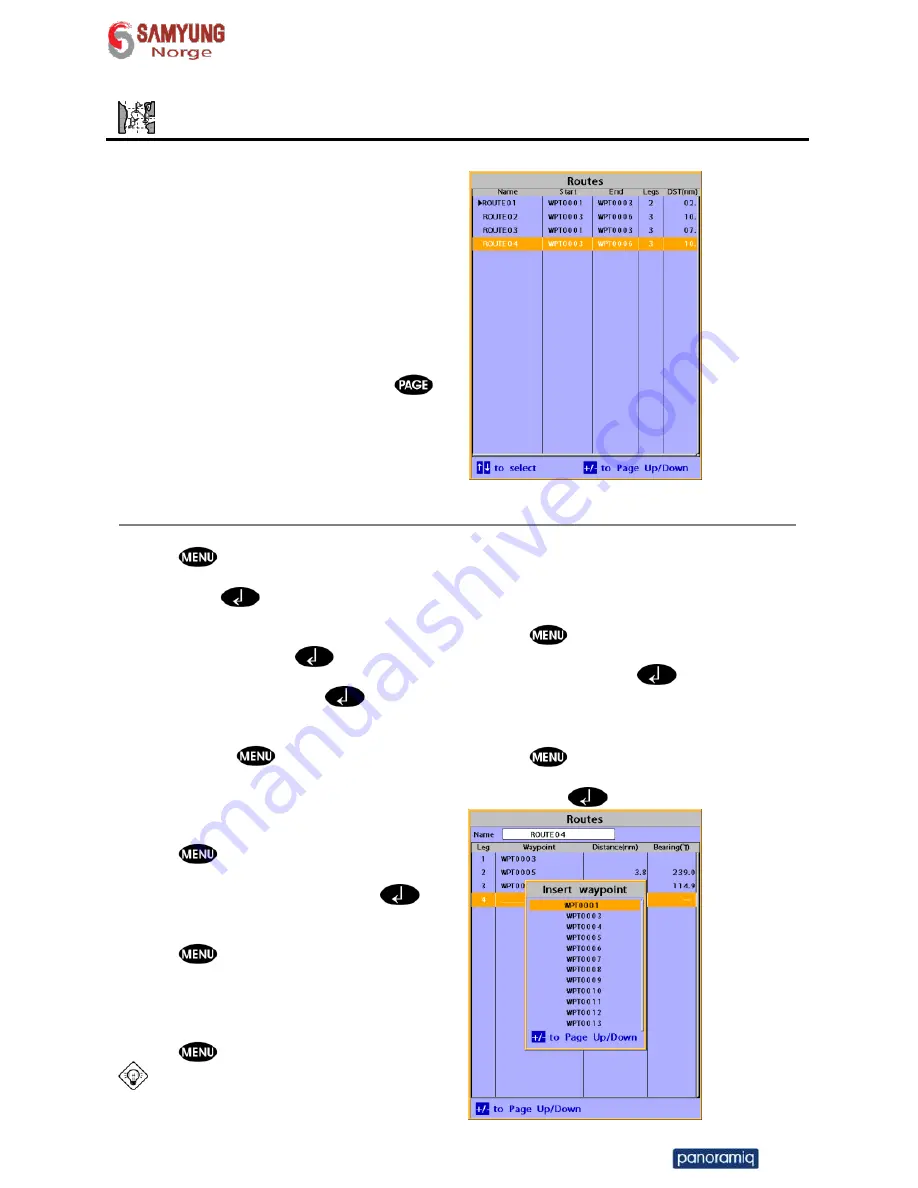
To display the
Routes
window, press
and select the
Routes
window.
3-9-1 Managing a route from the chart window
Creating a new route window
1 Press
and select
New route
.
2 Enter the new route name using cursor key
and press
.
3 On the
Chart
window, move the cursor to
the position of the starting waypoint in
the Route and press
.
4 Move the cursor keys to the position of
next waypoint and press
.
5 Repeat step 4 to enter more waypoints.
6 Once you entered the last waypoint in the
route, press
and select
End
.
Editing a waypoint in route while
creating a route
1 Move the cursor to the waypoint you want
to move.
2 Press
and select
Move
.
3 Move cursor to a position where you wan
to move the waypoint and press
.
Deleting a last waypoint from the route
while creating a route
1 Press
and select
Delete
.
Deleting a waypoint from the route
while creating a route
1 Move the cursor to the waypoint you want
to remove.
2 Press
and
Remove
.
Tip:
Even though you deleted a waypoint
in the route, the waypoint still remains in the
waypoint list.
Inserting a waypoint while creating a
route
1 If you want to insert a waypoint between
waypoints which will be just after the one
you want to insert.
2 Press
and select
Insert
.
3 Move the cursor to the new inserted
waypoint and press
.
Inserting a waypoint in front of starting
waypoint while creating a route
1 Move the cursor to the starting waypoint
2 Press
and select
Insert
.
3 Move the cursor to the new start location
and press
.


