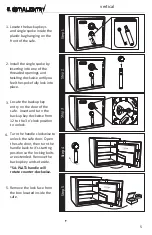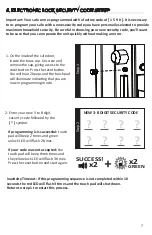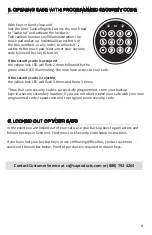
6
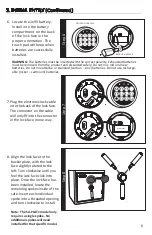
Locate the 1x9V battery.
Install into the battery
compartment on the back
of the lock face in the
proper orientation. The
touch pad will beep when
batteries are successfully
installed.
6.
3. INITIAL ENTRY (Continued)
Align the lock face to the
backer plate, with the lock
face slightly rotated to the
left. Turn clockwise until you
feel the lock face click into
place. Once the lock face has
been installed, locate the
remaining spokes inside of the
safe. Insert each individual
spoke into a threaded opening
and turn clockwise to install.
Note: The SA-PLAT1 model only
requires a single spoke. No
additional spokes will need
installed for that specific model.
8.
7.
St
ep 7
St
ep 8
St
ep 6
WARNING: The batteries must be inserted with the correct polarity. Exhausted batteries
must be removed from the product and discarded safely. Do not mix old and new
batteries. Do not mix alkaline or standard (carbon – zinc) batteries. Do not use recharge-
able (nickel – cadmium) batteries.
BACK OF LOCK FACE
FRONT OF LOCK FACE
8
#
1
2
3
4
5
6
7
*
9
0
Plug the electronic lock cable
into the back of the lock face.
The connector on the cable
will only fit into the connector
in the lock face in one way.
9V BATTERY
8
#
1
2
3
4
5
6
7
*
9
0


