background image

10

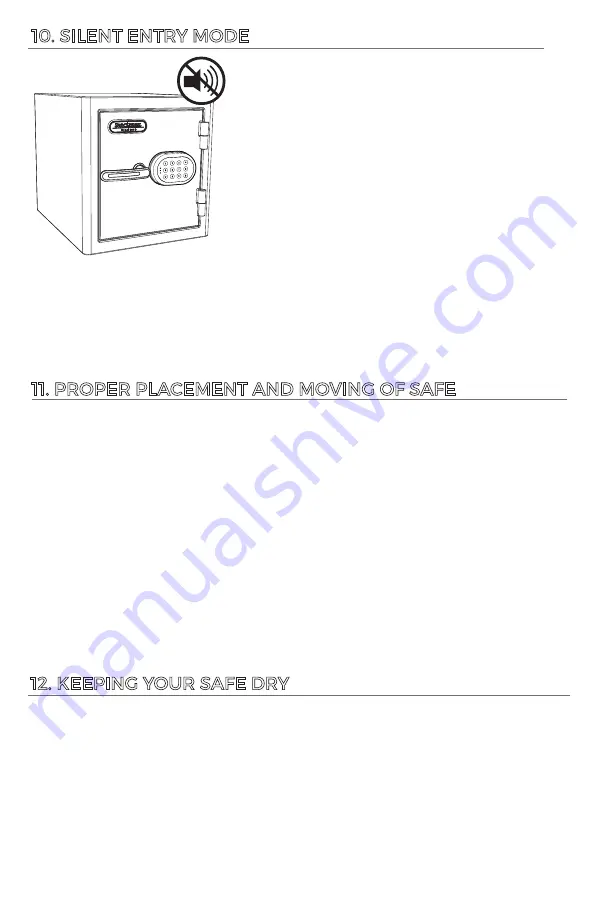
10. SILENT ENTRY MODE

By activating the silent entry mode, the safe will no 

longer make audible sounds.

Swipe keypad to activate and illuminate keypad.

To turn on silent entry mode, press and hold the (*) 

for 3 seconds. The yellow LED will flash 2 times 

indicating the safe is now in silent entry mode. 

You will not hear any sounds for any functions while 

the safe is in silent entry mode.

To turn the sound back on, press and hold the

(*) for 3 seconds and the yellow LED flashes 2 times 

and will beep indicating you are no longer in silent 

entry mode.


12. KEEPING YOUR SAFE DRY

We recommend placing a moisture/protective barrier between your safe and 
concrete floor to prevent any moisture, mildew and rust damage the safe. Installing 
your safe in a place with climate control (heat in the winter and cooling in the summer) 
is highly recommended. In areas of high humidity or frequent temperature fluctuations 
(garages) it is recommend to take appropriate precautions to ward against moisture 
damage. We strongly encourage the use of an internal dehumidifier and/or desiccants 
to protect your contents from rust or mildew. Internal dehumidifiers should not be 
in direct contact with the side or back walls. 


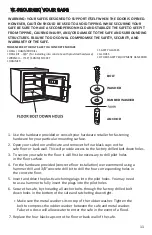
1. To maximize burglary protection and stability, securing the safe to the floor or 

wall is recommended.

2.


3.


Always ensure the safe is in an isolated and dry area. Never place the safe in 
direct contact with a wet floor. When installing your  safe on a concrete floor, 
use of a moisture/protective barrier is highly recommended.  Failure to do so, 
or exposing the safe to chemicals or other adverse environments, may void
the warranty.   


SA Consumer Products recommends that you store your safe in a closet, office, 
basement, bedroom or any other location that is convenient for you but out of 
direct line of sight from prying eyes. 

11. PROPER PLACEMENT AND MOVING OF SAFE

Summary of Contents for SA-DIA4

Page 1: ...read this information and follow all safety rules carefully before operating your security safe Failure to do so will void your warranty 033023 SECURITY SAFE INSTRUCTION MANUAL FOR SA DIA1 SA DIA2 SA...

Page 2: ...6 5 OPENING YOUR SAFE WITH PROGRAMMED SECURITY CODE 8 6 LOCKED OUT OF THE SAFE 8 7 INTERNAL LIGHTING 9 8 LOW BATTERY WARNING 9 9 LOCKOUT MODE TAMPER PROTECTION 9 10 SILENT ENTRY MODE 10 11 PROPER PLA...

Page 3: ...ends that you do not store loaded rearms Always follow the rearm safety rules set out by the rearm s manufacturer A Sanctuary safe or any other rearm storage device cannot take the place of other safe...

Page 4: ...gistering your Sanctuary safe we will be able to expedite and address any problems or challenges you may have which would otherwise require a notary letter and proof of payment The information you rec...

Page 5: ...verride Key Entry underneath keypad Active Locking Plates Key Hooks Adjustable Shelves SA DIA1 only has one shelf SA DIA4 has 3 shelves Door Organizer Storage Pocket Bolt Down Holes Dead Locking Plate...

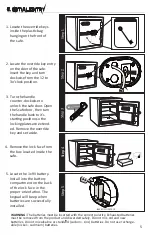
Page 6: ...k face in the proper orientation The keypad will beep when batteries are successfully installed Turn the handle counter clockwise to unlock the safe door Open the Ssafe door then turn the handle back...

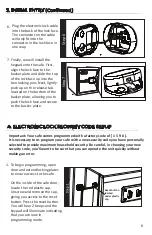
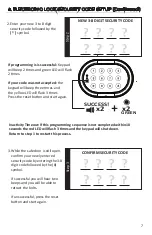
Page 7: ...CURITY CODE SETUP 1 Important Your safe comes programmed with a factory code of 1 5 9 It is necessary to re program your safe with a new security code you have personally selected to provide maximum h...

Page 8: ...reset button and start again Inactivity Timeout If this programming sequence is not completed within 10 seconds the red LED will ash 3 times and the keypad will shut down Return to step 1 to restart t...

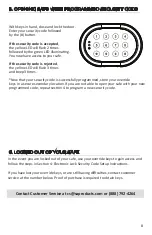
Page 9: ...om or 888 792 4264 5 OPENING SAFE WITH PROGRAMMED SECURITY CODE With keys in hand close and lock the door Enter your security code followed by the button If the security code is accepted the yellow LE...

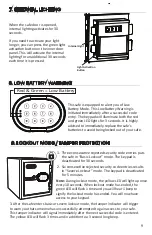
Page 10: ...time it is pressed Internal Light Light Activation Button 1 Three consecutive rejected security code entries puts the safe in Basic Lockout mode The keypad is deactivated for 30 seconds 2 Six consecu...

Page 11: ...recommended In areas of high humidity or frequent temperature uctuations garages it is recommend to take appropriate precautions to ward against moisture damage We strongly encourage the use of an in...

Page 12: ...remove the four black caps on the safe oor or back wall This will provide access to the factory drilled bolt down holes To secure your safe to the oor it will rst be necessary to drill pilot holes in...

Page 13: ...ot put anything in your safe that will put pressure against the door when it is closed As a good safety precaution store heavier items either on the oor of the safe or away from the middle of the shel...

Page 14: ...da Proof of registration and copy of sales receipt must be on file at the time of claim Visit our website at www saproducts com to register your safe Lifetime warranty only applies to the original own...

Reviews: