ENGLISH
2
1 Introduction
The Sandberg Multi Hard Disk Box 3.5” (referred
to as "the box") lets you use a 3.5” IDE or SATA
hard disk as a portable external hard disk. The
box connects to your computer either via USB
2.0 or eSATA, giving you speeds of up to 3 Gb
per second (IDE hard disks cannot, however, be
connected with eSATA). If your computer doesn’t
already have eSATA, you can use the adapter
bracket supplied to convert an internal SATA
port to an eSATA port. The aluminium case and
the quiet built-in fan keep the hard disk cool,
guaranteeing you optimal performance.
2 Fitting
2.1 Fitting a hard disk
1. Unscrew all four sides of the box using the
screwdriver enclosed.
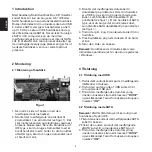
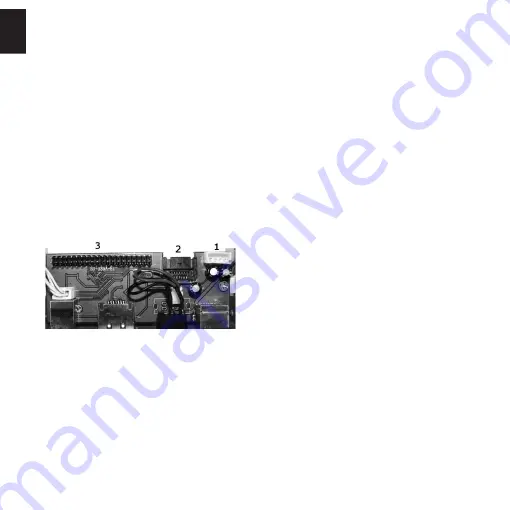
2. Fit the power cable supplied to the power port
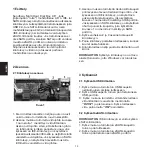
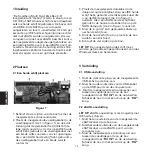
indicated by a 1 on figure 1. It should be fitted
so that the yellow cable is nearest the blank
edge of the box. If you have an IDE hard disk,
you must use the power cable with a wide
white connector and four holes. If you have
a SATA hard disk, you must use the power
cable with a wide black connector.
3. Fit the data cable supplied to the data port on
the circuit board. If you have an IDE hard disk,
you must use the thick yellow cable which
connects to the IDE data port indicated by a
3 on figure 1. If you have a SATA hard disk,
you must use the thin red cable which
connects to the SATA data port indicated by
a 2 on figure 1.
4. Connect the cables fitted in points 2 and 3 to
your hard disk.
5. Press the hard disk into place in the box until
you hear a click.
6. Screw the four sides onto the box.
NOTE: The connected hard disk must be
formatted/partitioned before it can be recognised
by Windows.
3 Connection
3.1 USB connection
1. Connect the square plug on the USB cable
supplied to the box.
2. Connect the other end of the USB cable to the
computer’s USB port.
3. Connect the power supply supplied between
the box’s power port marked “DC IN” and the
mains. Turn on the box by pressing the “ON”
button.
3.2 eSATA connection
NOTE: eSATA connection is not possible with
IDE hard disks.
1. Connect one end of the eSATA cable supplied
to the box.
2. Connect the other end of the eSATA cable
supplied to the computer’s eSATA port.
3. Connect the power supply supplied between
the box’s power port marked “DC IN” and the
mains. Turn on the box by pressing the “ON”
button.
Figure 1


