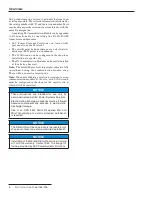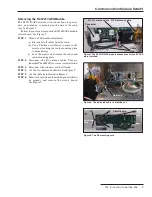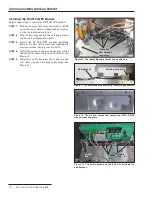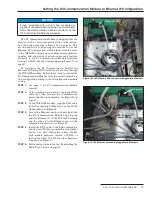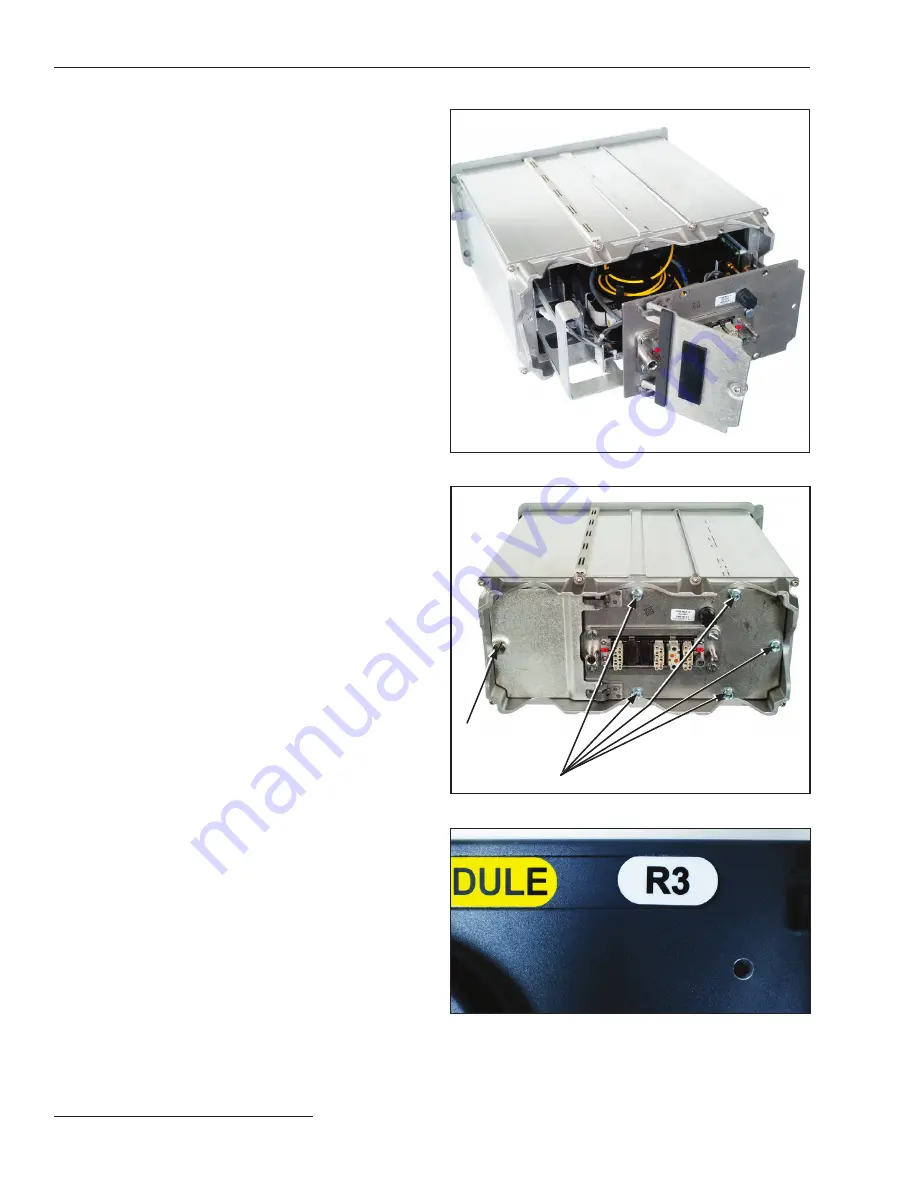
Figure 17. The new “R3” label on the front panel.
Reinstalling the Radio Tray
STEP 9.
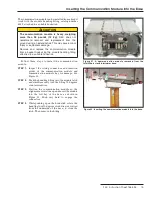
Reinstall the radio tray in the communication
module enclosure.
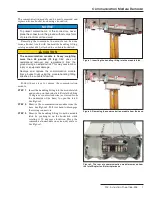
(a) Insert the radio tray into the communication
module. See Figure 15.
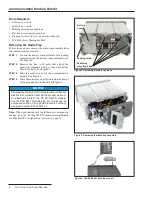
(b) Install the five existing
¼
–20 bolts that
attach the radio tray assembly using a
⅜
-inch
nut driver. See Figure 16.
(c) Close the battery compartment cover and
tighten the cover locking screw.
STEP 10.
Install the new “R3” label on the front plate in
the recess at the right as indicated in Figure 17.
STEP 11.
If the Ethernet IP configuration has been set,
install the “-E” label on the front panel recess.
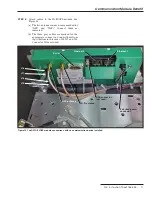
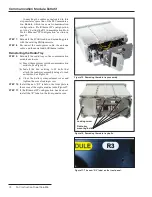
Figure 15. Removing the radio tray assembly.
Figure 16. Removing the radio tray bolts.
Radio tray
mounting bolts
Locking screw
Connecting the cables as instructed in this
step emulates operation of the R0 Communica-
tion Module, which is a serial communication
configuration. For Ethernet IP configuration,
go to the “Setting the R3 Communication Mod-
ule for Ethernet IP Configuration” section on
page 13.
STEP 7.
Reinstall the SCADA radio and mounting plate
with the existing Phillips screws.
STEP 8.
Reconnect the radio power cable, the antenna
cable, and the serial and/or Ethernet cables.
Communication Module Retrofit
12 S&C Instruction Sheet 766-526


