12
S&C Instruction Sheet 695-510
Operation
Pad-Mounted Style
STEP 1.
Remove the padlock from the gear. See Figure 3 on
page 7.
STEP 2.
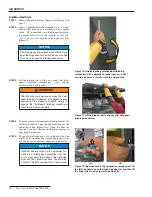
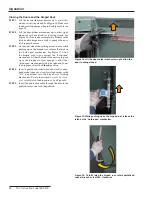
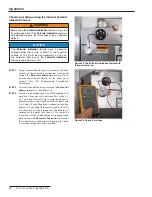
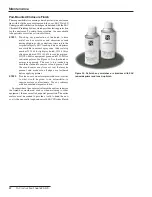
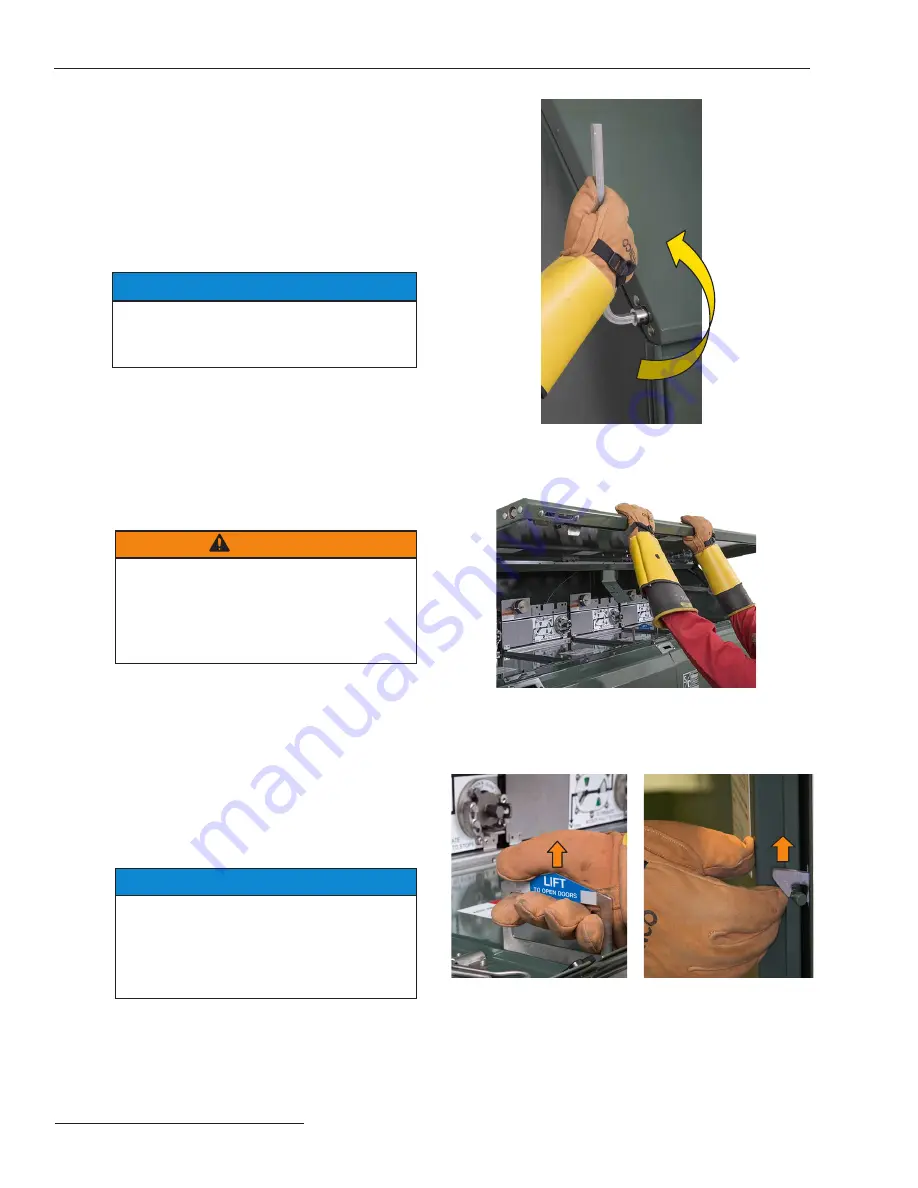
Insert a pentahead socket wrench or tool (a hex-
head socket wrench or tool when catalog number
suffix “-H1” is specified) into the hinged roof latch-
ing mechanism. Rotate the wrench or tool 360º
counterclockwise
to unlatch the hinged roof. See
Figure 10.
NOTICE
Do not apply any undue force when attempting to
open the hinged roof or a door . The use of undue
force may damage the latching mechanism .
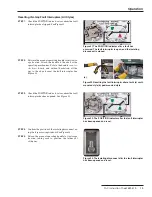
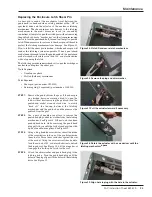
STEP 3.
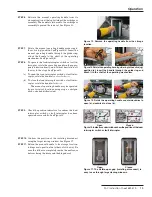
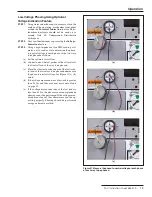
Lift the hinged roof all the way open; the “hold-
open” latching mechanism will engage
automatically. See Figure 11.
WARNING
After lifting the roof open and ensuring the “hold-
open” latching mechanism is engaged, release
pressure on the hinged roof slowly . Failure to
engage the “hold-open” latching mechanism
could result in personal injury .
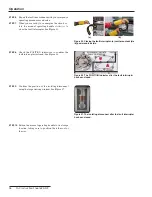
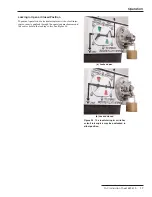
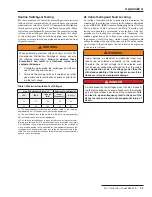
STEP 4.
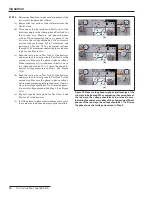
To gain access to the termination compartment, lift
the latch handle to open the right-side door or the
center door. See Figure 12(a). Open the door far
enough to permit the door-holder mechanism to
engage automatically.
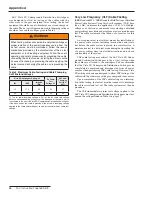
STEP 5.
To open the left-side door, lift the finger latch. See
Figure 12(b). Open the door far enough to permit the
door-holder mechanism to engage automatically.
NOTICE
Optional pad-mounted style enclosures fur-
nished on switchgear assemblies with five
or six ways have three doors . The right-side
door and the center door have lift-style latch
handles . The left-hand door has a finger latch .
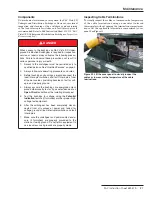
Figure 10. Unlatching the pentahead bolt latching
mechanism with a pentahead socket wrench—a 360º
counterclockwise turn will unlock the hinged roof.
Figure 11. Lift the hinged roof to engage the “hold-open”
latching mechanism.
(a)
(b)
Figure 12. To gain access to the termination compartment, lift
the latch handle to open the right-side door (a), and then lift
the finger latch to open the left-side door (b).


