S&C Instruction Sheet 695-510
23
Maintenance
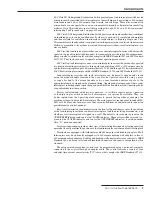
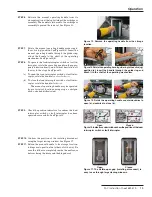
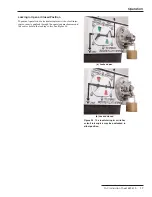
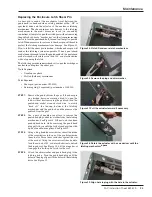
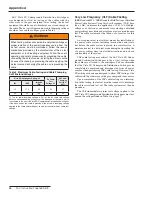
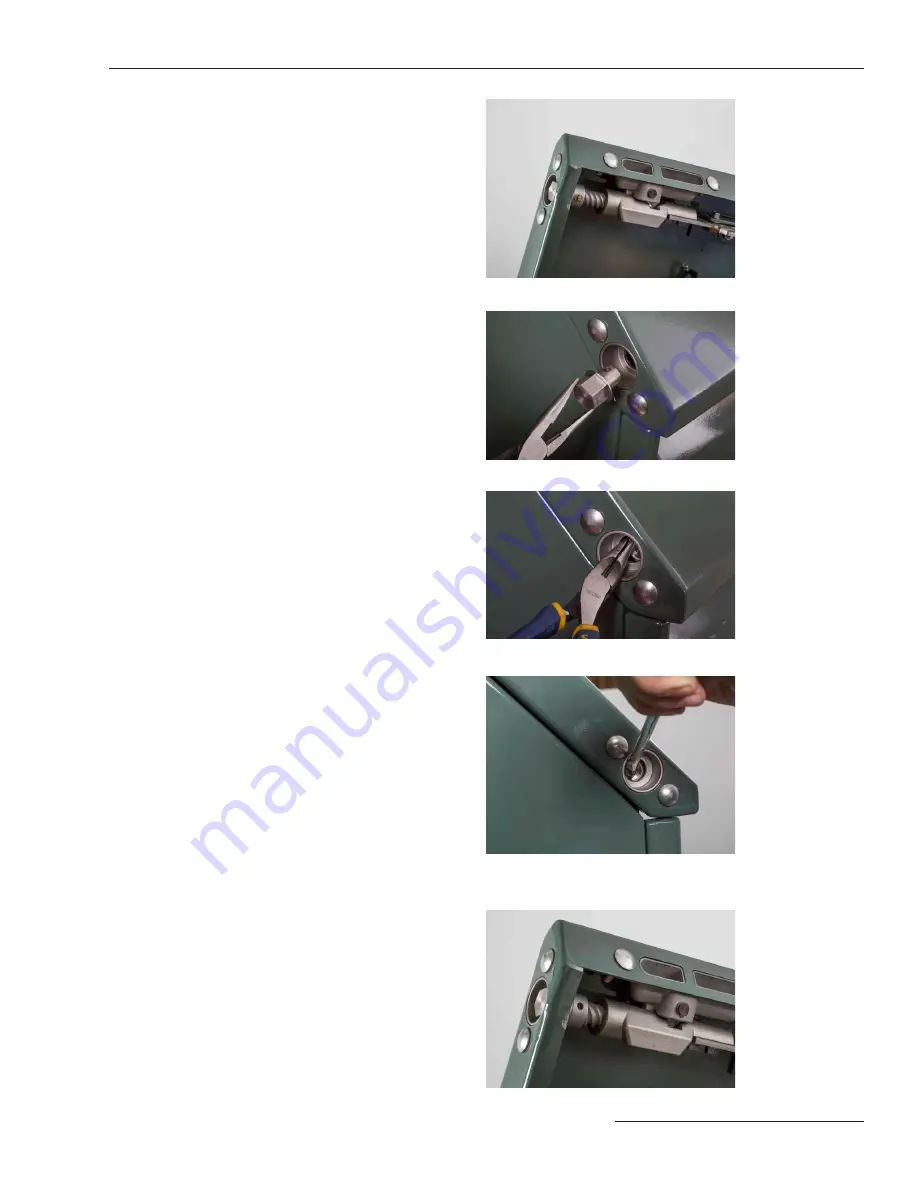
Figure 35. Vista SD enclosure latch mechanism.
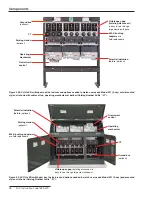
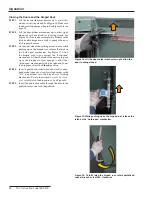
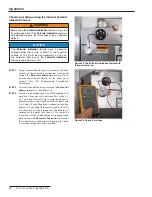
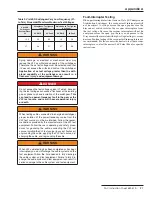
Figure 36. Remove the plug and shim washer.
Figure 37. Pull the actuator forward if necessary.
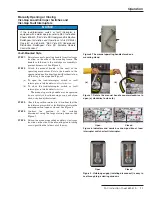
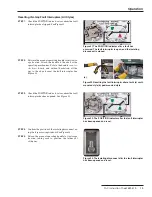
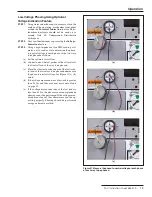
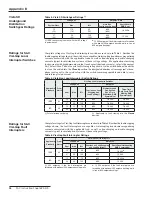
Figure 38. Rotate the actuator with a screwdriver until the
latching mechanism opens.
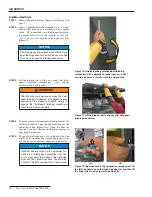
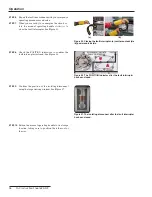
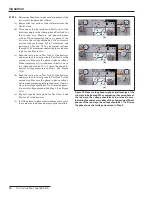
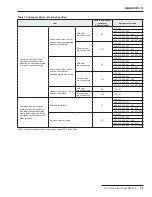
Figure 39. Align hole in plug with the hole in the actuator.
Replacing the Enclosure Latch Shear Pin
A shear pin is used at the mechanical joint between the
pentahead (or hexhead when catalog number suffix “-H1” is
specified) drive and the actuator of the enclosure latching
mechanism. The shear pin prevents damage to the latching
mechanism in the event excessive force (i.e. caused by
vandalism, attempts to open the switchgear without removing
the padlock, or use of a “breaker bar” or other torque-increasing
device to turn the pentahead bolt) is used to attempt to open the
latch. When excessive force is used, the shear pin will break to
protect the latching mechanism from damage. See Figure 35.
How to tell if the shear pin is broken: A broken shear pin will
render the latching system inoperable. When a pentahead
socket wrench is used to turn the pentahead bolt, the pentahead
socket wrench will rotate more than 360° counterclockwise
without opening the latch.
The following procedure describes how to open the switchgear
enclosure and replace the shear pin.
Tools Required:
• Needle-nose pliers
• Slotted (flathead) screwdriver
Parts Required:
• Shear pin (part number: CH-2902)
• Retaining ring (2 required) (part number: 1340-122)
STEP 1.
Remove the padlock from the gear. If the shear pin
was broken because someone tried to open the
latch without first removing the padlock, turn the
pentahead socket wrench clockwise to slowly
“back off” the tension between the latching
mechanism and the padlock, and then remove the
padlock from the gear.
STEP 2.
Use a pair of needle-nose pliers to remove the
pentahead plug and shim washer from the latching
mechanism. See Figure 36. If the actuator has been
pushed backward while removing the pentahead
plug, pull it forward to the fully closed position with
a pair of needle-nose pliers. See Figure 37.
STEP 4.
Using a long-handled screwdriver, insert the blade
of the screwdriver into one of the pin holes inside
the actuator. Brace the screwdriver against the rim
of the socket. Using the screwdriver like a handle,
turn the actuator 360° counterclockwise to unlock
the hinged roof. See Figure 38. Lift the hinged roof
to engage the “hold-open” latch for the roof.
STEP 5.
Attach the shim washer and pentahead plug to the
latching drive. Turn the pentahead plug until the
holes in the plug align with the holes in the latching
drive. See Figure 39.

