Selecting the Bearing Pointer 1 & 2 Nav Source
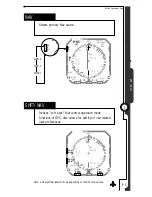
The SN3308 provides two independent bearing pointers which function
in much the same way as a traditional radio magnetic indicator (RMI).
The head of each bearing pointer indicates the bearing
to the nav
source, and the tail of each pointer indicates the bearing
from the nav
source. Either pointer can be connected to any available navigation
source: VOR, GPS/loran, or ADF. When GPS, loran or other long-range
nav system is selected as the nav source, the bearing pointer indicates
the bearing to the current active waypoint.
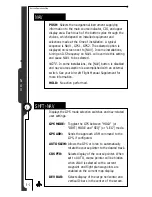
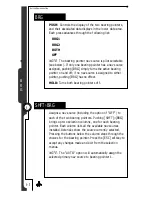
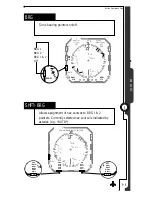
To select which nav sources are connected to either bearing pointer,
press [SHFT]>[BRG]. The resulting menus provide choices for each
pointer including nav source, OFF, and AUTO. AUTO will automatically
select the same source as that selected for the primary course pointer.
The currently selected nav source is bracketed with asterisks (e.g.*AUTO*).
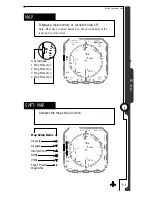
Displaying the Map Data
Map
data consists of flight-plan waypoints from the LNAV receiver
(either GPS or loran), as well as nearby airports, navaids, intersections
and airspace from the SN3308’s internal database. The map display is
controlled by pressing the [MAP] button to cycle through the different
map memory locations and by pressing the [
] and [
] buttons to
zoom the map in and out. Pressing and holding the [MAP] button for
1.5 seconds will turn off both the map display and the WX-500
Stormscope display, if enabled.
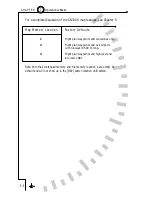
A map memory is a list of which map items are to be displayed and
which are not. There are four preset map memories, labeled 1 through
4. The factory default settings of the preset map memories are listed in
the table below. There is also a scratchpad memory, labeled “S”, which
you can change at any time. To save a particular configuration of
scratchpad memory into one of the presets, press [SHFT]>[MAP] and
then [COPY] to select the desired memory location.
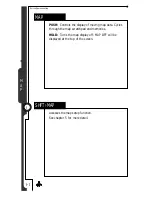
To change the display items in the scratchpad memory, press
[SHFT]>[MAP]. Move the cursor up and down with the [MAP] and
[BRG] buttons, and enable or disable the desired items along the
bottom row of the display. The contents of scratchpad memory will be
retained until you make further changes, even after cycling the power.
3 - 5
3
Operational Basics
C H A P T E R
Summary of Contents for SN3308
Page 1: ......
Page 15: ...Welcome to the SN3308 1 C H A P T E R...
Page 19: ...Display Overview 2 C H A P T E R...
Page 24: ...Operational Basics 3 C H A P T E R...
Page 36: ...Button Operations 4 C H A P T E R...
Page 57: ...Enhanced Moving Map Features 5 C H A P T E R...
Page 70: ...Getting the Most From Your SN3308 6 C H A P T E R...
Page 76: ...Flags Abnormal Conditions and Messages 7 C H A P T E R...
Page 85: ...Technical Specifications and Operating Limits 8 C H A P T E R...
Page 87: ...Installation Information 9 C H A P T E R...
Page 89: ...Technology of the SN3308 1 A P P E N D I X...
Page 92: ...Illustrations 2 A P P E N D I X...
Page 98: ...Limited Parts Labor Warranty 1 w A R R A N T Y...

