Auto-Slewing the Course Pointer
One unique feature of the SN3308 is its ability to automatically rotate
the course pointer to the desired course being sent digitally from a
GPS or loran. This feature is called “auto-slewing,” and is especially
useful during a GPS approach or while flying a complex flight plan.
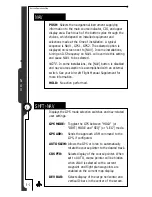
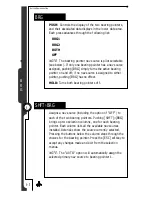
To enable auto-slewing, press [SHFT]>[NAV], then press the softkey
labeled “AUTO SLEW” to toggle this feature on and off. With auto-
slew set “ON”, the course pointer will be set to the desired track
being sent by the selected GPS or loran. Turning the course select
(OBS) knob has no effect, other than displaying the message
“LEG/AUTO (AUTO SLEW) IS ON”. With auto-slew set “OFF”, the
course select knob rotates the course indicator in the same way as
a conventional HSI.
Note that certain GPS receivers such as the King KLN-90B and Garmin
GNS 430 support an ‘OBS’ or ‘HOLD’ mode which when active will override
auto-slew.
Centering the Heading Bug or Needle
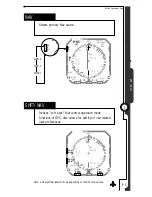
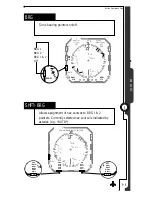
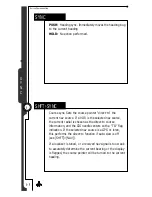
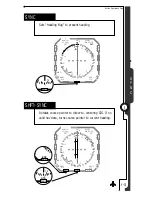
To rapidly set the heading bug to the aircraft’s present heading,
press [SYNC]. To rapidly set the course pointer to the current
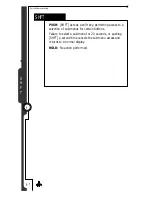
Direct-to course (i.e., to center the CDI), press [SHFT]>[SYNC].
When no valid course is available, such as when flying a LOC/ILS
approach, [SHFT]>[SYNC] rotates the course pointer to the lubber
line (current heading) instead.
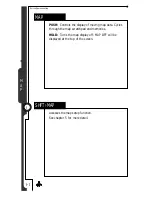
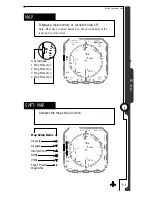
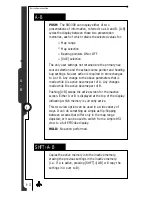
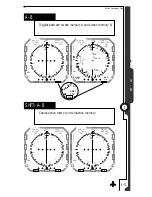
Setting the Map Range
Whenever map data is being displayed, the [
] and [
] buttons are
available to zoom the image in and out. Each press of either button
selects the next higher or lower map range. The map range refers to
the depicted distance, in nautical miles, from the airplane symbol to
the outside of the compass tick marks. The current map range is
displayed at the upper right portion of the screen and is selectable
between 1 and 1000 nautical miles.
3 - 1 0
3
Operational Basics
C H A P T E R
Summary of Contents for SN3308
Page 1: ......
Page 15: ...Welcome to the SN3308 1 C H A P T E R...
Page 19: ...Display Overview 2 C H A P T E R...
Page 24: ...Operational Basics 3 C H A P T E R...
Page 36: ...Button Operations 4 C H A P T E R...
Page 57: ...Enhanced Moving Map Features 5 C H A P T E R...
Page 70: ...Getting the Most From Your SN3308 6 C H A P T E R...
Page 76: ...Flags Abnormal Conditions and Messages 7 C H A P T E R...
Page 85: ...Technical Specifications and Operating Limits 8 C H A P T E R...
Page 87: ...Installation Information 9 C H A P T E R...
Page 89: ...Technology of the SN3308 1 A P P E N D I X...
Page 92: ...Illustrations 2 A P P E N D I X...
Page 98: ...Limited Parts Labor Warranty 1 w A R R A N T Y...

