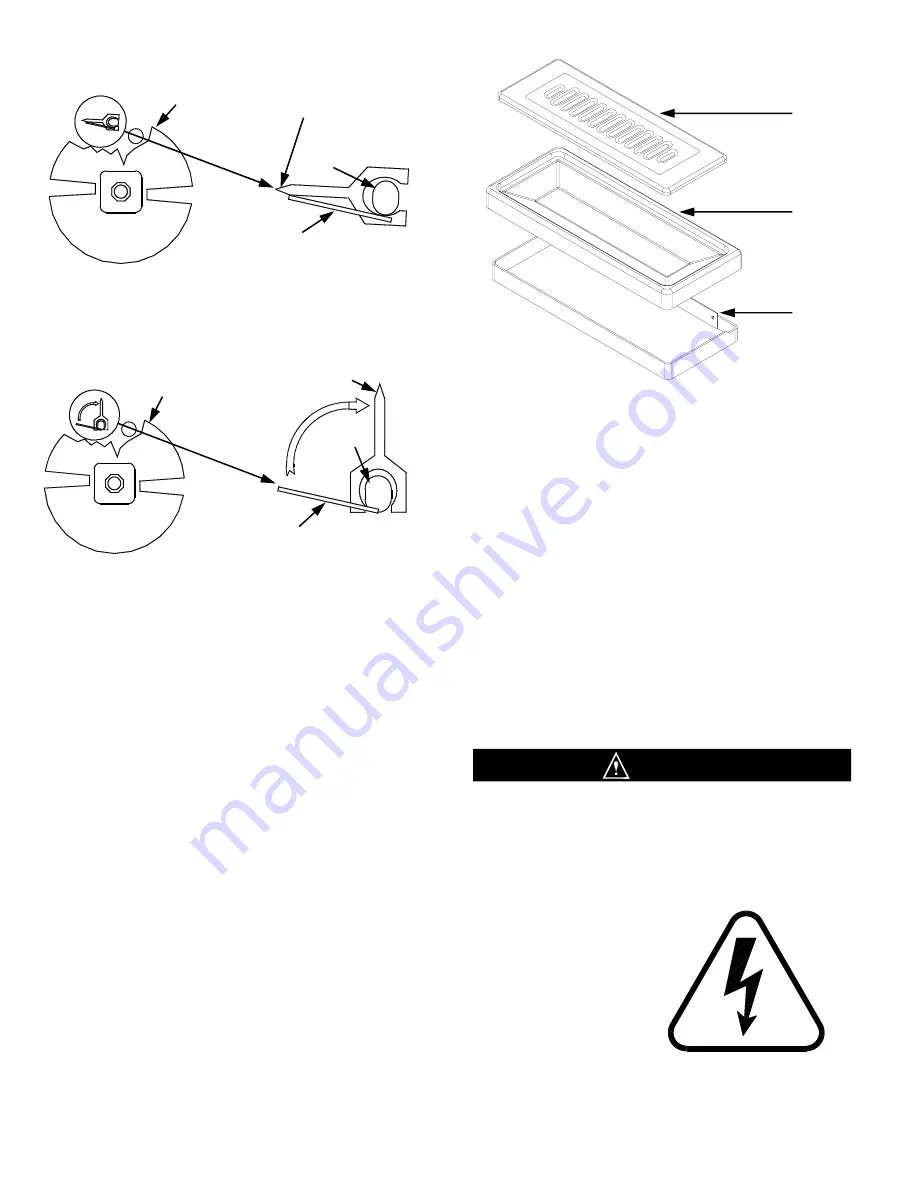
9. Remove the mix pan lid, mix pan agitator, drip tray
and drip tray insert. Place all parts in a three partition
sink filled with the following solutions:
a. In one partition, mild detergent solution.
b. In a second partition, clear rinse.
c.
In a third partition, sanitizing rinse consisting of 200
parts per million (PPM) chlorine residual.
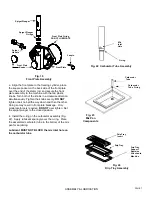
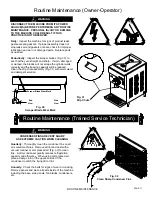
Fig. 11
Drip Tray Assembly
10. Use the small diameter brush to clean all holes and
ports in the parts.
DO NOT
use an abrasive detergent.
11. After thoroughly washing the parts in the detergent
solution, rinse them in the rinse water. Place the parts
in the sanitizing solution for five (5) minutes and then
air dry to prepare for assembly and lubrication.
DO
NOT
wipe dry.
12. The remainder of the machine including the mix
pan and freezing cylinder must be cleaned in place
using a mild detergent solution. Clean the exterior with
a damp cloth.
DO
NOT
use an abrasive cleaner on
exterior panels.
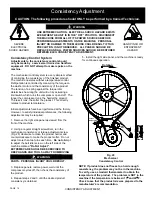
WHEN CLEANING THE MACHINE, DO NOT ALLOW
EXCESSIVE AMOUNTS OF WATER AROUND ANY
ELECTRICALLY OPERATED COMPONENTS OF
THE MACHINE. ELECTRICAL SHOCK OR DAMAGE
TO THE MACHINE MAY RESULT.
Dasher Front
View
Scraper Blade
Blade Support
Tab
Support
Rod
Blade Support
Tab
Support
Rod
Dasher Front
View
Scraper Blade
WARNING
DISASSEMBLY & CLEANING
Drip Tray
Insert
Drip Tray
Drip Tray
Support
Remains
Attached to
Machine
ELECTRICAL
SHOCK HAZARD
Fig. 9a
Scraper Blade Removal
Fig. 9b
Scraper Blade Removal
PAGE 4


