

9
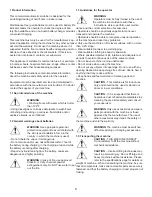
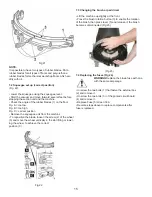
To move the machine to the work area lock handle and tilt
backwards to raise the front off the floor, and wheel into
position.
CAUTION
– Bumping over thresholds,
curbs and similar obstacles can damage
the machine. Pull the machine backwards to
go over small obstacles.
1.4 Symbols & Markings
In order to highlight information and procedures regarding
safety, maintenance etc, the following symbols have been
adopted in the manual:
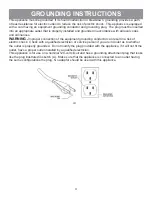
1.5 Electrical connection
Before connecting the machine to the power supply, check
that your supply voltage matches the rating on the machine
label.
IMPORTANT
- If the battery charging lead is damaged, it
must only be replaced by an approved cord available from
the manufacturer or an authorized service agent.
WARNING – THIS APPLIANCE MUST
BE
GROUNDED
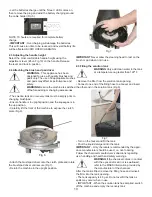
2 Preparing for use
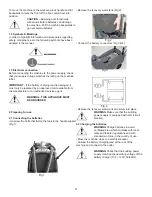
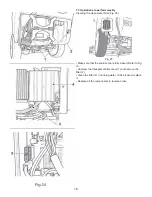
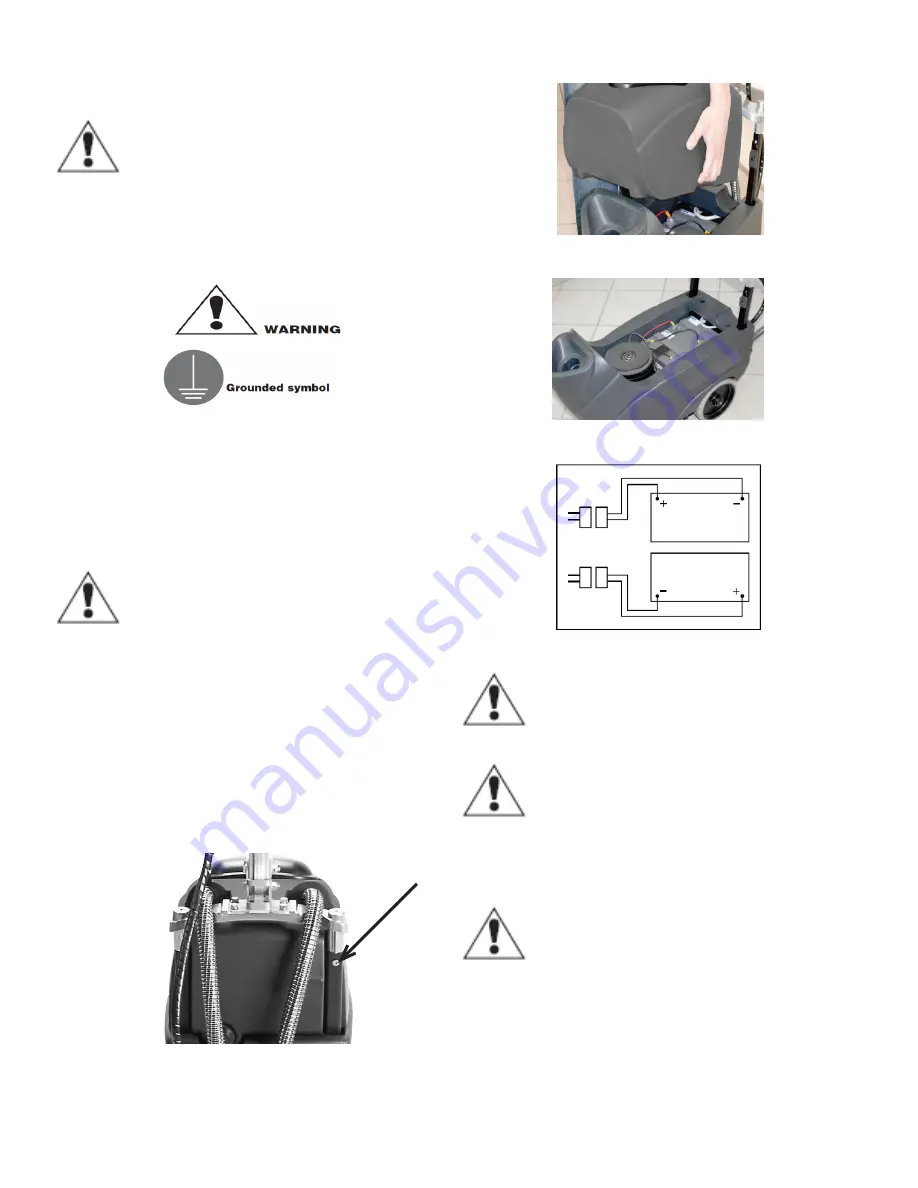
2.1 Connecting the batteries
• Unscrew the bolts that fasten the tank to the handle support
(Fig 1).
Fig 1
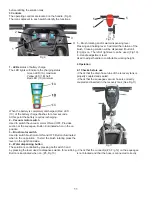
• Remove the recovery water tank (Fig 2).
• Connect the battery connectors (Fig 3 & 4).
• Replace the recovery water tank and screw into place.
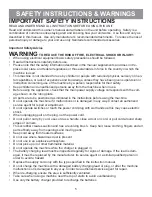
WARNING
Make sure that the building
power supply is equipped with GFI (circuit
breaker).
2.2 Charging the batteries
WARNING
Charge batteries in a well
ventilated area which complies with local,
state and federal regulations and with
standards in force in the country of use.
• Move the machine close to a electrical socket.
• Unwind the battery charging lead at the rear of the
machine and connect to the outlet.
WARNING
Check that the building power
supply matches the operating voltage of the
battery charger (100 – 120V, 50/60Hz).
Fig 2
Fig 3
Fig 4


