background image


Sanosil Q-Jet Advanced


2.1


Intended Usage


The device is a nebulizer to be used for indoor applications only. 

The device is a nebulizer to be used for indoor 

applications with Sanosil disinfectants only maximal hydrogen Peroxide content of 7.5%.


Its purpose is to transform the used disinfection liquid into smallest particles and to nebulize them into a room, 
thus leading to the consistent disinfection of all uncovered surfaces (3D-disinfection) inside the room.


This device is intended for usage in hospitals, clinics, public transports, etc. as well as in residential-, commercial- 
and in- dustrial areas. It is an additional measure following regular cleaning and disinfecting room surfaces. Pre-
cleaning protocol is defined by the respective healthcare facility. Ensure surfaces are dry before nebulizing in order 
to maximize the impact.
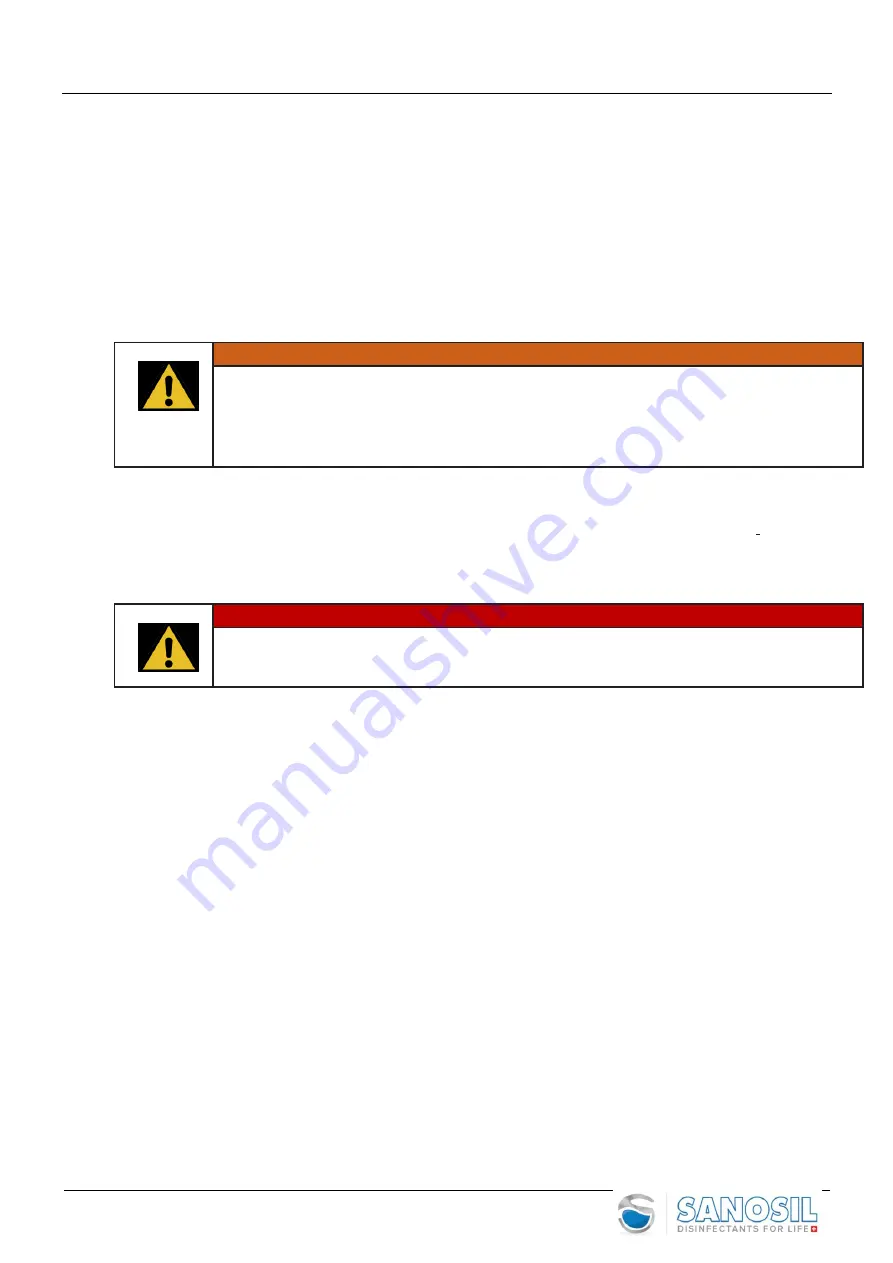


WARNING


Risk of Damage!


This device nebulizes chemical substances!


The area to be disinfected may only contain items necessary for its use. 
Objects made of delicate organic materials, in particular antiques, paintings and precious artifacts 
are to be removed!


2.2


Inappropriate Usage


Do always and only use suitable Sanosil disinfectants with a maximal hydrogen Peroxide content of 7.5%. The 
usage of any other disinfectant or accessories which are not specifically approved by Sanosil Ltd. is against the 
rules herein and can lead to heavy injuries as well as to damaging the device. The device is not meant for use 
as a stand-alone disinfection process but rather as an addition to regular cleaning and disinfection. 


DANGER


Risk of Injuries!


Danger of explosion

!


Do not use any flammable liquids

Do always and only use Sanosil disinfection liquids.


2.3


Danger and Caution Warnings


The device must be used in full compliance with this Operation and Maintenance Manual.


It is strictly forbidden to use the device in an atmosphere with danger of explosion or flammability, in dusty 

areas and in areas with the presence of people or animals. It is an imperative to prevent people from entering 
intentionally or inadvertently the room during the nebulization process and during the waiting time 
thereafter.


The device can only be operated using the original power cord or a country-specific power cord with earthing 

wire and plug. Before making electrical connections carefully check that the voltage supplied is compatible 
with the voltage marked on the 

device’s

 data plate. Any electrical installation work must be carried out by 

qualified personnel.


The power socket must be easily accessible.


Risk of injuries when using not authorized accessories!


Therefore, do only use original accessories of Sanosil Ltd.


Place device on a stable, flat, dust-free, not slippery, horizontal surface which can appropriately support its weight.


Before removing the rear panel, always disconnect the device from the power supply.


When there is liquid inside the tank, do not tilt the device; it could leak from the hydraulic circuit.


Read carefully all indications stated on the label of the Sanosil disinfectant.


2.4


Authorized Persons


The device shall only be used by adults who have been carefully instructed on how to operate it and are well 
informed on possible dangers and risks incurred when using the device.


The users must always have a copy of this Operation Manual at their disposal when operating the device and 
have read and understood all specific indications stated on the label of the Sanosil disinfectant used. 


Summary of Contents for Q-Jet Advanced 2 Series

Page 1: ...Sanosil Q Jet Advanced 1 Operation and Maintenance Manual Sanosil Q Jet Advanced Series 2 Des M 56en Advanced V2 English...

Page 2: ...Instructions 9 4 1 Warning 9 4 2 Room preparation positioning 9 4 3 Power Connection 10 4 4 Filling 10 4 5 Gun Nozzle 11 4 6 Switch on 11 5 Operation 12 5 1 Programs 13 5 2 Room Preparation 13 5 3 Ma...

Page 3: ...ries Low risk Disregard can lead to medium or light injuries Disregard can damage thedevice Gives good advice for operating thedevice Further symbols will be explained thereafter 2 Safety DANGER Instr...

Page 4: ...ble liquids Do always and only use Sanosil disinfection liquids 2 3 Danger and Caution Warnings The device must be used in full compliance with this Operation and Maintenance Manual It is strictly for...

Page 5: ...n as needed basis depending on the volume of traffic and use Users should familiarize themselves with Q Jet operation by reading the Q Jet User Manual prior to first use It is essential that Q Jet use...

Page 6: ...rical plug or parts are wet 8 Use only a Sanosil supplied electrical power cord 9 Take care to prevent water or other fluid from entering the device Should this occur allow to completely dry before us...

Page 7: ...kg Weight filled 18 7 kg Noise level 84 dB 1m 3 2 Parts and Functions 1 Device 2 Power cord 3 ON OFF switch 4 Display 5 Air filter 6 Tank cap 7 Support for Gun Nozzle 8 Gun Nozzle 9 Service Flap 10 R...

Page 8: ...place the device on top of trolley secure the device with the screw on the trolley CAUTION Risk of crushing Hands and fingers can be crushed between device and trolley Do always wear device on handle...

Page 9: ...humidity the humidity must be lowered before start up or a lower dosage of the active substance must be selected Check temperature of the room to be between 15 to 35 C Affix warning board on entrance...

Page 10: ...aplate Insert power cord 2 in IEC power socket 4 4 Filling Remove tank cap 6 Fill disinfection liquid max 4 2 liter Wipe up any spills with a clean paper towel or rag Do not tip the device on its side...

Page 11: ...Advanced 11 Wind tank cap 6 until shut liquid level could be checked on the display 4 5 Gun Nozzle Remove cap from gun support 7 Insert gun 8 Gun must lock click 4 6 Switch on Tip ON OFF 3 to switch...

Page 12: ...press i button Or button on remote control Display i button Return ENTER Number Arrow buttons buttons After switching on the device following is shown on thedisplay Tosee actual software version date...

Page 13: ...om Preparation Close windows Pull back and secure all room dividing curtains If possible turn off then cover and seal all air handling units heaters and smokedetectors Check relative humidity of the r...

Page 14: ...time Consumption in ml 10 3 min 99 ml 5 min 165 ml 6 min 198 ml 20 5 min 165 ml 8 min 264 ml 10 min 330 ml 30 7 min 231 ml 7 min 231 ml 14 min 462 ml 40 10 min 330 ml 11 min 363 ml 20 min 660 ml 50 1...

Page 15: ...nseal HVAC vents and restart HVAC system to allow increasedairflow circulation in the room Once a safe ppm level is reached room can be re used again Shortening of waiting time after a minimal waiting...

Page 16: ...filledsquares Toprogram days press ENTER For each day input starting time and confirm withENTER Toactivate day press I button square is filled when day is activated Device will start at the times pro...

Page 17: ...proper personal equipment PPE including wraparound style goggles respirator mask filter class ABE1 filtering hydrogen peroxide for example 3M 4277 or 3M 7500 mask with 6057 filter and gloves should be...

Page 18: ...Toget to the different cycles press every time ENTER Each cycle has an ON and an OFF time Please input for each cycle the desired time between 0 and 59 minutes and confirm with ENTER Enter 0 on cycle...

Page 19: ...ase refer to the Sanosil test reports T319 T320 and T321 Room Size Fogging time consumption according the norm Afnor T72 281 2014 valid for Sanosil S015 for bacteria s yeasts molds 28ml m3 Fogging tim...

Page 20: ...that the H2 O2 Level is below 1ppm Open windows and doors for min 15 minutes unseal HVAC vents and restart HVAC system to allow increasedairflow circulation in the room Once a safe ppm level is reache...

Page 21: ...ime is displayed operating hours counter 5 9 Setup Language Chose mode SETUP LANGUAGE and confirm by pressing ENTER Tochoose language press respective number button 0 1 2 or 3 and confirm by pressing...

Page 22: ...rrect on the display this calibration procedure should be done for initial use and frequently depending on the usage time by an authorized person 1 Place the device on a work bench 2 Do only use disti...

Page 23: ...the filter will guarantee the proper functioning and lifetime of the Q Jet only Standard environment every 20 hours of operating Dusty risky environment every 10 hours of operating NOTE Any defects n...

Page 24: ...on for the device is updated and available yearly Hydraulic Circuit Nozzle Visual status check cracks points of rupture bruising occlusions deposits daily Hydraulic Circuit Peristaltic pump tubing che...

Page 25: ...ug device call service technician Device leaks liquid Possible internal damages Internal piping rupture or connections leaking Device was tipped on its side without completely empty Switch off and unp...

Page 26: ...and fill it carefully Send complaint form with additional info and pictures if helpful to info sanosil com Sanosil Ltd forwards the complaint to the manufacturer The manufacturer decides whether the...

Page 27: ...Sanosil Q Jet Advanced 27 10 CE Declaration of Conformity...

Page 28: ...Sanosil Q Jet Advanced 28 Sanosil Ltd Eichtalstrasse 49 CH 8634 Hombrechtikon e mail info sanosil com www sanosil com Tel 41 55 254 00 54 Fax 41 55 254 00 59...

Reviews: