


Sanosil Q-Jet Compact
11
4.4
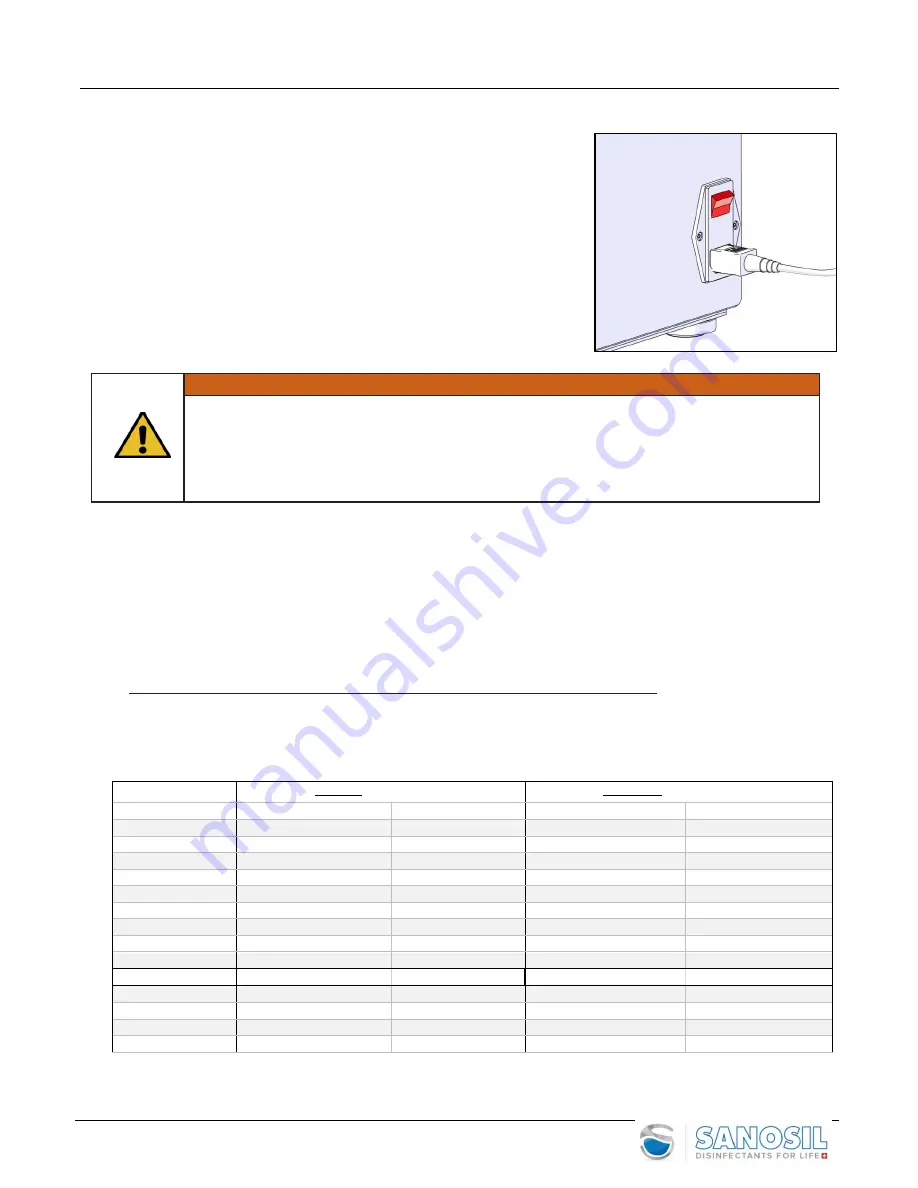
Switch on
•
Tip ON/OFF (3) to switch on the device
4.5
Operation
WARNING
Risk of Injuries!
This device nebulizes chemical substances!
Do not inhale these substances, always wear safety equipment when filling/emptying tank and pay
attention to optical and acoustic warning signals.
Read carefully all indications stated on the safety data sheet of the disinfection liquid and fully comply
with them!
Make sure
NOBODY
is in the room and to affix a warning board on the entrance door when
the system starts!
4.3.1
Room Preparation
•
Close windows
•
Pull back and secure all room dividing curtains
•
If possible turn off, then cover and seal all air handling units, heaters and smoke detectors
•
Affix warning board on entrance door. Seal bottom of room door after exiting (e.g. with large
painters’
tape)
•
Position the device in the corner of the room (distance to wall min. 30 cm) which is farthest from the room
air conditioning units and from the room door
•
Calculate
room’s
volume (Length x Width x Height of the room in meters) and round it up to the next cubic meter
•
Check relative humidity (should not be lower than 50%*)
•
Establish nebulization time
(room’s
volume x desired concentration / 30 = time in minutes)
For normal disinfection a concentration of 8 ml/m
3
, for higher contaminated rooms a concentration of 12ml/m
3
is
recommended. Please see table below for your convenience. Higher concentrations of 16 or 24ml/m
3
may be required for
some microorganisms or room conditions. Please ask your Sanosil sales representatives for detailed info.
•
Please read and follow important safety directions on page 6 before use!
Room Size:
Fogging time Standard
(8ml/m
3
)
Fogging time Higher Risk
(12ml/m
3
)
m
3
Time (minutes):
Approx. ml :
Time (minutes):
Approx. ml :
10
3 Min.
80ml
5 Min.
120ml
20
5 Min.
160ml
8 Min.
240ml
30
8 Min.
240ml
12 Min.
360ml
40
11 Min.
320ml
16 Min.
480ml
50
13 Min.
400ml
19 Min.
600ml
60
16 Min.
480ml
24 Min.
720ml
70
19 Min.
560ml
29Min.
840ml
80
21 Min.
640ml
32 Min.
960ml
90
24 Min.
720ml
36 Min.
1080ml
100
27 Min.
800ml
41 Min.
1200ml
150
40 Min.
1200ml
60 Min.
1800ml
200
54 Min
1600ml
81 Min.
2400ml
250
67 Min.
2000ml
---
---
300
80 Min.
2400ml
---
---
*at a relative air humidity of 50% and temperatures of 20 - 25°C
3


