-5-
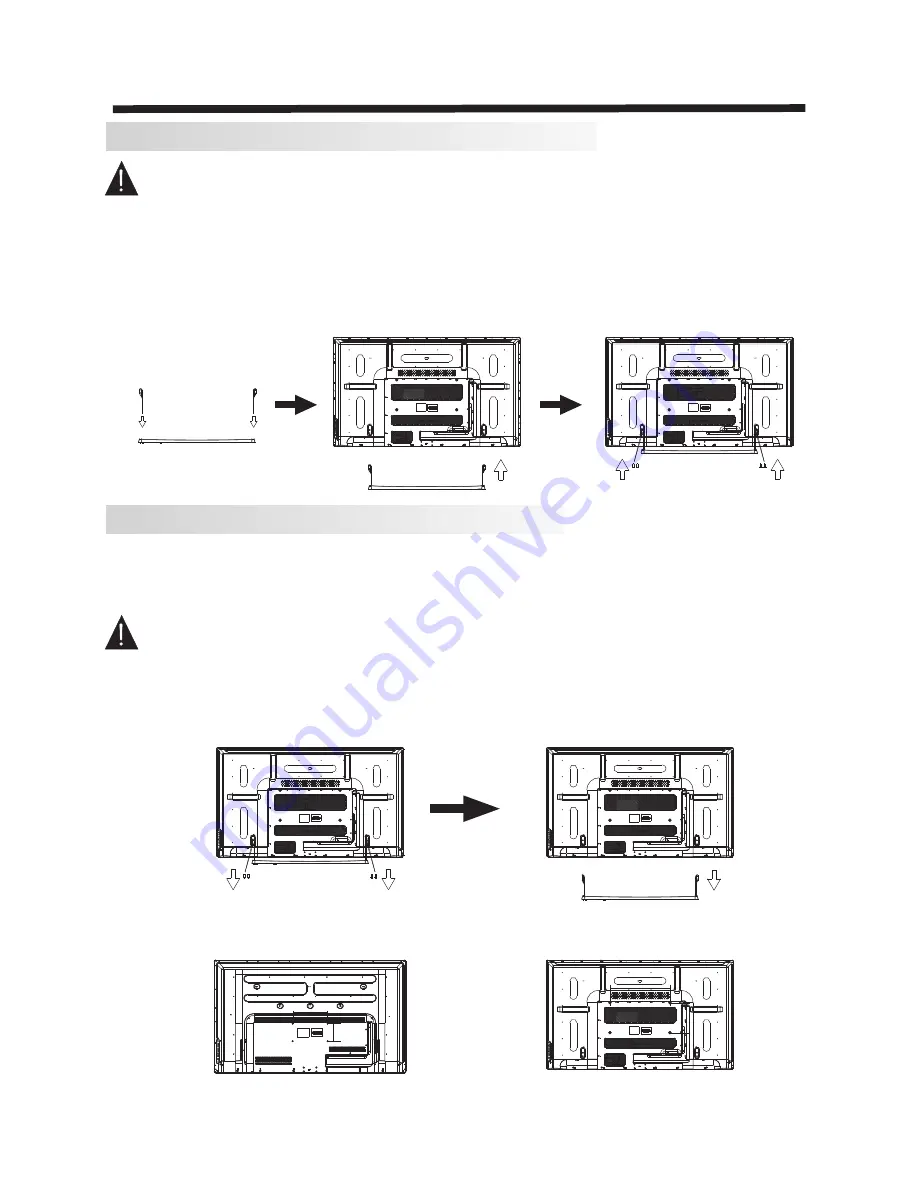
Installation of Standbase Assembly
Prepare to place the TV with the display side down on a flat surface. Ensure the table or desk you use
provides a flat, totally clean surface, and use a soft cloth between the face of the TV and the table to
protect the TV's screen.
1.Locate the bottom bracket into the gap in the bottom of the TV, and check that it is securely held in
place by its screws.
2.Flat base, the base will be one of the pillars placed in the end seat, make sure the screw holes on the
base and the base of the pillars aligned. Let screws into the base of the hole and tighten the screw.
In the same way to install another base pillars.
3.Install the screw holes on the back of the base and the base pillars aligned television reserved.
4.Let the four screws into the screw holes and tighten the back of the TV.
Installation of WallMount Assembly
For wall mounting with an optional bracket, please read the following instructions in conjunction with the
bracket's instructions. Make sure qualified service personnel perform the operation.
This television can be wall mounted as follows:
1.Place the LED LCD Television face down onto a solid surface. Please place some soft material over
the front of the screen to protect it from any damage. The LCD panel is a fragile component, and must
be suitably protected when removing the base stand. Be sure that no hard or sharp objects can come
into contact with the screen's surface. Do not exert pressure on the front of the unit at any time, as this
may damage the LCD screen.
2.Remove the 4 screws from the lower part of the television, where the base joins to the TV, and take
away the stand (put the stand and screws somewhere safe for future use).
3.Use the
screws provided to fix the TV onto a wall mounting bracket (not included) via the
VESA standard holes on the back of the television.
M6
INSTALLATION
400mm
200mm
200mm
100mm
48"
55"
Summary of Contents for LEDTVSKQ48FH
Page 1: ...LEDTVSKQ48FH LEDTVSKQ55FH...
Page 2: ......
Page 3: ......
Page 11: ...8 INSTALLATION...
Page 15: ...TV OPERATION 12 3 CHANNEL MENU CHANNEL Tuning CH CH...
Page 20: ......
Page 21: ......
Page 22: ......
Page 23: ......
Page 24: ......


