
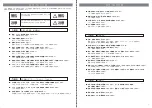
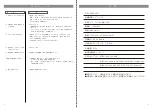


Use to move to [Date format] in menu,
then press for further options.
Use to select desired date format,
then press to confirm.
Use to select [Language] in menu then
press for further options. Use to
select desired language on right side of screen then
press to confirm.
25
26
Features
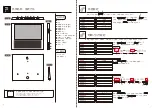
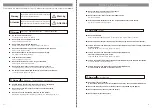
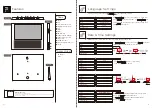
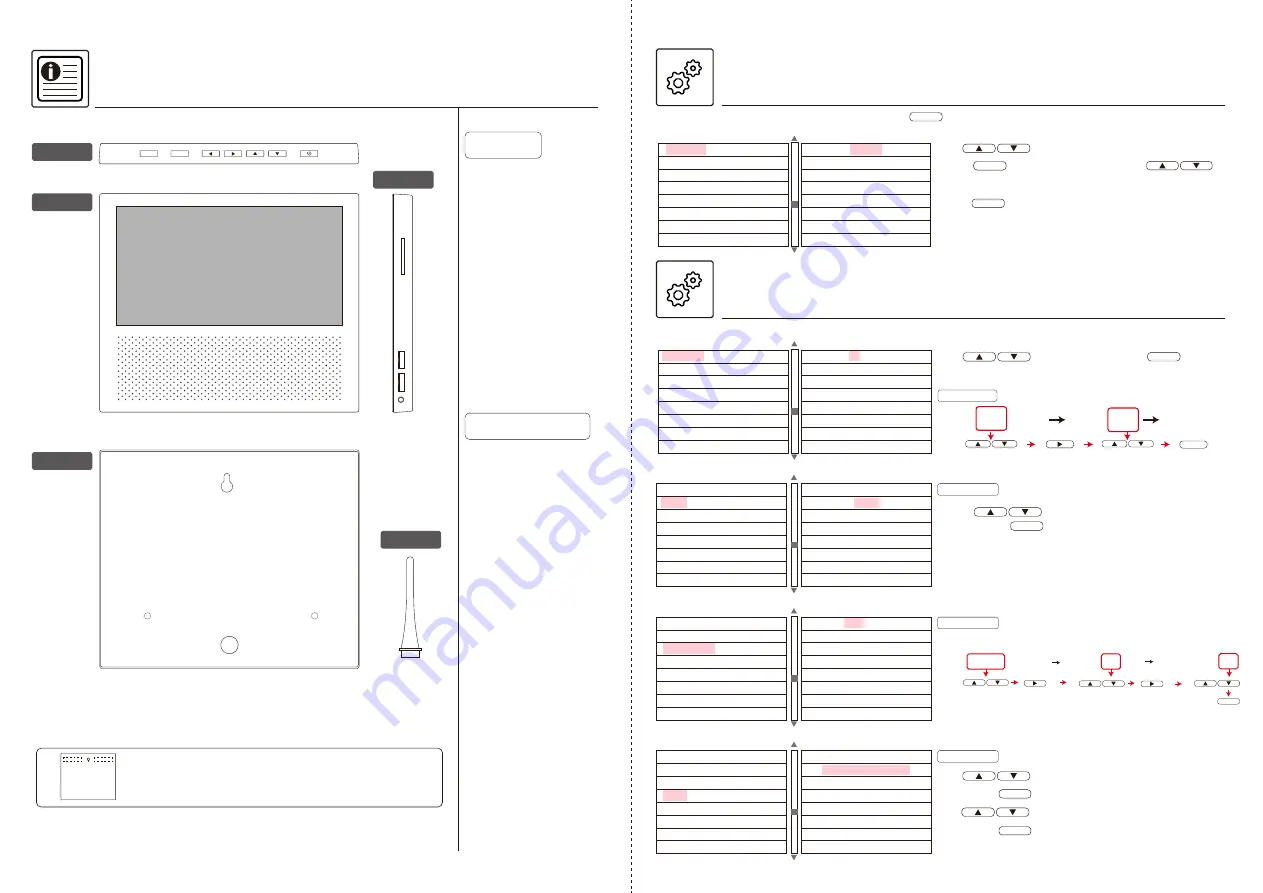
Top View
Front View
Rear View
Side View
Stand
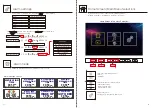
Language Settings
OK
OK
English
Japanese
Spanish
Simplified Chinese
Traditional Chinese
German
Language
Time
Time Format
Date
Date Format
Volume
Auto Power On
Auto Power Off
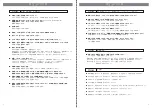
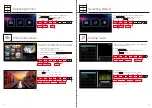
Date & Time Settings
Choose [Time] / [Time format] / [Date] / [Date Format] from menu.
Time
Time Format
00:00
Language
Time
Time Format
Date
Date Format
Volume
Auto Power On
Auto Power Off
Language
Time
Time Format
Date
Date Format
Volume
Auto Power On
Auto Power Off
Date
2020 - 01 - 01
Language
Time
Time Format
Date
Date Format
Volume
Auto Power On
Auto Power Off
Date format
Language
Time
Time Format
Date
Date Format
Volume
Auto Power On
Auto Power Off
12 h
24 h
MONTH ‒ DATE - YEAR
DATE ‒ MONTH - YEAR
YEAR ‒ MONTH ‒ DATE
OK
Select [Setting] icon, then press to enter [Language] setting.
OK
MENU
OK
❶ ❷ ❸ ❹ ❺ ❻ ❼
❾
❿
⓫
❽
⓬
⓭
❶ Menu
❷ OK
❸ Left (Volume Decrease)
❹ Right (Volume Increase)
❺ Up
❻ Down
❼ Power
❽ SD Card Slot
❾ USB port (Read & Charge)
❿
USB port (Charge-only)
⓫ Power Jack
⓬ Wall Mount Hole
⓭ Hole for Stand Installation
⓮ Stand
Name
・AC adaptor
・Stand
Accessories
Use to select then press to confirm.
Following is an example for [Time] settings
Use to select time format,
then press to confirm.
OK
e.g.
00 : 00 09 : 00 09 : 30
OK
OK
e.g.
0000-00-00
OK
2020-00-00 2020-01-00
2020-01-01
OK
⓮
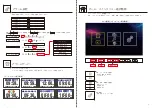
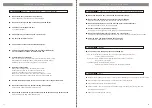
Wall Mounting
When hanging the product on wall,
consider to use push pins and/or double-sided tape to adjust the tilt and level the clock.
Beware of the dropping.


