


13
14
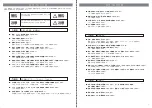
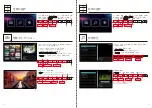
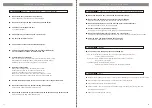
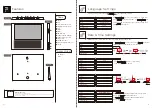
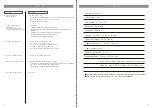
動画の選択
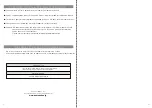
動画再生
ホーム画面
[
写真・音楽・動画
]
アイコンを選択後、左の画
面が表示されます。 ボタンを押して [ 動画 ] ア
イコンを選択し ボタンで確定します。
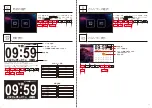
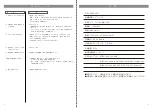
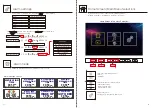
各種設定メニューの選択
OK
ホーム画面
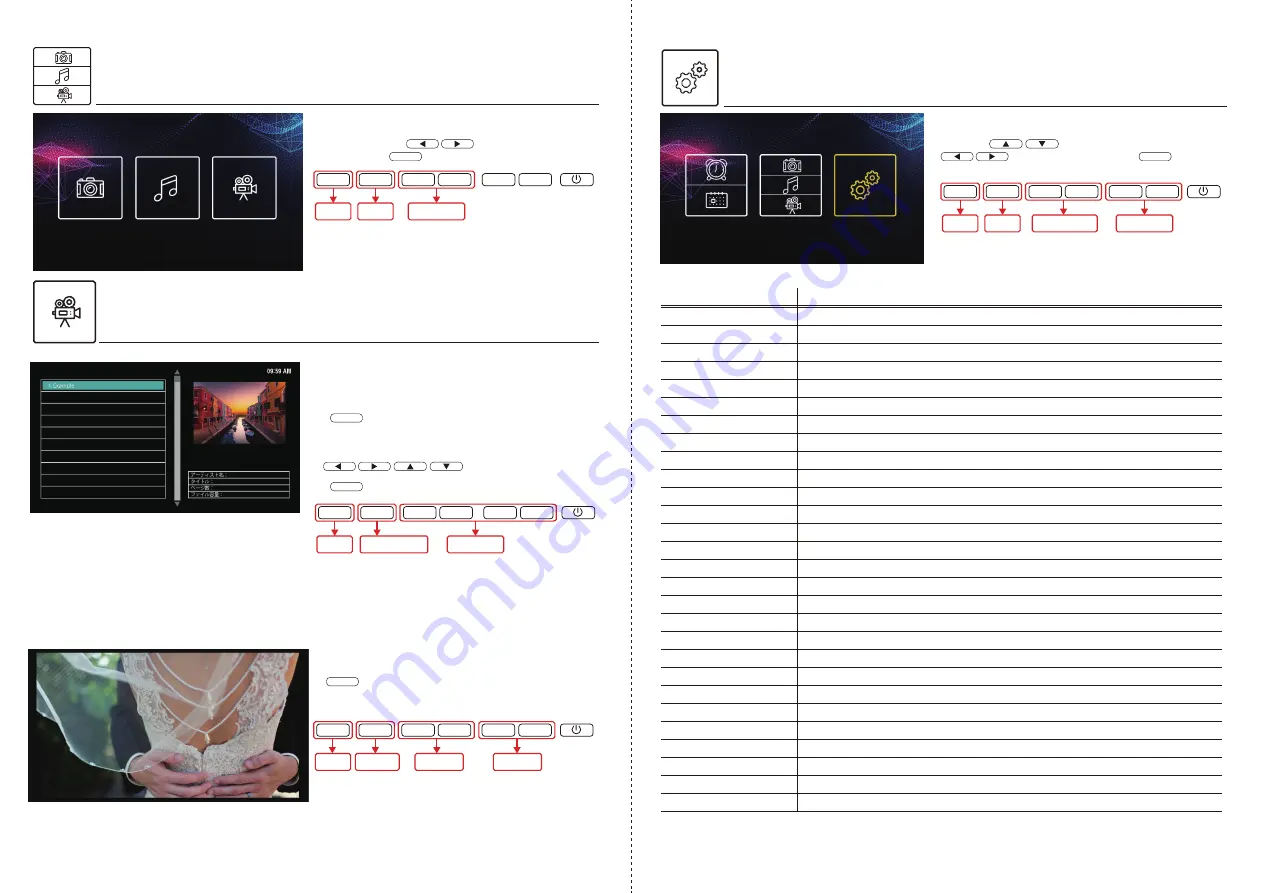
[
設定
]
アイコンを選択後、本体設定項目が表示
されます。 ボタンを押して各設定項目を選択。
ボタンで詳細項目を選択し
ボタンで決
定します。
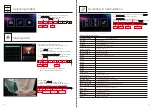
言語
表示する言語を選べます
時間設定
現在の時刻を設定します
時間形式
12 時間・24 時間表示を選べます
日付設定
年・月・日を設定します
日付表示形式
年・月・日の表示順を選べます
音量設定
音量を設定できます
自動電源 ON
設定した時間に電源が入ります
自動電源 OFF
設定した時間に電源が切れます
初期設定に戻す
全ての設定を工場出荷状態に戻します
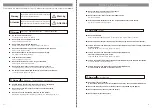
アラーム設定1
アラーム設定時刻や表示メッセージ等を設定します
アラーム設定2
アラーム設定3
アラーム設定4
アラーム設定5
アラーム設定6
アラーム設定7
アラーム設定8
アラーム音設定
アラーム時の音を設定します
アラーム音量設定
アラーム時の音量を設定します
背景色設定
背景色を白・黒から選べます
自動明るさ設定
あらかじめ設定した時間に自動で明るさを調整します
明るさ調節設定
設定した時間で明るさを調整します
写真サイズ設定
オリジナルとオートが選べます
スライドスピード設定
写真をスライド表示する際の時間を設定します
動画サイズ設定
オリジナルとオートが選べます
動画リピート設定
リピートのオン・オフが選べます
BGM モード設定
BGM のオン・オフが選べます
音楽リピート設定
リピートのオン・オフが選べます
OK
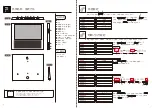
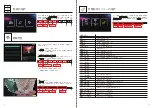
① SD カードを正しく挿入します。
② ボタンを押すと左の表示(SD 内の表示可能な動
画一覧)に切替わります。
OK
OK
OK
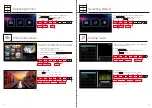
SD カードまたは USB に保存され、本機に対応した動画デー
タを再生します。
※HD, FHD の場合は再生出来ませんので、
解像度を変更し、ご利用ください。
動画再生中画面
※ ボタンを再度押すと動画再生は一時停止します。
※動画再生中は BGM モードをオンに設定していても再生で
きません。
③ 動画一覧から表示する動画を
ボタンで選択してください。
④ ボタンを押すと再生が始まります。
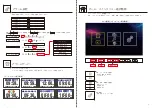
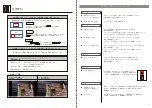
各種設定項目
選択ボタン
戻る
( キャンセル )
決定
OK
▼
▼
▼
▼
MENU
選択ボタン
戻る
( キャンセル )
決定
( スライドショー再生開始 )
OK
▼
▼
▼
▼
MENU
動画
再生/一時停止
動画 音量
戻る
( キャンセル )
OK
▼
▼
▼
▼
MENU
動画選択
詳細項目選択
戻る
( キャンセル )
決定
OK
▼
▼
▼
▼
MENU
選択ボタン


