
4
Instruction Manual for SABER MAGNET 24V
1-888-726-8869
www.sanuvox.com
SETUP & INSTALLATION
What you will need
A utility knife to unpack all components, a Phillips # 2 screwdriver, a nut driver or socket ¼", a measuring tape, a marker and a
power drill with a metal bit.
CAUTION:
Handle your product with care to avoid breaking parts. Make sure you have a free and safe space to unpack,
install and setup your product. Confirm you have access to the necessary power source for the product requirements (see unit
or system label). If you have any questions regarding the installation instructions, call SANUVOX at 1-888-726-8869.
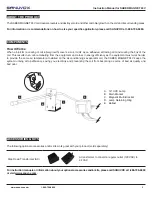
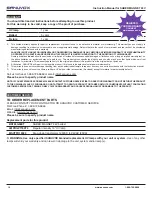
What’s included
The ballast, 2 UV lamps and a basic installation kit.
The installation kit includes: a UV caution decal, a maintenance decal, a pair of cotton gloves, screws, a plastic view port, the
main bracket, a magnetic multi-bracket and a lamp retainer ring.
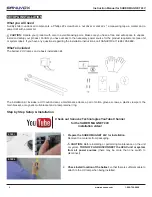
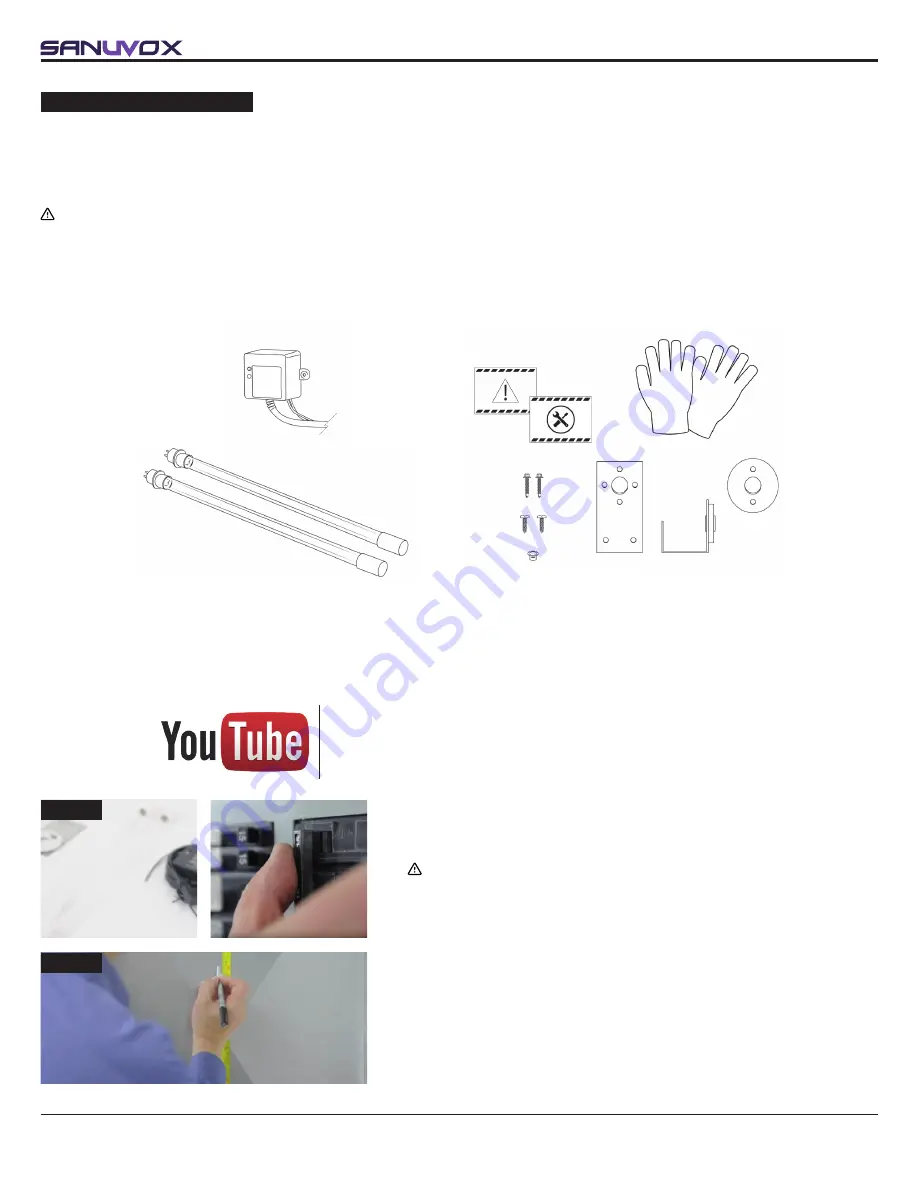
Step by Step Setup & Installation
Check out Sanuvox Technologies YouTube Channel
for the SABER MAGNET 24V
installation video!
1.
Prepare the SABER MAGNET 24V for installation.
Remove the contents from packaging.
CAUTION:
Before installing or performing maintenance on the unit
or system,
TURN OFF AND DISCONNECT the HVAC unit or system
from all power sources
(there may be more than one switch to
disconnect).
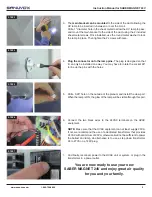
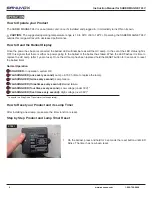
2.
Check install location of the ballast
, so that there is sufficient cable to
attach to the UV lamp when being installed.
STEP 1
STEP 2


