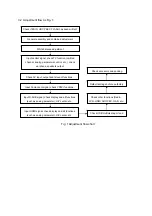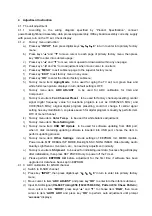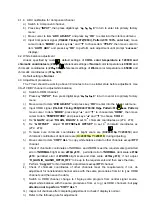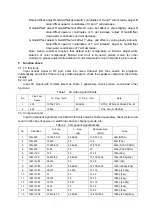
Software Upgrading Instruction
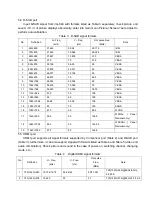
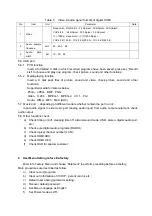
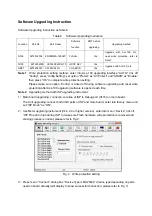
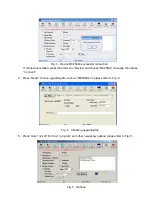
Software Upgrading Instruction as Table 6
Table 6 Software Upgrading Instruction
Location
Part No.
Part model
Software
function
SMT before
upgrading
Upgrading method
N10
4
5272532006
EN25Q32A-100HIP
FLASH
Yes
Upgrade with ALL100, etc.,
need write protection, refer to
Note1;
N10
9
5272404005 CAT24C04WI-GT3
HDCP KEY
Yes
NB0
7
5272402003 CAT24C02WI
VGA EDID
Yes
Upgrade with ALL100, etc.
Note 1
Write protection setting method: enter into ALL-100 upgrading interface “AUTO”, tick off
“Config”, press “config Setting”, set option “Protect” as “All Protect” and “SRWD” as “Enable”,
then press “OK” to complete write protection setting;
Please make sure option “Config” is ticked off during software upgrading and reset write
protection after ALL-100 upgrading software is opened each time;
Note 2
Upgrading method with ISP upgrading instrument:
1
)
Main board upgrading: connect 4-core line of ISP to Debug port (X10
3
) on main board;
The Unit upgrading: connect both VGA ports of ISP and main board, enter into factory menu and
set “ISP Mode” as “ON”;
2
)
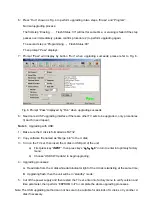
Use Mstar upgrading instrument (V4.4.2.0 or higher version), enter into menu “Device”, tick off
“WP Pin pull to high during ISP” to make sure Flash hardware write protection is removed and
erasing process is normal; please refer to Fig.2;
Fig. 2 Write protection setting
3
)
Press menu “Connect”, dialog box “Device Type is MX25L64” (device type depending on parts
used on board actually) will display to show successful connection; please refer to Fig. 3;
Summary of Contents for 1 682 351 01
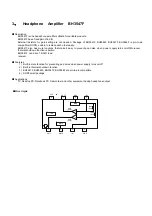
Page 17: ...Speakers Block Diagram N204 NB08 BH3547F NV01 1 ...
Page 30: ...Power board ...
Page 31: ...Backlight board ...
Page 33: ...APPENDIX B Explodedview LED 22XR11F ...
Page 38: ...June 2011 ...


