
13
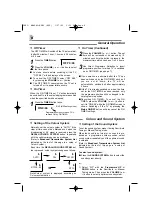
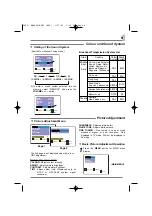
Any number of channels maybe set as Skip
Channels.
SEARCH
SYSTEM
MODE
SEMI
START
AUTO
MEMORY
--
SIF
BG
POSITION
4
SKIP
ON
SELECT
ADJUST
BACK
EXIT
SEARCH
SYSTEM
MODE
POSITION
SEMI
START
4
AUTO
SKIP
ON
SIF
BG
MEMORY
OK
4
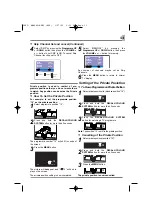
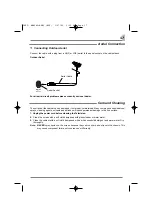
Select “SKIP” by pressing the
Programme UP
or
DOWN
button,then press the
or
-
button to set SKIP to ON. To cancel Skip
Channel function, set to OFF.
❒
Skip
Channel
Set
and
cancel
(Continued)
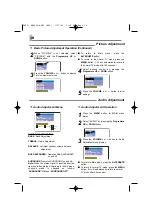
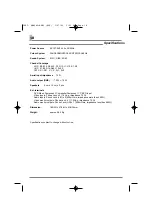
5
Select “MEMORY” by pressing the
Programme UP
or
DOWN
button, then press
the
or
-
button for memory.
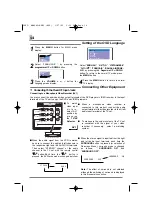
6
Press the
MENU
button to return to normal
TV display.
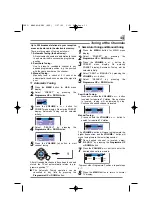
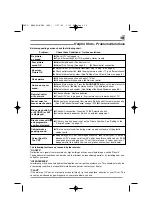
Setting
of
the
Private
Posistion
For example, to set the programme position
“15” as the private position.
The programme number “15” will shift to centre of
the screen.
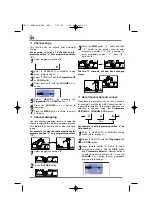
The picture will disappear, and “
15” will be dis-
play on the screen.
The private position setting is now completed.
Private position is used to restrict of pro-
gramme positions that you do not want others
to watch. Any position can be set as the Private
position.
15
15
15
AUTO
BG
B G
AUTO
15
❒
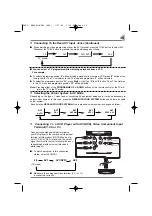
How
To
Set
the
Private
Position
1
Select programme position “15”.
2
Press and hold the
RECALL/COLOUR
SYSTEM
button for more than 2 seconds
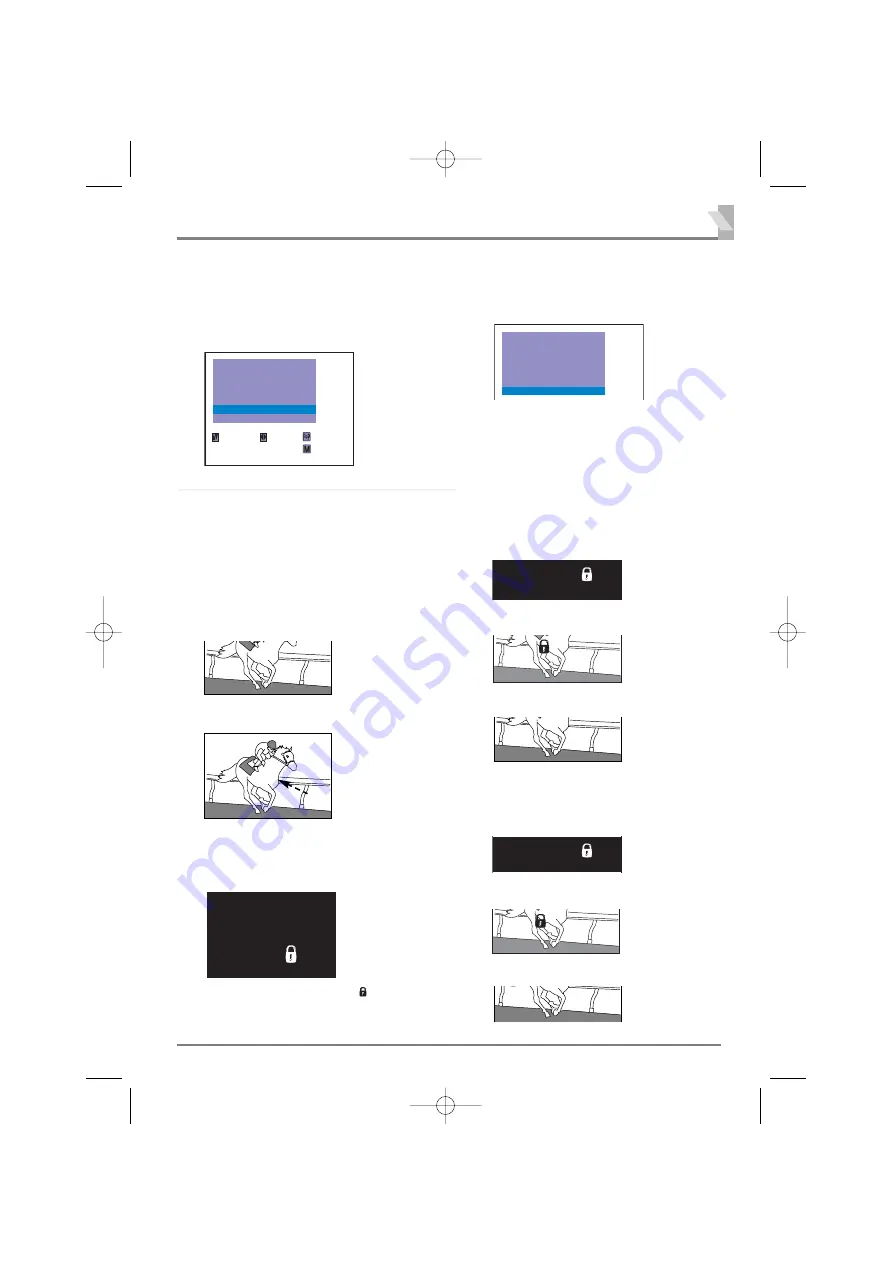
3
Press the
MENU
button.
15
Note
: The position “15” is still in the private position.
15
AUTO
BG
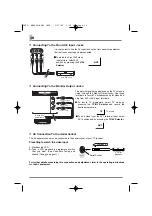
The private position is now cancelled.
15
❒
To
View
a
Programme
on
Private
Position
1
Select private position (In this case position “15”).
2
Press and hold the
RECALL/COLOUR
SYSTEM
button for more than 2 seconds.
3
Press the
RECALL/COLOUR SYSTEM
button for watching a TV programme.
❒
Cancelling
of
the
Private
Position
1
Select private position (position “15”).
2
Press and hold the
RECALL/COLOUR
SYSTEM
button for more than 2 seconds.
3
Press the
MENU
button.
15
15
AUTO
BG
15
INST. MANUAL-BE8Y (AUS) 1/27/09 3:23 PM Page 13