16
■
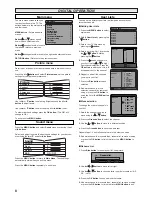
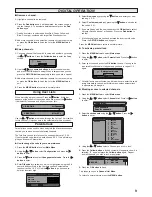
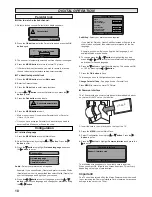
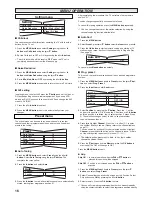
Child lock
You can prevent small children from operating the TV with the side
buttons on the TV set.
1.
Press the
MENU button
and select
Setting
using the
7
or
8
button
and
Child lock
using the
e
or
d
button
.
2.
Set the Child lock to OFF or ON by pressing the
7
or
8
button
.
✐
The child lock mode will be reset to “
OFF
” when the TV set is
completely disconnected from the Mains supply.
■
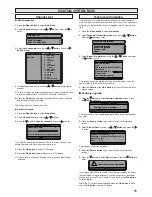
Noise Reduction
1.
Press the
MENU button
and select
Setting
using the
7
or
8
button
and
Noise Reduction
using the
e
or
d
button
.
2.
Set to
Min, Med, Max
or
OFF
by pressing the
7
or
8
button
.
3.
Press the
MENU button
repeatedly to return to normal TV picture.
■
AV2 setting
In setting menu, to select AV2 press the
d
button
and set to Video or
S-Video depending on your external equipment. If you use a VCR
which has S-VHS, you should connect it to AV2 and change the AV2
menu to S-VIDEO.
1.
Press the
7
or
8
button
to select.
2.
Press the
MENU button
to exit, this automatically stores your
changes.
The preset menu can be used to tune new channels, to reorder
channels and their programme positions, and to make fine adjust-
ments to the tuning.
■
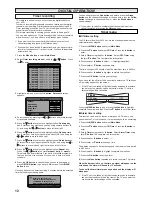
Auto Tuning
1.
Press the
MENU button
and select
Preset
using the
7
or
8
button
. Select
Auto Tuning
using the
e
or
d
button
. The
complete line turns yellow.
2.
Press the
8
button
and select
Auto
.
3.
Press the
8
button
to start, all available channels are automatically
stored, starting from programme position 01.
After completing this procedure, the TV set returns to programme
position “01”.
Position changes sequentially as channels are found.
To cancel this tuning operation, press the
MENU button
repeatedly.
✐
You can change the order of the station selection, by using the
channel swapping function detailed later.
■
Auto Sort
1.
Press the
MENU button
.
2.
Select
Preset
, press
e
or
d
button
select
Auto sort
and press
8
.
3.
Press the
OK button
to start automatic sorting and storing of TV
stations in your area. It will sort the channels as in Plug and Play
(See page 6).
To cancel press
Menu button
repeatedly.
■
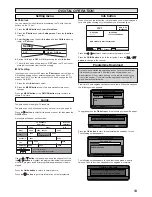
Prog. preset.
This is used to preset a received channel in any desired programme
position.
1.
Press the
MENU button
and select
Preset
, press the
e
or
d
but-
ton
and select
Prog. Preset
.
2.
Press the
8
button
to enter
Semi
menu
.
3.
Select
Position
by pressing the
d
button
. Press the -/-- button
and enter the position (01-99) using the 0-9 buttons or
7
,
8
button
until the position is selected. (eg: to select position 5 press 0 then
5).The selection changes colour to blue, to say that another
channel has been found.
4.
Press
e
to highlight
Channel
. Press the -/-- button (C--) to enter
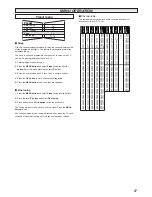
the number directly if known. (Please refer to the channel table on
page 17).
You can search for a channel for your selected position. Highlight
Channel,
press the
7
or
8
button until a channel is found, if this is
not the one required repeat until it is found (C-- / H--).
✐
The selection changes colour to blue, to say that another
channel has been found.
5.
Press the
d
button
and select
Memory
, press the
OK button
to
memorise.(The OK? will change to OK).
Press the
MENU button
to exit.
●
Skip
Skip ON :
in normal operation when the
5
or
6
button
is
pressed this position will be skipped.
Skip OFF :
Position is not skipped when the
5
or
6
button
is
pressed.
1.
Press the
MENU button
and select
Preset
, press the
e
or
d
button
and select
Prog. Preset
.
2.
Select Channel that you wish to be skipped or the Position. Select
Skip and choose
ON
by pressing the
7
or
8
button
.
3.
Select memory. Press the
OK button
to store.
✐
You can still view a programme position that has been skipped by
using the numeric buttons to select the programme position directly.
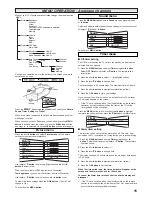
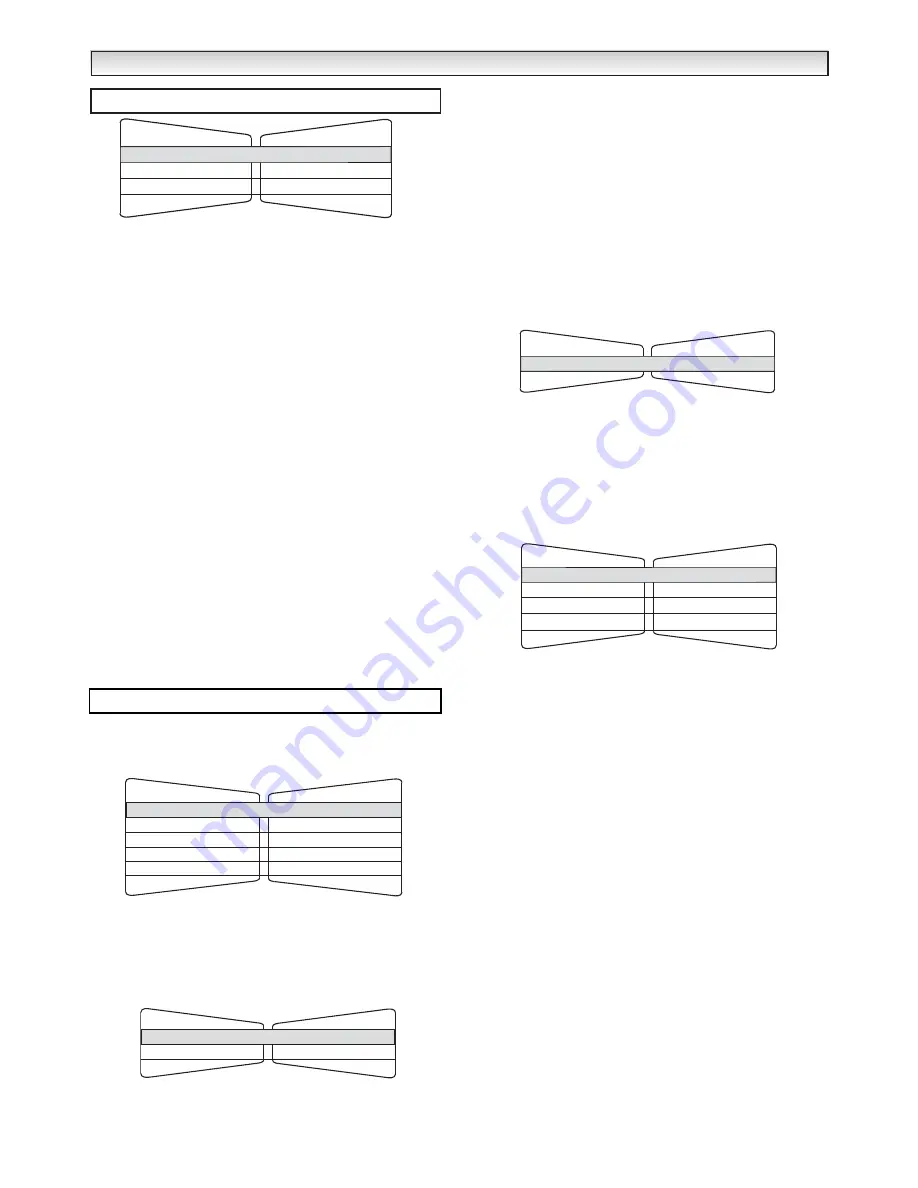
Setting menu
Video / S-Video
Setting
AV2
On / Off
Child lock
Noise Reduction
Min / Med / Max / OFF
Preset menu
Preset
Fine Tuning
Swap
Prog. Preset
Auto Sort
Auto Tuning
v
v
v
v
- -
v
MENU OPERA
MENU OPERA
TION
TION
Auto
Position
Channel
C31
01
01
OFF / ON
Semi
Skip
Position
Channel
C24
Memory
OK?
Auto sort
OK?
Start
Summary of Contents for CE27LD4-B
Page 23: ...23 ...
Page 24: ...24 Part No 1KA6P1P0194 B N2WK WKA N2YK YKA Printed in U K ...

