

3
Do not
allow anything to rest on the power
cord.
Do not
locate this television receiver
where the cord will be damaged by people
walking on it.
Do not
overload wall outlets and extension
cords as this can result in fire or electric
shock.
Slots and openings in the cabinet and in the back or bottom are
provided for ventilation to ensure reliable operation and to protect
it from overheating. These openings
must not
be blocked or
covered. The opening
should never
be covered with a cloth or
other material, and the bottom openings
should not
be blocked
by placing the television receiver on a bed, sofa, rug, or other
similar surface.
Do not
place this television near any heat sources such as
radiators, heaters, stoves and other heat-generating products
(including amplifiers).
Do not
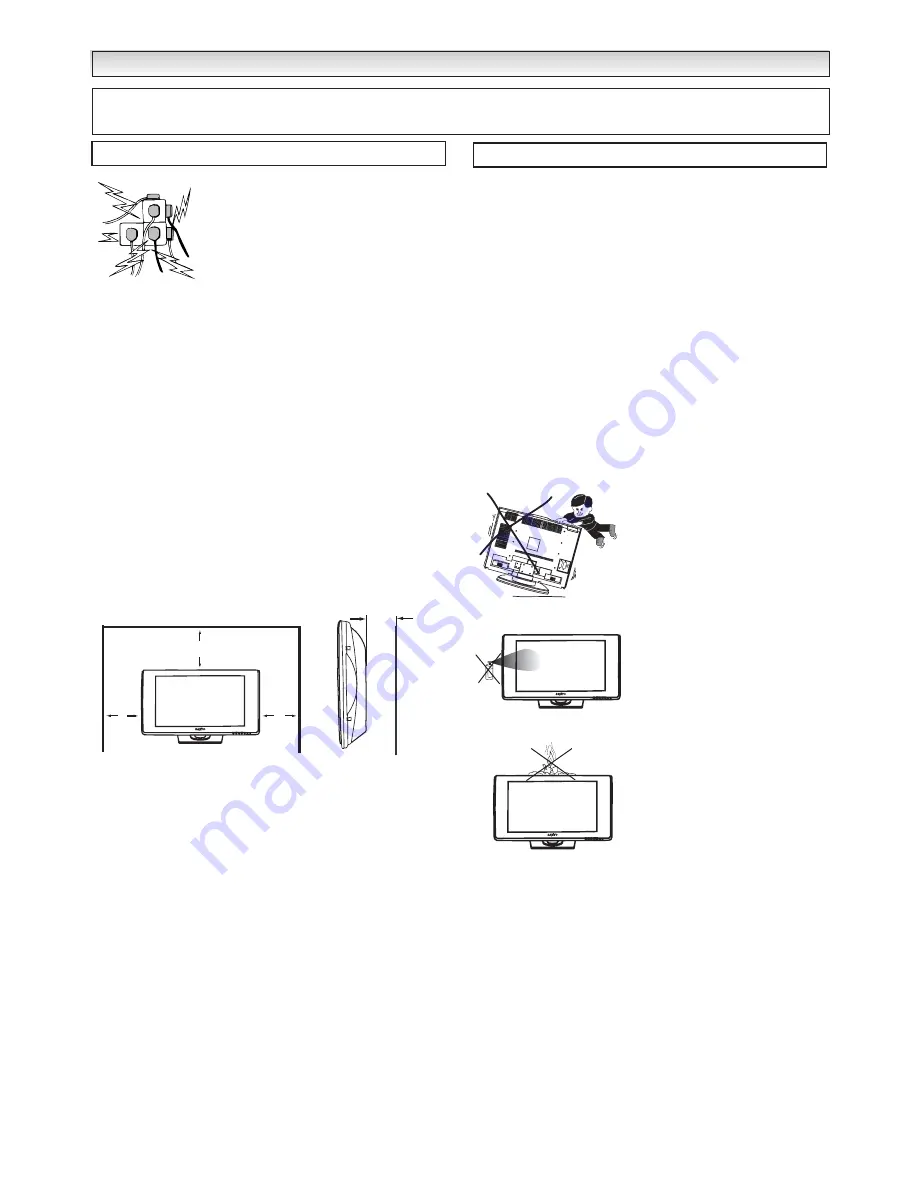
place the television in direct sunlight.
Do not
place your television receiver on an unstable stand, shelf
or table. Serious injury to an individual, and damage to the
television may result if it should fall. Your sales person can
recommend approved stands or shelf and wall mounting
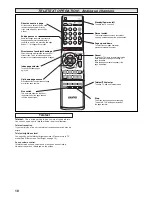
instructions. A special wall mounting kit is available for this model.
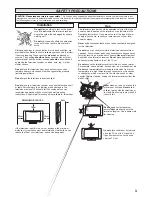
If the television is built into a unit, or enclosed, the minimum
distances for ventilation must be maintained. Heat build up can
reduce the life of your television, and can be dangerous.
This television receiver should be operated only from the type of
power source indicated on the television or as indicated in the
Operating Instructions. If you are not sure of the type of power
supply in your home, consult your sales person or your local
power company.
Never
add accessories that have not been specifically designed
for this television.
Do not
drop or push objects into the television cabinet slots or
openings. Some internal parts carry hazardous voltages and con-
tact may result in an electric shock hazard.
Never
spill liquids of
any kind on the television receiver.
Do not
place items such as
vases containing liquid on top of the TV set.
Do not
expose the television receiver to rain or use near water.
For example, near a bathtub, kitchen sink, in a wet basement, etc.
Do not
use immediately after moving the television from a low
temperature to a high temperature environment, as this causes
condensation, which may result in fire, electric shock, or other
hazards. Before cleaning, unplug the television receiver from the
wall socket.
Never
stand on, lean on or push the
television or its stand.
Never
allow
children to play with the television or
its stand. Serious injury may result if
it should fall.
Do not
apply liquid cleaners or
aerosol cleaners directly onto the
television receiver. Use a damp cloth
for cleaning.
Do not
place candles or hot objects
upon the TV, next to it or behind it.
Open flames must never be used
near the TV set.
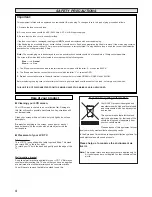
SAFETY
SAFETY
PRECAUTIONS
PRECAUTIONS
Installation
CAUTION: Please read and retain for your safety.
This unit has been engineered and manufactured to assure your personal safety, but
improper use can result in potential electric shock or fire hazards. In order not to defeat the safeguards incorporated in this receiver observe
the following basic rules for its installation, use and servicing.
R/D
L/S
MINIMUM DISTANCES
10cm
10cm
10cm
5cm
Use
Summary of Contents for CE27LD4-B
Page 23: ...23 ...
Page 24: ...24 Part No 1KA6P1P0194 B N2WK WKA N2YK YKA Printed in U K ...