background image

Summary of Contents for DC-D8

Page 1: ...INSTRUCTION MANUAL DC D8 Mini Component System ...

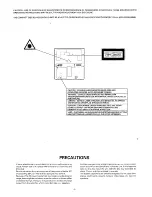
Page 2: ...OH lTE AEA SA 0L13AL171NA NAKYMAITOMALLE LASERSATEILYLLE ALA KATSO SATEESEEN PRECAUTIONS If water should enter the unit electrical shock or malfunction may Sudden changes in the ambient temperature may cause conden result Always use it in a place where there is low humidity and sation to form on the optical lens inside the unit If this happens little dust take out the disc leave the unit with the ...

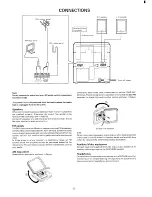
Page 3: ...s sufficient to receive most local FM broadcasts and should reconnected tothe EXT ANT terminal Extend the aerial wire asstraight aspossible and while listening tothesoundfromthe system secure it in a position which yields minimal distortion and noise In fringe areas or where reception is distorted or noisy an FM outdoor aerial not supplied should be connected instead of the indoor aerial Thetermin...

Page 4: ...22 21 20 Disc tray open close button OPEN 23 Level indicators LEVEL CLOSE 24 Bass expander button BASSXPANDER Stop button STOP 25 Dubbing speed Beat cancel button Skip Search buttons SKIP SEARCH DUBBING BEAT CANCEL Balance control BALANCE 26 Headphones socket PHONES Function switch FUNCTION 27 Graphic equalizer controls GRAPHIC Volume controls VOLUME EQUALIZER 28 DECK B 28 Cassette holder 29 Recor...

Page 5: ...ttons 4 Volume buttons VOL Inserting batteries 1 REMOTE CONTROL Two AA SUM 3 R6 batteries not supplied Remote control range Remote sensor u k Withinapprox 7 meters I Operation By using the remote control you can operate the system inthe same way as with the controls on the main unit Note Always remove batteries if the reomote control is not to be used for a month or more Batteries left in the unit...

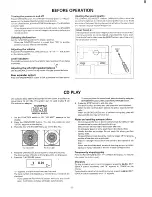
Page 6: ... player st ps automati cally When the OPEN CLOSE button is pressed during play play will stop and the disc tray will slide out Notes on handling compact discs Do not expose the disc to direct sunlight high humidity or high temperatures for extended periods of time Discs should be returned to their cases after use Do not apply paper or write anything on the disc surface Handle the disc by its edge ...

Page 7: ...the stop mode The same track can be programmed more than once Example To programme tracks 5 2 6 and 10 1 2 3 4 5 6 7 Press the CD MEMORY button Select track 5 by pressing the SKIP SEARCH button I 1 MmA5 Pr 1 I Press the CD MEMORY button PROG remains lit Select track 2 by pressing the w 44 SKIP SEARCH button kmA2 Pr 2 I Press the CD MEMORY button PROG remains lit The remaining tracks are programmed...

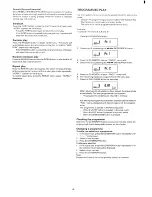
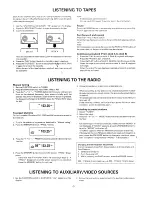
Page 8: ...ime the button is pressed the frequency changes in 0 05 MHz steps for FM and 9 kHz steps for AM I I 103 25 m To preset stations This unit enables 12stations FM1 FM2and AM bands to be preset in the memory 1 Tune in the station to be preset as described in Manual tuning 2 Press the MEMORY button PROG blinks 103 25 M 3 Press the or PRESET button to select the desired preset number I w 09 103 25 m 4 P...

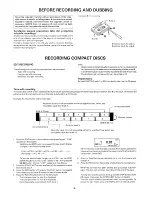
Page 9: ...cord onto a 50 minute tape When the track 6 is not recordable within the specified time select any recordable track after track 7 f Unrecorded blank I I SIDE A 25 min J 1 5 9 13 B 10 H 8 l 7 n f12 Manual reverse 6 I I Omit the track 9 Unrecorded blank SIDE B 25 min When the track 11 is not recordable within the specified time select any 1 2 3 4 recordable track after track 12 Press the EDIT button...

Page 10: ...atically from the first programmed track I SIDE A Example 10 Follow steps 5 6 of Time edit recording This type of reco ding is the easiest to perform and the tape length setting is not required The track 4 wi l be interrupted SIDE A 4 1 1 2 M 3 a 4 B B lJ Manual reverse 6 5 4 t Record from the beginning of a track The track 8 will be interrupted 1 Press the EDIT button until C appears 5 2 Load a c...

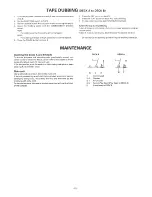
Page 11: ...matically deck B erases the tape to the end Do not change the dubbing speed during the dubbing operation MAINTENANCE Cleaning the decks A and B heads DECK B To ensur playback and recording with good quality sound use cotton swab to clean the heads pinch rollers and capstans of the decks after about every 10 hours of use If the dirt persists soak the swab in a little methylated spirit or head clean...

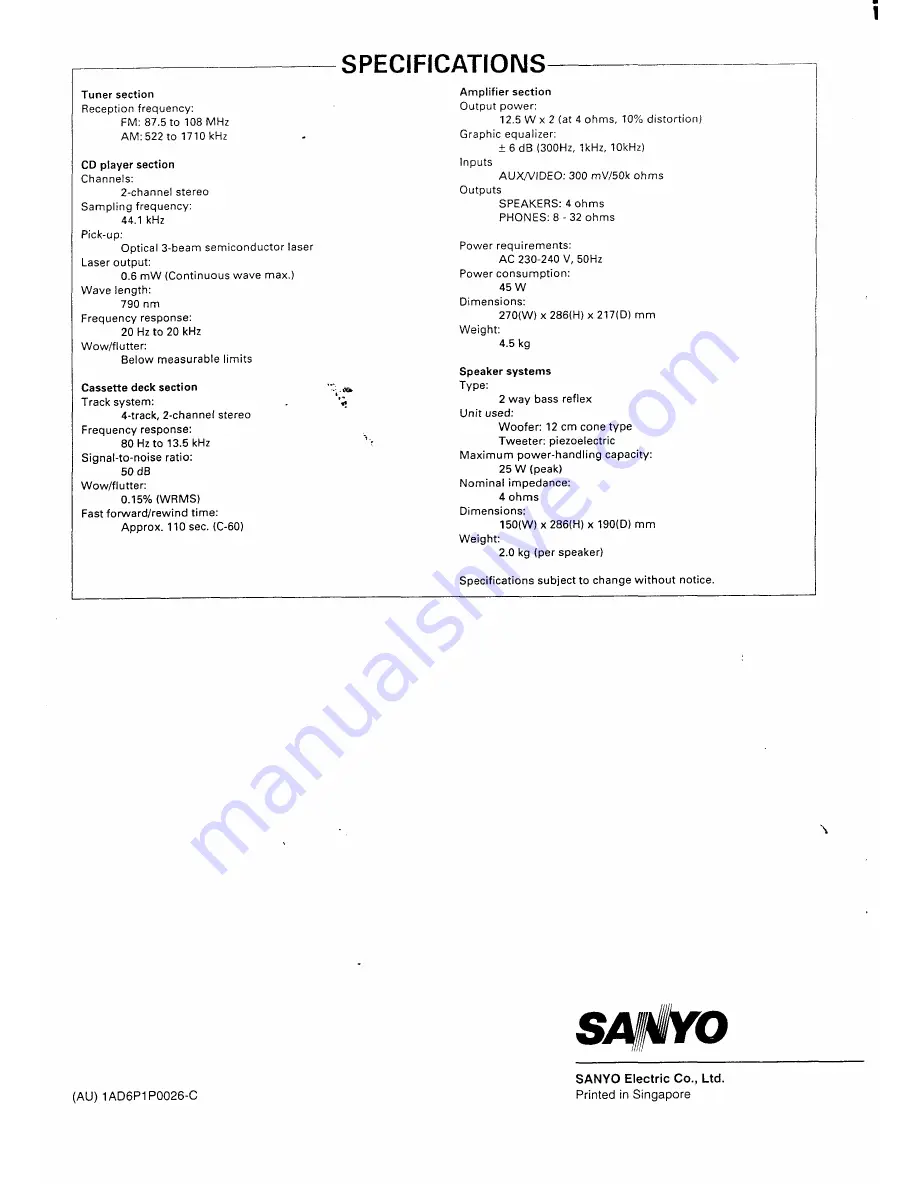
Page 12: ...orward rewind time Approx 110 sec C 60 SPECIFICATIONS Amplifier section Output power 12 5 W x 2 at 4 ohms 10 distortion Graphic equalizer 6 dB 300 Hz lkHz 10kHz Inputs AUX VIDEO 300 mV 50k ohms outputs SPEAKERS 4 ohms PHONES 8 32 ohms Power requirements AC 230 240 V 50Hz Power consumption 45 w Dimensions 270 W x 286 H x217 D mm Weight 4 5 kg Speaker systems Type 2 way bass reflex Unit used Woofer ...

Reviews: