
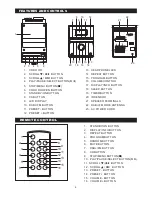


F. A
10
F21
F20
90 80 70 60 50 40 30 20 10
off
F22
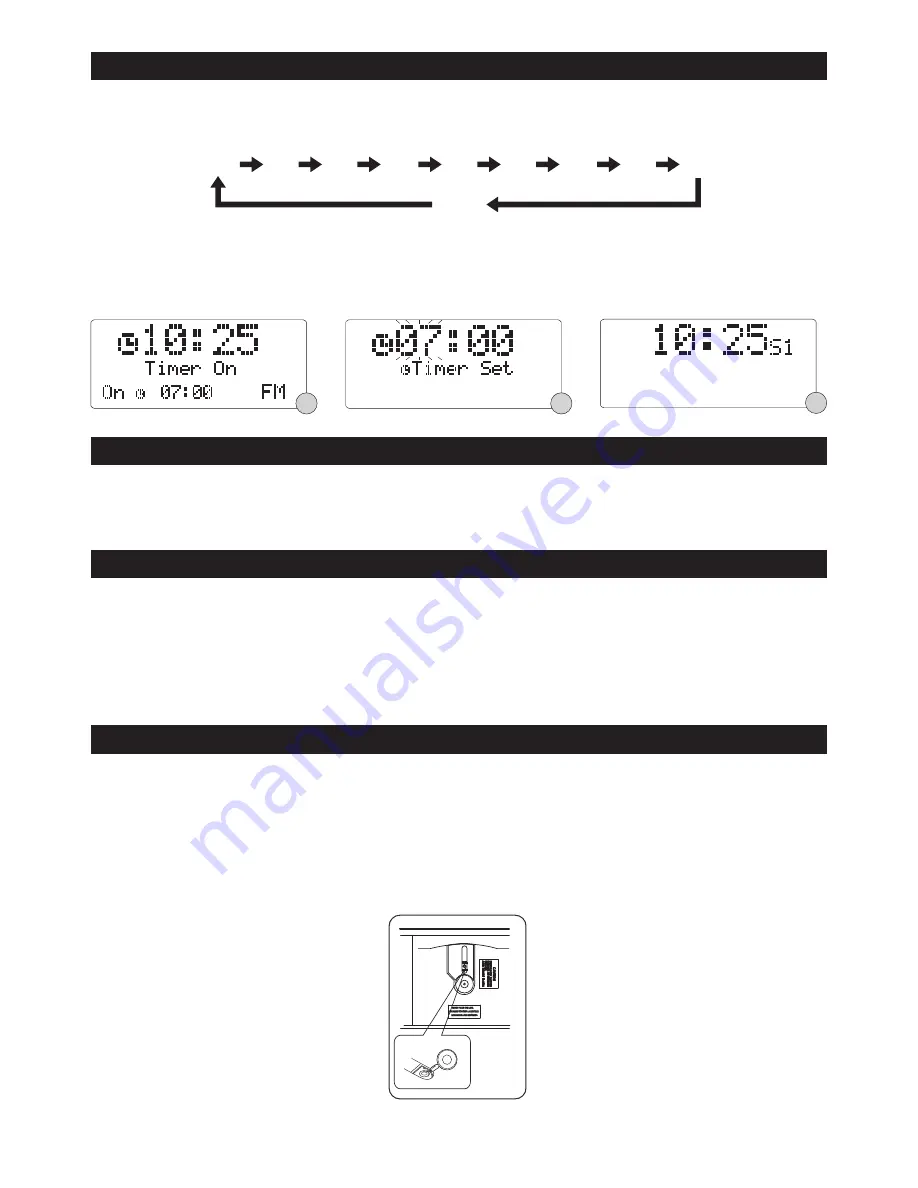
SLEEP FUNCTION
MUTE FUNCTION (remote control only)
HEADPHONE JACK
MAINTENANCE
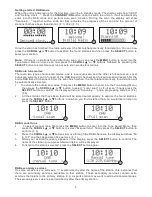
This function allows you to program the system to switch off itself after a set period of time.
1. To activate the sleep function, repeatedly press the
SLEEP
button, the sleep time in the display
will change in sequence on every press:
2. When the display shows your desired sleep time, release the button, the sleep timer is now
activated. The display will show “S#” in which “S1” is to indicate “10 minutes” sleep time and so
on. (F.22)
3.
To cancel sleep function, press the
SLEEP
button once, the display will show “Sleep-Off” and the
“S#” will be disappeared.
Press the
MUTE
button on the remote control will stop the sound from the speakers temporarily,
the
display will show “MUTE” and flash. To cancel mute and restore the sound, press the
MUTE
button
again or the
/-
button, the “MUTE” will disappear in the display.
A 3.5mm type stereo headphone jack is located on the front panel. Connect a set of stereo
headphones (not included) to this jack for private listening without disturbing others. The external
speakers are automatically disconnected when the headphones are in use.
IMPORTANT:
When using headphones always set the volume to a low level before you put the
headphones on. Then insert the headphones and gradually increase the volume to a comfortable
listening level.
Cleaning the unit
Clean the outside of the unit with a clean soft cloth, moistened with lukewarm water. Do not use
benzene, thinners, or alcohol since they will damage the finish of the surfaces.
Cleaning the CD player Iens
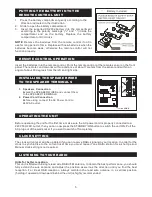
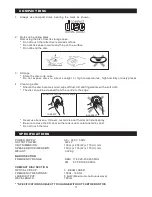
The lens should never be touched. If dust is on the lens, blow it off using a camera lens blower (F. A).
(Consult your dealer.)


