


1
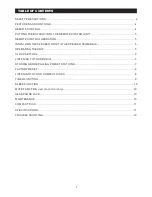
TABLE OF CONTENTS
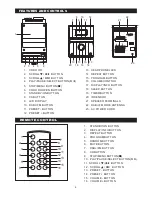
FEATURES AND CONTROLS
CONTROL
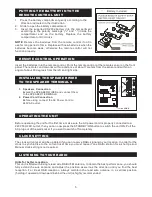
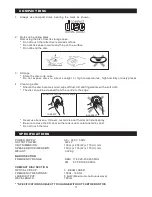
INSTALLING THE SPEAKER WIRE TO THE SPEAKER TERMINALS.
OPERATING THE UNIT
COMPACT DISC
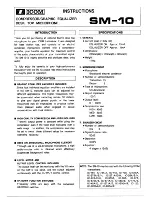
SPECIFICATIONS
SAFETY PRECAUTIONS.............................................................................................................2
...................................................................................................... 4
REMOTE
...................................................................................................................4
PUTTING THE BATTERY INTO THE REMOTE CONTROL UNIT......................................................5
............................................. 5
...............................................................................................................5
.......................................................................................................................5
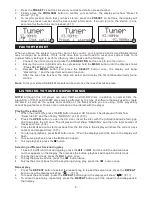
LISTENING TO YOUR RADIO......................................................................................................5
..........................................................................7
.......................................................................................................................8
......................................................................................8
..................................................................................................................... 9
....................................................................................................................10
......................................................................................10
..................................................................................................................10
........................................................................................................................10
....................................................................................................................... 11
.....................................................................................................................11
.............................................................................................................. 12
REMOTE CONTROL OPERATION...............................................................................................5
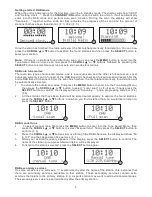
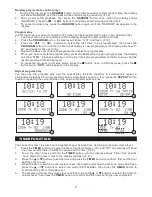
CLOCK SETTING
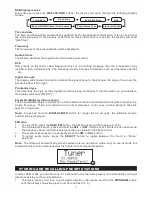
STORING AND RECALLING PRESET STATIONS
FACTORY RESET
LISTENING TO YOUR COMPACT DISCS
TIMER FUNCTION
SLEEP FUNCTION
MUTE FUNCTION (remote control only)
HEADPHONE JACK
MAINTENANCE
TROUBLE SHOOTING