
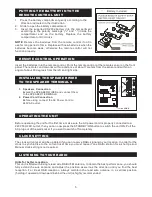
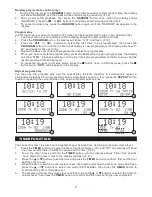


1. Press the battery compartment gently according to the
direction indicated in the illustration.
2. Slide to open the battery compartment.
3. Insert the supplied CR2032 battery into the compartment
according to the polarity markings ("+" and "-") inside the
compartment and on the battery. Replace the battery
compartment until it clicks.
NOTE
: Remove the batteries from the remote control if not in
use for long period of time. Replace with new batteries when the
batteries become weak, otherwise the remote control will not
function properly.
**
**
Battery Included
5
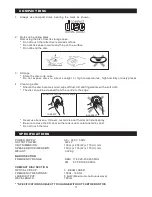
1. Speakers Connection
Extend the SPEAKER WIRES and connect them
to the SPEAKER TERMINALS.
2. Power Cord Connection
Before using, connect the AC Power Cord to
240V AC outlet.
AC CORD
PUTTING THE BATTERY INTO THE
REMOTE CONTROL UNIT
INSTALLING THE SPEAKER WIRE
TO THE SPEAKER TERMINALS
OPERATING THE UNIT
Before operating the unit for the first time, make sure the AC power cord is properly connected to a
240V 50Hz AC outlet, then you can now press the STANDBY/ON button to switch the unit ON. Pull the
AC plug out of the wall socket if you want to switch off completely.
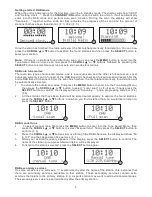
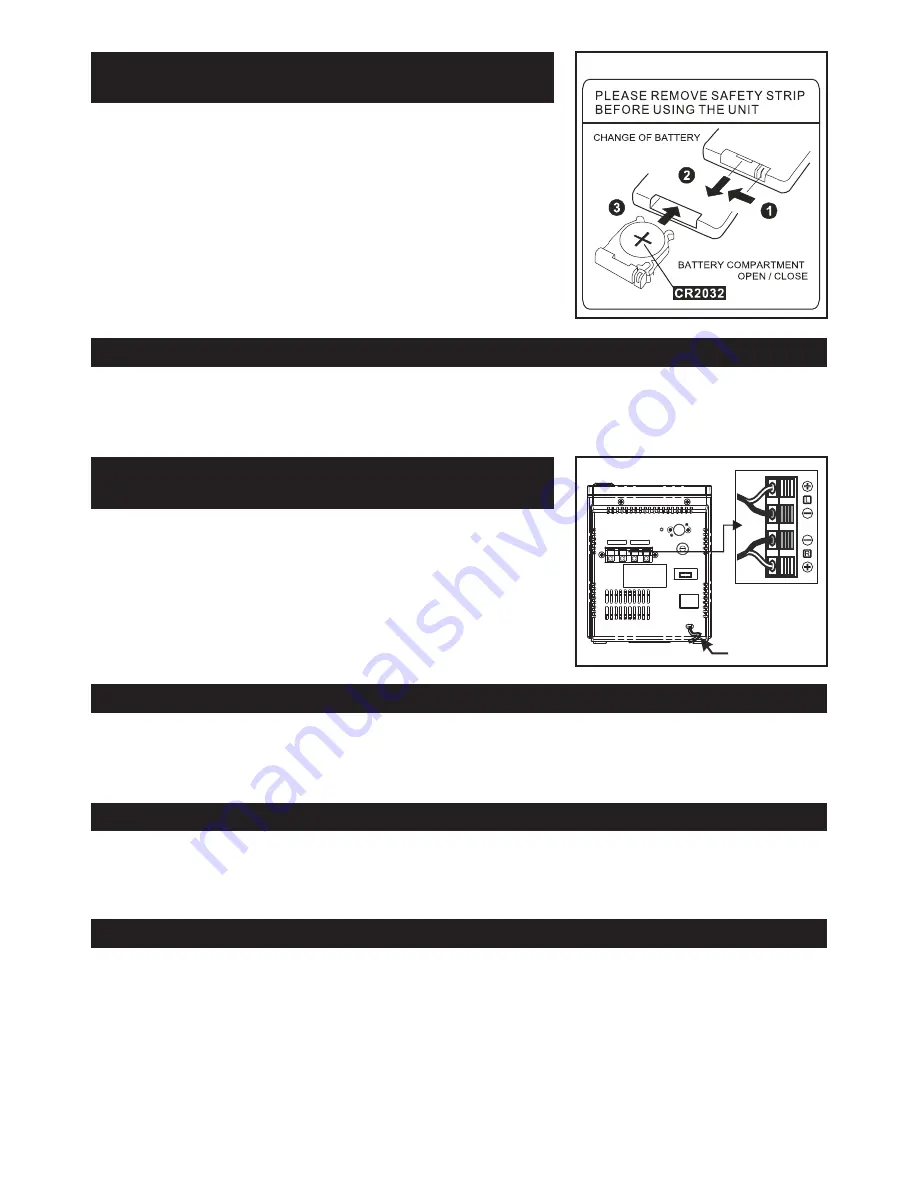
CLOCK SETTING
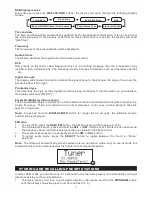
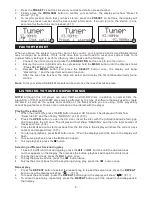
LISTENING TO YOUR RADIO
The clock will only set and be updated if you can receive DAB+ signals in your location. In order for the
clock to synchronise to the current local time you must leave it one DAB+ station for a short period.
Manual clock setting is not required.
Hints for better reception
This unit is fitted with a single lead wire DAB+/FM antenna, to obtain the best performance, you should
fully extend the wire antenna and adjust the position as well as the direction until you find the best
reception. For ideal DAB reception, always maintain the lead wire antenna in a vertical position
(holding it upward or downward behind the unit) is highly recommended.
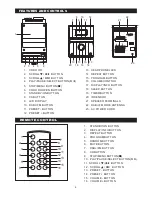
REMOTE CONTROL OPERATION
Insert the batteries into the remote control. Point the remote control at the remote sensor on the front
panel. The remote control works within a distance of about 7 meters from the sensor and within an
angel of about 30 degrees from the left and right side.


