background image

Summary of Contents for DC-LD5

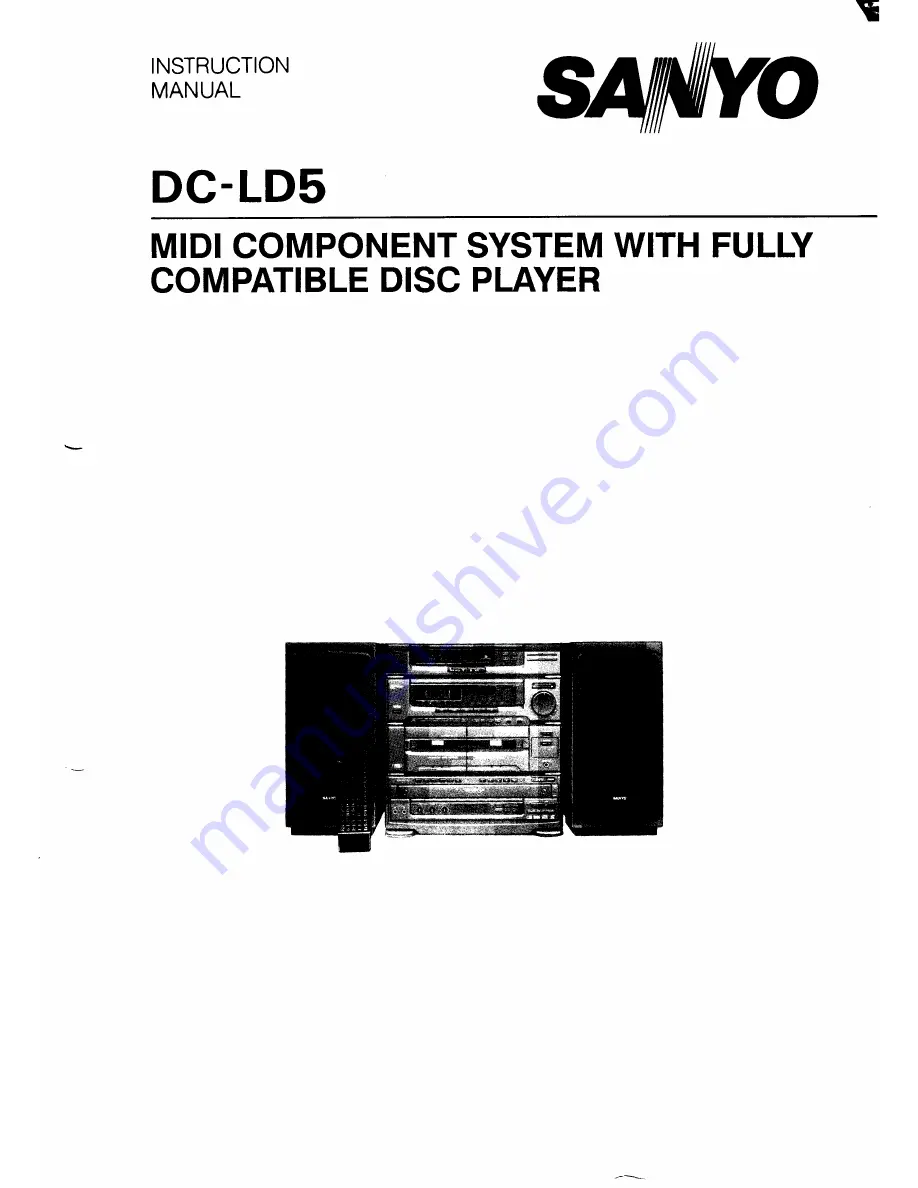
Page 1: ...INSTRUCTION MANUAL DC LD5 siq fbh MIDI COMPONENT SYSTEM WITH FULLY COMPATIBLE DISC PLAYER L ...

Page 2: ...i 1 1110 9 8 2 3 45 6 7 18 1 12 13 Fig la w a 15 1 6 17 Fig 1b l b 22 20 35 33 31 30 29 24 25 26 27 28 Fig lc lEl c 1 ...

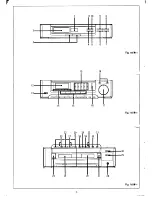
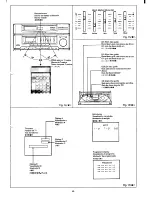
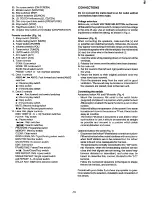
Page 3: ... iii 58 56 37 57 55 h i 000 T4H11 43 42 46 44 45 J 1 1 r 4 12 Fig ld Ell d Fig le lHlle 2 ...

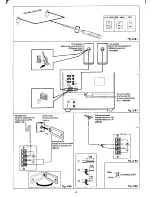
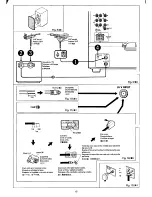
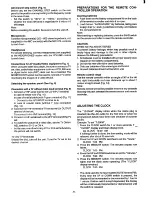
Page 4: ... oLTAti SELEcTOR E E b 11 O 12OV 220 240V OFF b b m m El Fig 2 2 CA 3 R 3 ...

Page 5: ...nistrado Fios de Audio nZiofornecidos Fio de video n o fornecido II lyB 6 ik m VCR Video MT Wdeo gravador DAT VTR Analog outputs Analog inputs Salidas ana16gicas Entradas ana16gicas Audio outputs Saldas an logas Entradas an loges Salidas de audio Saldas de Audio 000 11 mlwiiti n Video output Salida de v deo iwwRti WR mx Safda de vfdeo RLH _H_ Lu Audio inputs Entrades de audio Video input o I I 1 I...

Page 6: ...ire in the middle and wind the tig around it v S jete el hilo en et medio y bobine la punta asu alrededor Segure ofio condutor no meio e enrole a ponta em volts WXM WZR J E r Fig 12 112 1 Push click and remove cover Insert core wire and fasten cable Q or Empuje y extraiga la tapa Corte el hilo y apriete et cable Empurre o Iingilete e remova a capa o Coloque o fio condutor e amarre o cabo 3 Ou R F ...

Page 7: ... cm LD 20cm i M CD CDV disc guide Guia para discos compactos video r discos Guia de disco CD CDV CD ICDVW MM CD single disc guide Gufa para discos compactos sencillos T Guia de disco singular CD CD BMfI E tfi Fig 16 iEi16 Display A Visualizador A r Mostrador A Aw TV screen Pantalla de TV Tela do televisor WM afi I I Display C _ Visualizador C Mostrador C I I c f Display B Visualizador B Mostrador ...

Page 8: ...e side only un Iado solamente apenas urn Iado Km CDV I 74 min 74 9 25 min 259 one side oniy one side only un iado soiamente un iado soiamente apenas urn iado apenas urn iado a WK Audio oniy digital audio Audio soiamente audio digitai Somente Audio 4wdio digitai 71tSf IIEasx A Video digitai audio B Digital audio Video audio digital Audio digital Vfdeo Audio digital Audio digital W2 WL S WWks 5 min ...

Page 9: ...swab Capstan Palillo Capstan Cabrestante Cotonete Cabreetante Pinch roller 2EZW 6 2W Rodillo presor Rolete de presstio ENW Pinch roller Rodillo presor Rolete de press o Erase head in DECK 2 Cabeza de borrado en el magnet6fono 2 Cabeqa de apagamento do DECK 2 M tim Et llz 2 Record Play head Play head in DECK 1 Cabeza de grabaci6n reproducci6n cabeza de reproducci6n en el magnet6fono 1 Cabe a de gra...

Page 10: ...OCEDURES OTHER THAN THOSE SPECIFIED IN THE OPERATING INSTRUCTIONS MAY RESULT IN HAZARDOUS RADIATION EXPOSURE THE LASER DISC PLAYER SHOULD NOT BE ADJUSTED OR REPAIRED BY ANYONE EXCEPT PROPERLY QUALl FIED PERSONNEL CONTROLS Tuner Timer section Fig 1a 1 Remote sensor REMOTE SENSOR 2 Display 3 Down Up switches DOWN UP 4 Memoty switch MEMORY 5 Clear switch CLEAR 6 Band select switch BAND SELECT 7 Sleep...

Page 11: ... are matched properly Otherwise the sound may appear to be lacking in the bass range and in stability Connect the speaker wire with the stripe to the red terminal and the other wire to the black terminal At the speakers 1 Insert the wires while pressing down on the levers of the terminals 2 Release the levers once the wires have been inserted At the main unit 1 Set the levers to their left and rig...

Page 12: ...nd slide it to open 2 Load the two AA SUM 3 R6 dry batteries taking care to align their and polarities correctly and replace the compartment lid Note After inserting or replacing batteries press the BAND switch on the remote controller to reset the remote controller CAUTION WHEN INSTALLING BAITERIES To prevent battery leakage which may possibly result in bodily injury and damage to the unit or oth...

Page 13: ...ette tapes In particular when listening to the sound with headphones take steps to protect your ears from high sound levels which may be potentially damaging The original volume level will be restored if the power is switched off and then switched back on again Adjusting the left right speaker balance Use the BALANCE control to adjust the left right speaker balance Normally it is kept at its centr...

Page 14: ...ncorporates a video reproduction system compatible with LD CDV and CD and capable of playing the following six types of discs without requiring an adap tor The discs reproducible on the player have labels or its jacket as shown in Table 1 Please note that VHD system video discs cannot be used with this unit This unit is applicable to NTSC the Japanese television system Please note that the discs h...

Page 15: ...the top of disc tray before setting Do not place any heavy objects on the top of disc tray or exert pressure on it to avoid system problems Do not force the disc tray Use only the switch operation when opening and closing the disc tray Except in case of setting the disc or removing it always keep the disc tray inside it s unit CARE OF DISCS Keep discs clean so that you can enjoy only the best pict...

Page 16: ...he DIRECT SELECT and DISC 10KEY switches These switches serve as number 10 When selecting number 20 press the 1 Oswitch twice and the Oswitch for number 25 press the 1 O switch twice and the 5 switch Note Pressing the power switch during LD play is effective after stop sequence is completed MULTIPLE AUDIO DISC WITH DIGITAL SOUND Replacing vocal from the disc with your voice 1 Follow steps 1 to 5 o...

Page 17: ...r Chapter Track skip search Example To search chapter 1 while in chapter 2 or to search track 1 while listening to track 2 Press the w switch twice ON SCREEN SEARCH SIDE 1 CHAPTER 1 LD SEARCH TRACK 1 CD To search chapter 3 while in chapter 2 or to search track 3 while listening to track 2 Press the DN switch once SEARCH SIDE 1 CHAPTER 3 LD SEARCH TRACK 3 CD If using the K or EOI switch during play...

Page 18: ...ress the SINGLE REPEAT switch after completing a pro gramme and the display will show REPEAT P The pro grammed parts will be repeated The REPEAT indicator blinks during memofy repeat play and lights during other repeat modes Press the CLEAR switch to cancel repeat function PROGRAMMED PIAY LD with chapter CD CDV Using the remote controller Play sequences of up to 20 chapters or tracks may be progra...

Page 19: ...ut Return to starting dispiay To clear the screen press the CLEAR switch LISTENING TO THE RADIO Memory operation This unit enables 12stations each for the FM1 FM2 andAM bands to be preset in the memory 1 Select the band using the BAND SELECT switch Every time the BAND SELECT switch is pressed the band changes in the foilowing sequence FM1 FM2 AM FMI etc 2 Press the DOWN or UP switch to tune in the...

Page 20: ...is established and the station is programmed during FM reception this mode will also be programmed at the same time BEFORE TAPE OPERATION Types of usabie tapes The type of tape used is automatically identfied by the system since decks 1 and 2 both em ploy an auto tape selection system The following 2types oftape can be used with this system Normal Cr02 Note Cr02tapes without sensing holes cannot b...

Page 21: ...J Fast forwarding and rewinding 1 Press the STOP switch to stop the tape at any time while it is traveling 2 Press the w or 4 switch When the tape has been wound to the end or start the fast forward or rewind function will be automatically released To stop the tape 1 Press the STOP switch 2 Press the EJECT button to eject the tape Note During cassette deck operation if an operating problem occurs ...

Page 22: ... 6 DISC 10KEYand then EDIT switch to enter the track number to be edited and recall the edit screen for reverse side of tape PAUSE TRACK 6 EDIT T 03 T 08 22 00 T 06 T 06 0 00 4 Press 2 and then 3 DISC 10KEY The display indicates that 5 tracks 6 10 tracks for 22 minutes can be recored onto the tape EDIT T 03 T 08 22 00 T 06 T 06 23 00 EDIT T 03 T 08 22 00 T 06 T 1 022 00 5 Follow steps after 5 of E...

Page 23: ...bing from the second or subsequent tape selection use the normal speed dubbing function To release the dubbing mode press the STOP switch The tape will not stop during high speed dubbing even when the REC PAUSE switch is pressed It is not possible to Iistentothe normal monitoring sound during high speed dubbing When switching between normal speed and high speed dubbing press the STOP switch first ...

Page 24: ... elapse The TIMER ON and hours displays blink TIMER ON 1 10 PM 3 4 5 Set the timer ON time by pressing the UP and DOWN switches and then MEMORY switch in the same way as instructed under ADJUSTING THE CLOCK TIMER ON 10 20 PM TIMER OFF 2 00 PM The previous timer OFF time setting now appears and both the TIMER OFF and hours displays blink Set the timer OFF time in the same way as described in step 3...

Page 25: ...s desired Check the timer settings See To check the timer settings section Check that WAKE UP is displayed and then press the POWER switch to turn off the power Press the POWER switch to turn off the power when the power is turned on at the wake up time m Even after the WAKE UP timer has finished operating the WAKE UP display is not cleared and the operation standby mode continues WAKE UP timer se...

Page 26: ...go to bed Set the SLEEP timer and fall asleep to the sound of the radio LD CDV CD or tape The next morning wake uptothe sound of the radio LD CDV CD or tape Before leaving home set up the system for unattended recording using the ON OFF timer Upon your return listen to the unattended recording Timer priorities When the power is switched on by the WAKE UP timer and when during the WAKE UP timer ope...

Page 27: ...g play from desired selection Performing programmed play Temporarily stopping play erforming chapter track search Scanning to desired location Stopping play Selecting I L 2 R STEREO Selecting analog digital Watching pictures frame by frame Recalling screen display Performing frame time search Performing A B repeat Performing memory repeat Performing side repeat Performing chapter track programme r...

Page 28: ...SPEC FICADOS EN ESTE MANUAL DE lNSTRUC CIONES PODRIAN EXPONERLE A UNA RADIACION PE LIGRosA EL REpRODUCTOR DE DISCOS LASER DEBE SER REPARADO SOIA Y EXCLUSIVAMENTE POR PER SONAL DEBIDAMENTE CUALIFICADO CONTROLES Secci6n del slntonizador temporizador Fig 1a 1 2 3 4 5 6 7 8 9 10 11 Sensor del mando a distancia REMOTE SENSOR Visualizador Conmutadores de sintonizaci6n descendente ascen dente DOWN UP Con...

Page 29: ...onforms to NTSC colour system deo outmt SPECIFICATIONS General Power requirements AC 110 120 220 240 V 50 60 Hz Power consumption 130W Dimensions 360 W x390 H x420 D mm Weight 15 5 kg Temperature range 5 C to 35 C Humidity range syo tO 90 Speaker systems Overall frequency response 40 Hz to 20 kHz Type 2 way bass reflex Unit used Woofec 13 cm cone type Tweetec 5 cm cone type Maximum power handling ...

Page 30: ... SS 1AD6P1OA162O1 S41 I O SANYO Electrlc Co L d OSAKA JAPAN Printed in Japan ...

Reviews: