7
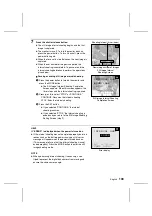
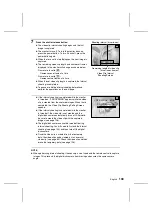
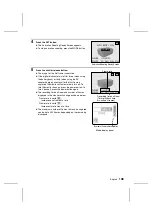
Press the shutter release button.
œ
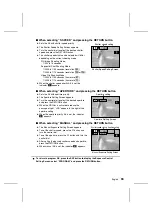
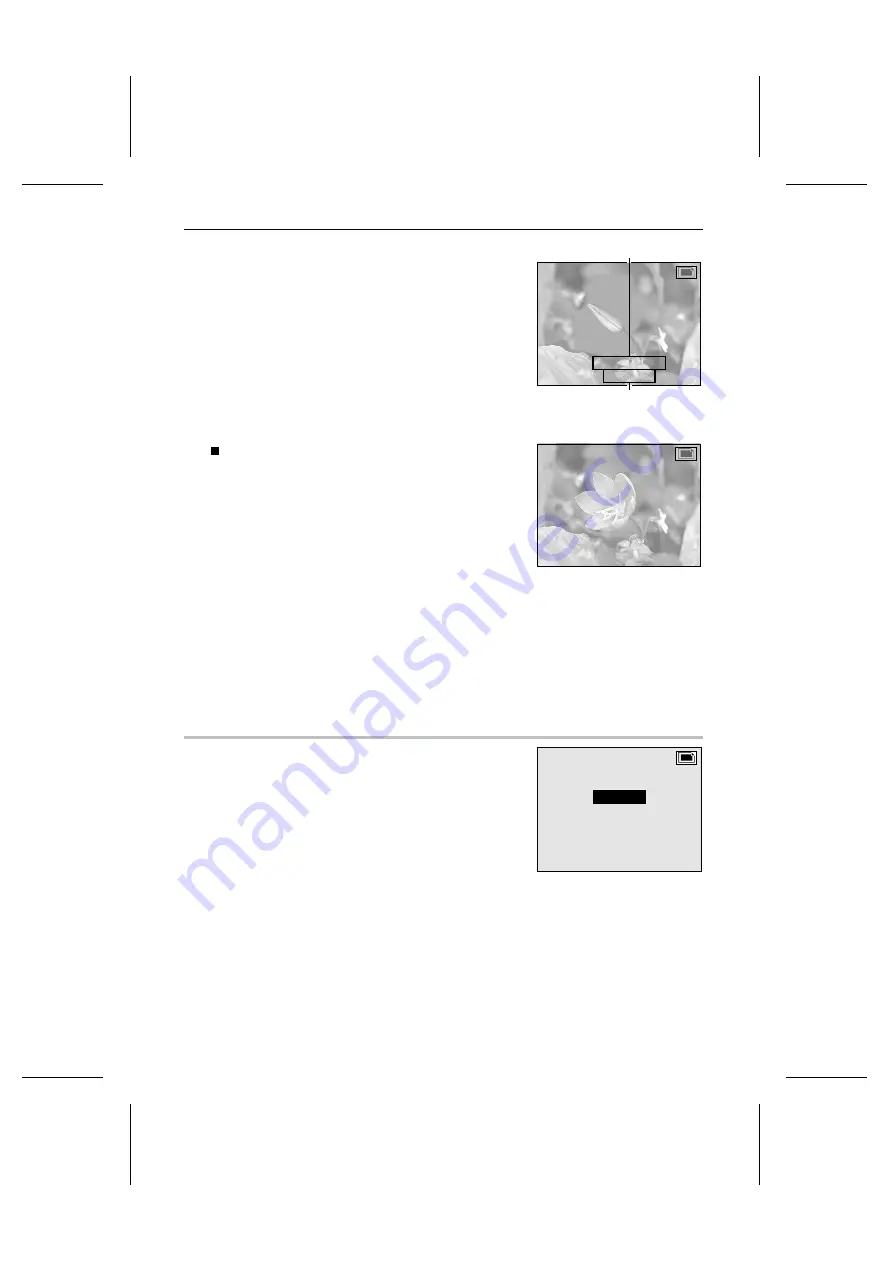
The still image interval shooting begins and the first
image is captured.
œ
The monitor turns off. To turn the monitor back on,
press the power button. To turn it back off, press the
power button again.
œ
When the time set in step 5 elapses, the next image is
captured.
œ
When the set number of images is captured, the
interval shooting is completed. To pause or end the
interval shooting beforehand, perform the operations
given below.
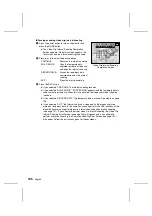
Pausing or ending still image interval shooting
1
Press the power button to turn on the monitor and
press the MODE button.
œ
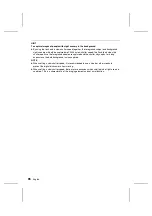
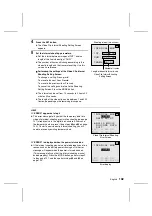
The Still Image Interval Shooting Completion
Screen appears. When this screen appears, the
timer stops and the interval shooting is paused.
2
Press
j
or
l
to select “STOP” or “CONTINUE.”
CONTINUE: Resumes the interval shooting
STOP: Ends the interval shooting
3
Press the SET button.
œ
If you selected “CONTINUE,” the interval
shooting resumes.
œ
If you selected “STOP,” the interval shooting is
ended and you return to the Still Image Shooting
Setting Screen (step 1).
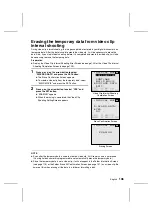
HELP
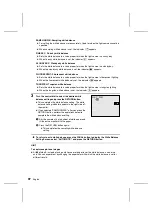
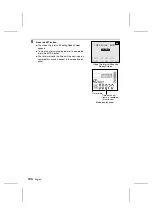
If “ ERROR” is displayed when the power is turned on
œ
If the interval shooting was not completed properly due to a
reason such as the battery power running out, this error
message will appear when the power is turned back on.
(This message tells you that the interval shooting was not
ended properly.) Press the MODE button to enter the still
image shooting mode.
NOTE
œ
When performing interval shooting, if necessary, use a
tripod to prevent the digital disk camera from moving and
ensure the same camera angle.
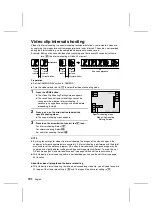
INT. 0:10:00
FRAME 00004
Shooting interval (hrs:min:sec)
Remaining number of images
Still Image Interval
Shooting Screen
INTERVAL SHOT
ÄCONTINUE
STOP
INT. 0:10:00
FRAME 00001
Still Image Interval Shooting
Completion Screen
Error display
INTERVAL SHOT
ERROR
INT. 0:10:00
FRAME 00004
English
100

