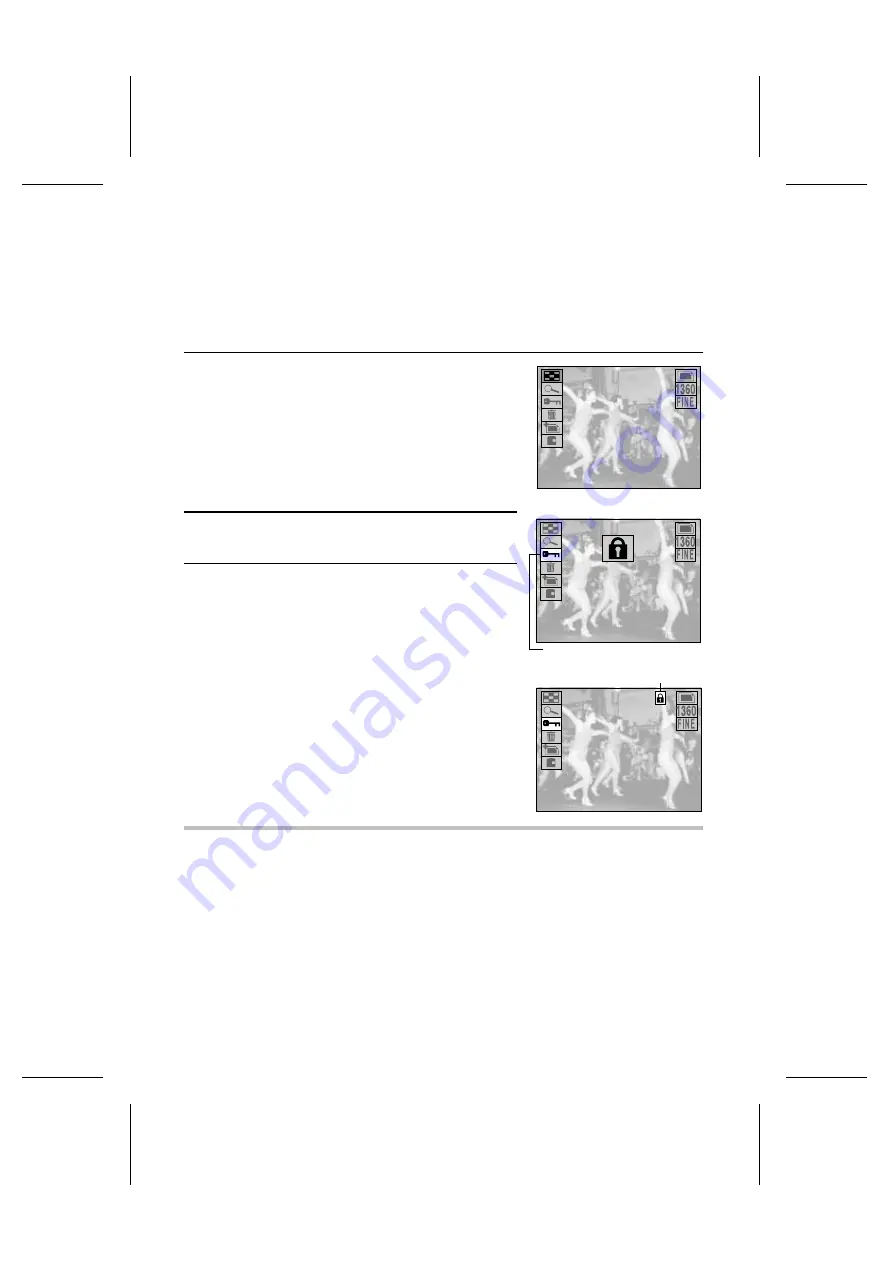
Protecting files from being erased
Your digital disk camera allows you to protect important files that you do not want to erase or do
not want to have erased by mistake.
Preparation
œ
Set the CAMERA/PLAY switch to “PLAY.”
œ
Turn the mode selector dial to the playback mode of the type of file to be protected.
1
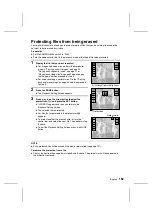
Display the file that you want to protect.
œ
For images and video clips, perform the procedure
given in “Playing back still images” on page 52,
“Playing back sequential shots” on page 57, or
“Playing back video clips” on page 63 depending on
the file type, and then proceed to step 2.
œ
For audio recordings, perform step 1 to 6 of “Playing
back audio recordings” on page 69 and then proceed
to step 3.
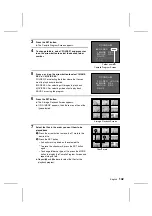
2
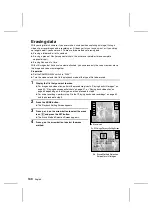
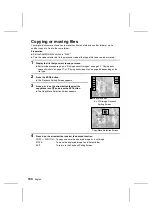
Press the MODE button.
œ
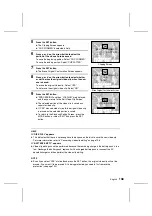
The Playback Setting Screen appears.
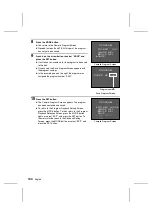
3
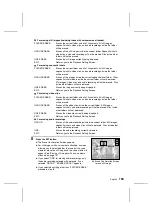
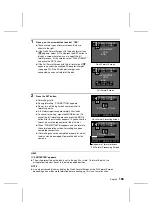
Press
j
or
l
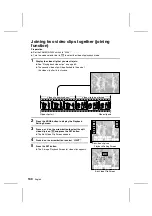
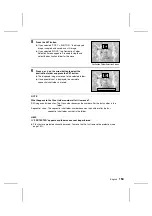
on the arrow button to select the
protect icon
e
and press the SET button.
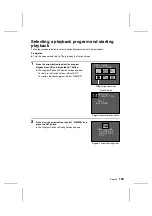
œ
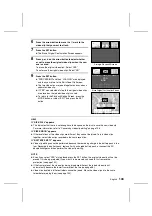
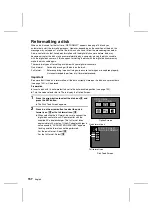
“LOCKED” appears and then you return to the
Playback Setting Screen.
œ
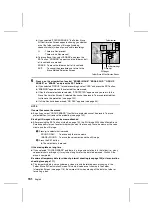
The selected file is protected.
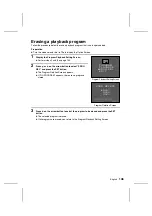
œ
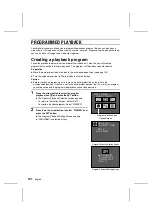
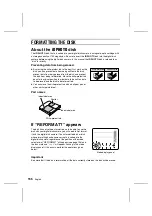
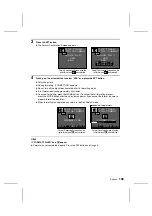
For files that are protected, the protect mark
ö
appears.
œ
To protect another file, press
d
or
c
, or turn the
control dial, and select the next file. Then perform step
3 above.
œ
To exit the Playback Setting Screen, press the MODE
button.
NOTE
œ
Even protected files will be erased if the disk is reformatted (see page 157).
To remove the protection from a file
œ
Display the desired file and perform steps 2 and 3 above. The protect mark will disappear and
the protection removed.
28/08/2001
20:15 100-0002
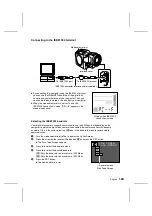
Ex. Still Image Playback Setting Screen
LOCKED
28/08/2001
20:15 100-0002
Protect icon
28/08/2001
20:15 100-0002
Protect mark
English
152

