4
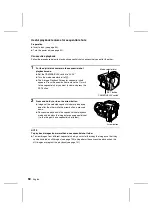
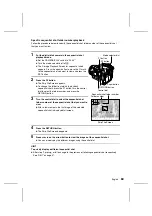
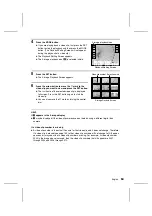
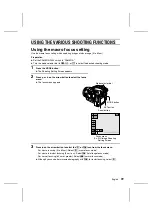
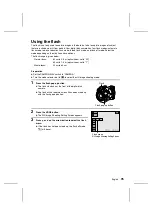
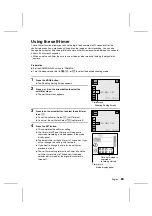
Press the SET button.
œ
This completes the focus mode setting.
œ
The focus mode setting is retained even if the mode
selector dial is turned, the CAMERA/PLAY switch is
changed, or the digital disk camera is turned off (see
page 112).
œ
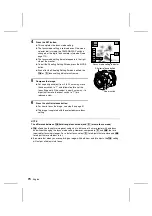
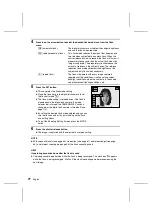
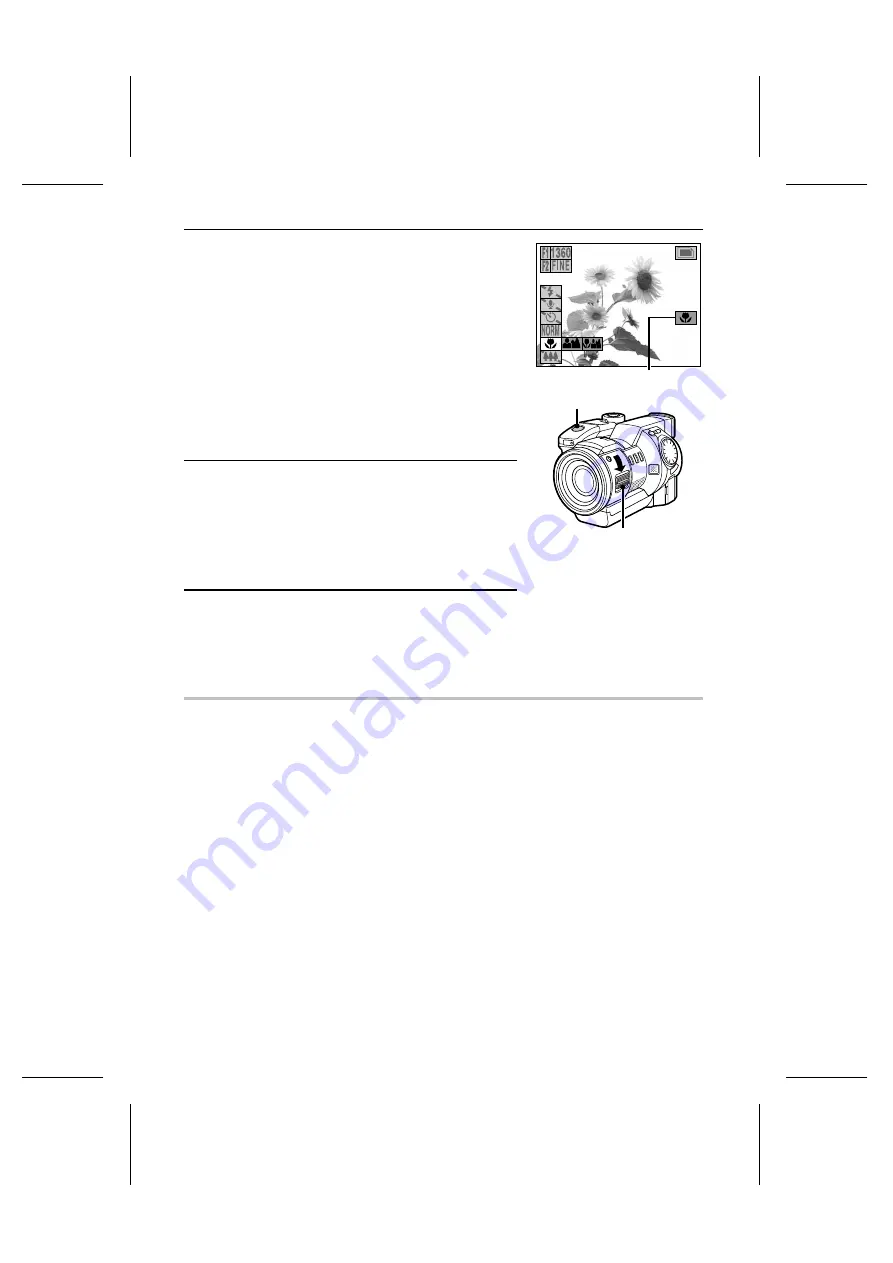
The focus mode setting indicator appears in the right
side of the monitor.
œ
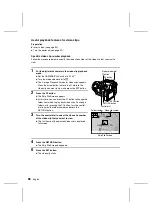
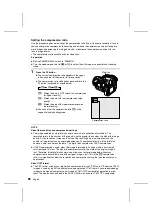
To exit the Shooting Setting Screen, press the MODE
button.
œ
Even after the Shooting Setting Screen is exited, the
5
or
8
focus setting indicator will remain.
5
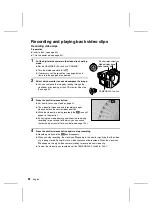
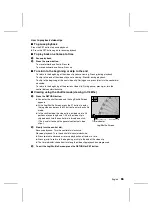
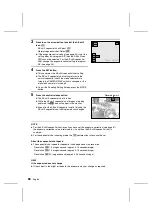
Compose the image.
œ
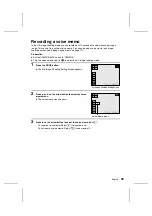
For capturing a subject from 3 to 20 cm away, move
the zoom switch to “T” and follow step 6 to set the
focus. Especially if the subject is near 3 cm away, it is
important to move the zoom switch to “T” for a
telescopic view.
6
Press the shutter release button.
œ
For how to focus the image, see step 3 on page 51.
œ
The image is captured with the selected macro focus
setting.
NOTE
The difference between
5
(total range focus mode) and
8
(macro focus mode)
œ
5
allows you to capture images of subjects at a distance of 3 cm or greater with autofocus
and without changing the focus mode setting. However, compared to
8
and
6
, the time
required for focusing is longer. For a faster focus, select
8
for objects that are close and
6
for object that are medium to far.
œ
Be aware that when you are capturing an image with both near and far objects, the
5
setting
will not put all objects into focus.
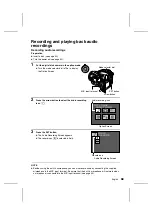
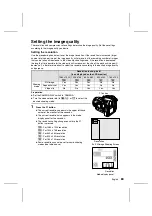
100-0003
Focus mode setting indicator
Shutter release button
Zoom switch
73
English

