-29-
to enter the service mode
To enter the “Service Mode”, press and hold the
MeNu button
on the
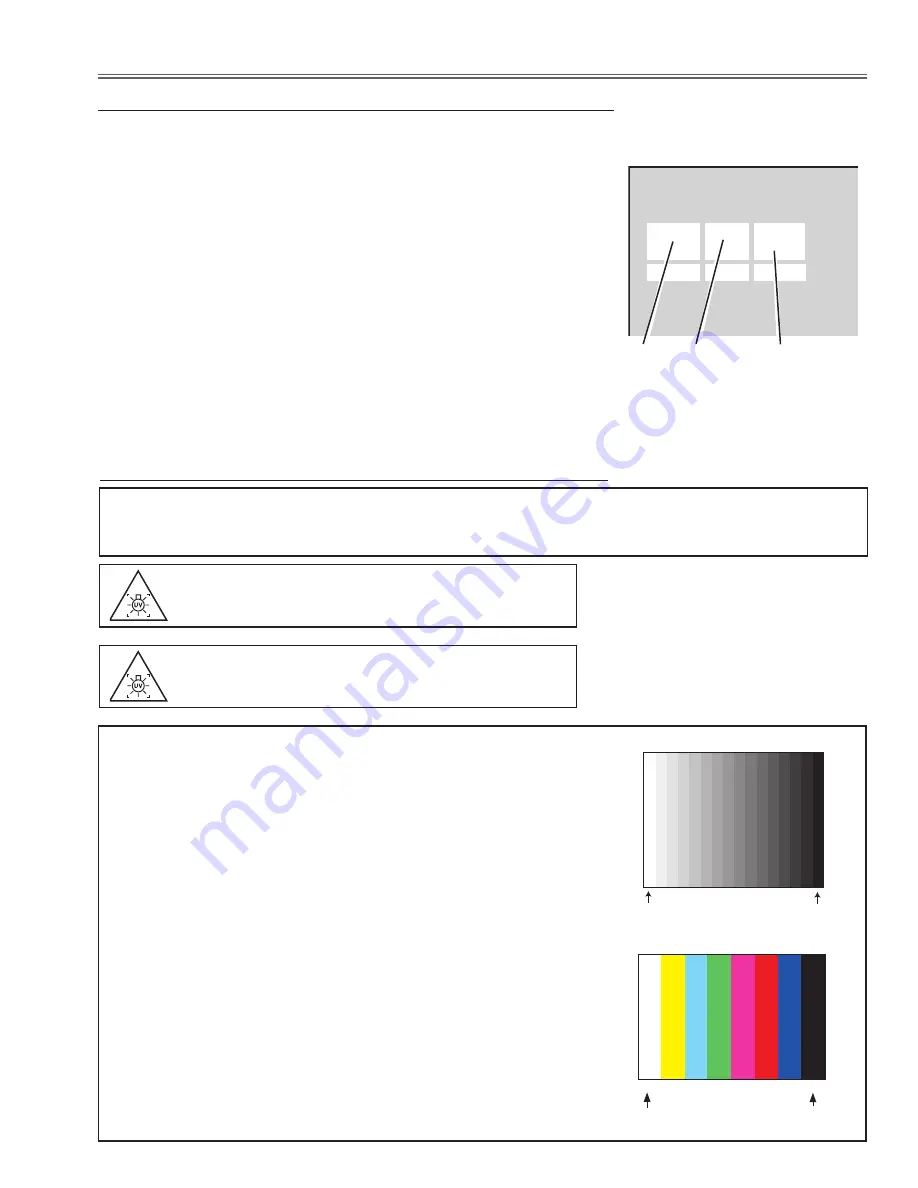
remote control for more than 20 seconds. The service menu appears on the
screen as follows.
to adjust service data
Select the adjustment group no. by pressing the
MeNu button
(increase)
or
SeLeCt button
(decrease), and select the adjustment item no. by
pressing the pointer
e
or
d
button
, and change the data value by press-
ing the
7
or
8
button
. Refer to the “Service Adjustment Data Table” for
further description of adjustment group no., item no. and data value.
to exit the service mode
To exit the service mode, press the
ON/StANd-BY button
on the remote
control.
Service Adjustment Menu Operation
Electrical Adjustments
Service Mode
Input
Computer 1
Group No.
Data
0
0
+179
Ver.
1.00
Data value
Item No.
Group No.
Circuit Adjustments
CAUTION: The each circuit has been made by the fine adjustment at factory. Do not attempt to adjust the following
adjustments except requiring the readjustments in servicing otherwise it may cause loss of performance
and product safety. Before adjustment, please turn on the projector more than ten minutes.
WArNING : uSe uV rAdIAtION eYe ANd SKIN
PrOteCtION durING SerVICING.
CAutION:
to prevent suffer of uV radiation, those adjust-
ments must be completed within 25 minutes.
[Adjustment Condition]
●
Input signal
Analog Computer signal ..... 0.7Vp-p/75
W
terminated (WXGA)
Composite Video signal .... 1.0Vp-p/75
W
terminated (NTSC / PAL)
Component Video signal .... 0.7Vp-p/75
W
terminated (480i)
●
Picture control mode ........... “STANDARD” mode unless otherwise noted.
●
Lamp control ....................... “Normal” mode unless otherwise noted.
Note:
* Please refer to “Service Adjustment Menu Operation” for entering the service
mode and adjusting the service data.
White 100%
Black 100%
16 steps gray scale pattern
8 color 100% color bar
W
Y
C
G
M
R
B
BLK
White 100%
Black 100%
Summary of Contents for PLC-WL2500
Page 58: ... 58 IC Block Diagrams L3E7111 Digital Gamma and Driver IC401 LC87F2G08A5AN6 PIC Micom IC9885 ...
Page 59: ... 59 IC Block Diagrams MR4010 Power Switching IC631 LV49152V Audio Output IC001 ...
Page 60: ... 60 IC Block Diagrams PIC18F67J60 Network IC8801 NJW1156 Audio Selector IC5001 ...
Page 61: ... 61 IC Block Diagrams PW190 Scaler IC301 TPS54286 DC DC Converter IC7811 ...
Page 92: ... KJ8AC May 2010 DC 200 Printed in Japan SANYO Electric Co Ltd ...


