PLC-WXU10
7
4. Make sure”Notify On Completion’’ is with a check
5.
Press Menu and Power buttons constantly and then give power supply. Power LED will become
green. That indicates the projector is in the download mode. At this moment, you can release these
two buttons. Click the “Flash”, wait for download.
6.
Firmware upgrades completion as below. Remove RS232 cable and power cable
Attention: Please execute the default setting to recover the default value.
1.Put checkmark’’Notify On Completion
2.Click
Flash
Summary of Contents for PLC-WXU10B
Page 7: ...PLC WXU10 4 1 3 PLC WXU10 System Block Diagram ...
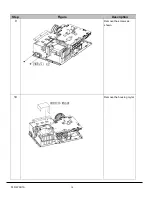
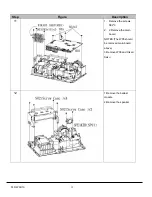
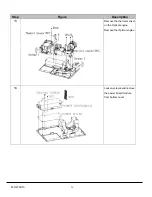
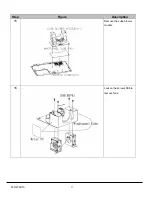
Page 17: ...PLC WXU10 14 Step Figure Description 9 Remove the screws as shown 10 Remove the housing mylar ...
Page 40: ...PLC WXU10 37 6 1 Mechanical Drawing M15 mylar 2 M12 ...
Page 41: ...PLC WXU10 38 6 2 Other drawing ...
Page 42: ...PLC WXU10 39 Projection Lens Assy L02 W07 ...
Page 43: ...PLC WXU10 40 W08 is the UV lens which is used to detect the temperature of panel W08 ...
Page 51: ......
Page 52: ... KJ3A Jan 2008 DC 300 Printed in Japan SANYO Electric Co Ltd ...


