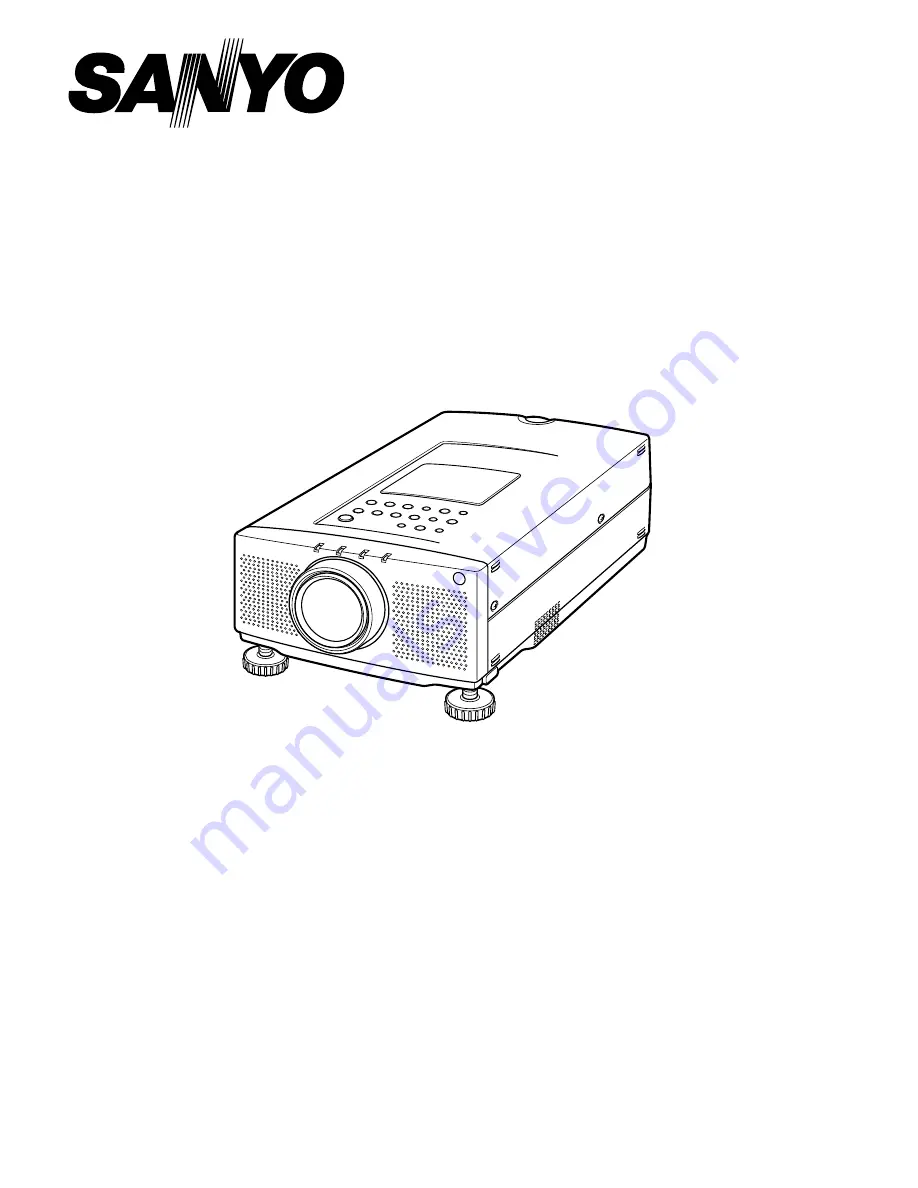
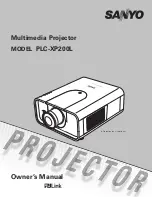
Sanyo PLC-XP20, Owner'S Instruction Manual
The Sanyo PLC-XP20 is a high-performance projector that offers exceptional image quality and versatility. Unlock the full potential of this device with the Owner's Instruction Manual, available for free download on our website. Discover step-by-step instructions and valuable insights to maximize your viewing experience.
Share
Download


Reviews:
No comments
Related manuals for PLC-XP20

LC-XS25A
Brand: Eiki Pages: 81

EB-696Ui
Brand: Epson Pages: 251

A1DN
Brand: Hitachi Pages: 114
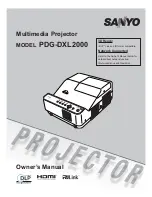
PDG-DXL2000 - 2000 Lumens
Brand: Sanyo Pages: 73
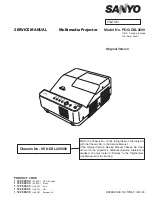
PDG-DXL2000 - 2000 Lumens
Brand: Sanyo Pages: 142
PDG-DXL2000 - 2000 Lumens
Brand: Sanyo Pages: 98
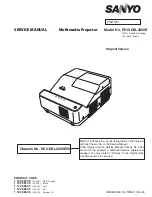
PDG-DXL2000E
Brand: Sanyo Pages: 98

PLC--XP200L
Brand: Sanyo Pages: 12
PLC--XP200L
Brand: Sanyo Pages: 88
PLC--XP200L
Brand: Sanyo Pages: 2
PLC--XP200L
Brand: Sanyo Pages: 154
PLC-XU50
Brand: Sanyo Pages: 1
PLC-XU50
Brand: Sanyo Pages: 72
PLC-XU50
Brand: Sanyo Pages: 90
PLC-XU55
Brand: Sanyo Pages: 3
CP-A100 Series
Brand: Hitachi Pages: 114
EX51
Brand: Epson Pages: 4

EX51
Brand: Epson Pages: 122


