1
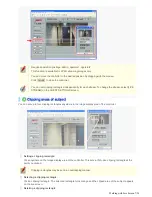
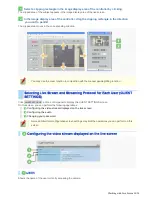
Set two or more clipping rectangles.
2
In [PAUSE TIME], select the display interval.
2SEC, 3SEC, 4SEC, 5SEC, 6SEC, 7SEC, 8SEC, 9SEC, 10SEC, 15SEC, 30SEC
3
Click
SEQ
(shown in gray).
The button turns orange and the clipped areas of the subject appear sequentially in numeric order.
4
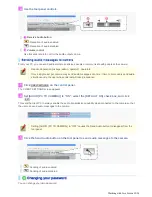
Click again
SEQ
(shown in orange).
Alternatively, you may click in the image display area of the controller or on the live screen.
The system stops displaying the clipped areas sequentially and the button color returns to gray.
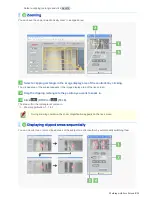
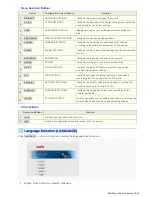
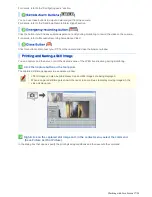
You can have a clipped area pan/tilt automatically. Four patterns of auto panning/tilting are available as shown
below.
1
Click the Auto Pan/Tilt button (shown in gray).
The button turns orange and the clipped area starts the corresponding movement.
A
: Auto pan: The clipped area reciprocates left and right.
B
: Auto tilt: The clipped area reciprocates up and down.
C
: Auto pan and tilt: The clipped area moves from the top left corner to the bottom right corner while
repeating horizontal (right-left) reciprocating movement.
D
: Auto pan and tilt: The clipped area moves from the top left corner to the bottom right corner while
repeating vertical (up-down) reciprocating movement.
2
Click the Auto Pan/Tilt button (shown in orange).
Alternatively, you may click in the image display area of the controller or on the live screen.
The clipped area stops the movement and the button color returns to gray.
You can move a clipped area manually in all directions, up, down, right, and left.
Working with Live Screen 9/20


