1
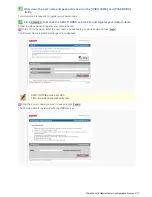
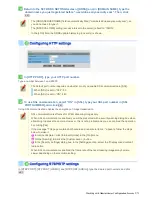
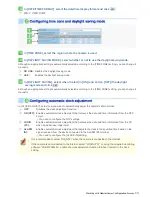
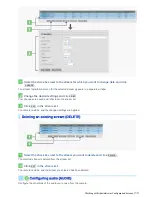
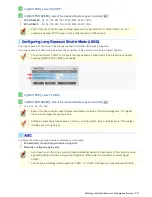
In [MIC SENSITIVITY], specify the microphone sensitivity.
Select the sensitivity of the microphone connected to the camera from 8 levels.
+4, +3, +2, +1, 0, –1, –2, –3
2
In [FILTER(500Hz)], enable or disable the audio filter.
The audio filter reduces the 500 Hz or less frequency components of the audio.
A filter option with a lower negative dB value produces larger effects.
ON(-3dB), ON(-6dB), OFF
3
In [OUTPUT LEVEL], select the desired audio output level and click
SET
.
Here, you specify the gain value of the audio output amplifier from the following 4 levels.
+2, +1, 0, –1
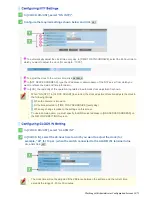
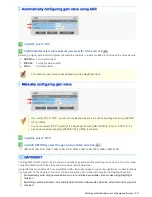
Configure the video output terminal to use.
You cannot output video signal from the HDMI connector and the MONITOR OUT connector at the
same time.
1
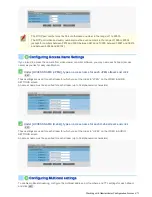
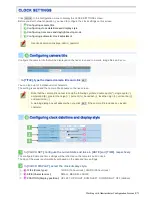
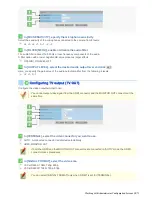
In [TERMINAL], select the video connector you want to use.
AUTO: A connected connector is detected automatically.
HDMI, MONITOR OUT
If both the HDMI and the MONITOR OUT connectors are connected in “AUTO” mode, the HDMI
connector takes precedence.
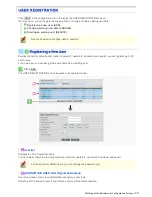
2
In [SIGNAL FORMAT], select the video size.
VCC-HD4600: 1080i, 720p, 480p
VCC-HD4600P: 1080i, 720p, 576p
You can select [SIGNAL FORMAT] only when “HDMI” is set for [TERMINAL].
Working with Administrator Configuration Screens 18/71

