87
English
Initial Set Menu
(Required user access level: ID4)
4
To make a DVR belong to a new
group:
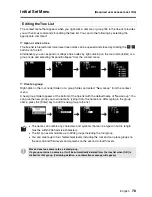
Select a DVR currently contained in an
existing group, and move it into the new
group by drag and drop.
5
Click .
Your changes are saved and uploaded to
the DVR.
●
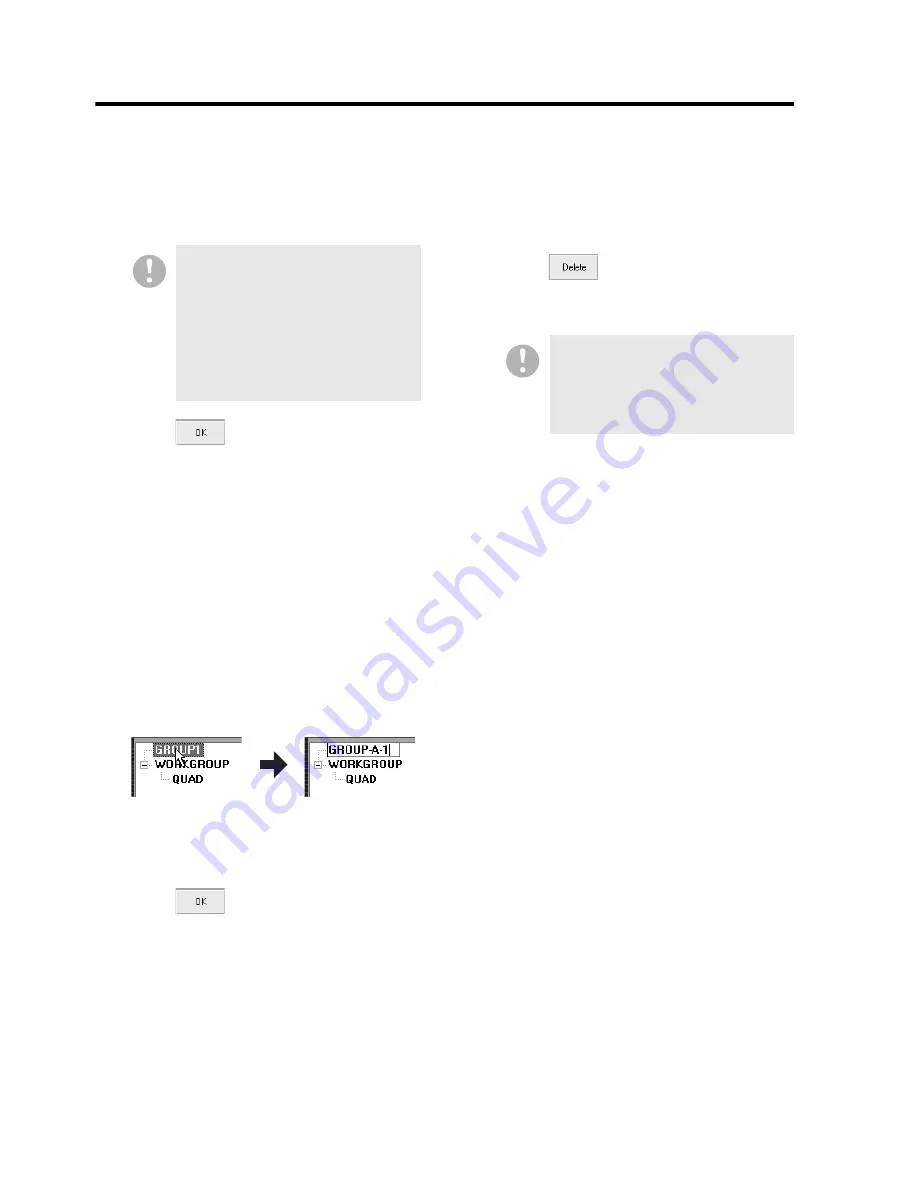
To rename a group:
1
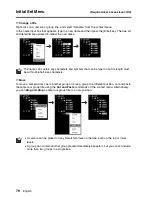
Choose a group.
On the tree list, select the group you
want to rename. The selected group is
highlighted in blue.
2
Enter a new name for the group.
You can type in a new name by clicking
the group name part immediately after
clicking the group.
3
If you have other groups you want to
rename, repeat steps 1 to 2 above for
each group.
4
Click .
Your changes are saved and uploaded to
the DVR.
●
To delete a group
1
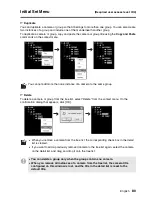
Choose a group.
On the tree list or registration list, select
the group you want to delete. The
selected group is highlighted in blue.
2
Click .
Your specified group is removed from the
registration list.
Move at least one camera to a
created group.
If a group contains no cameras, it
will be automatically deleted from
the tree list when [OK] is clicked
for that group. (Following deletion,
a confirmation message will
appear.)
You can delete a group only when
the group contains no DVR. If the
group still contains a DVR(s), move
the DVR(s) into another group
before the deletion.

