background image

INSTRUCTION MANUAL
BEDIENUNGSANLEITUNG
MANUEL D’INSTRUCTIONS

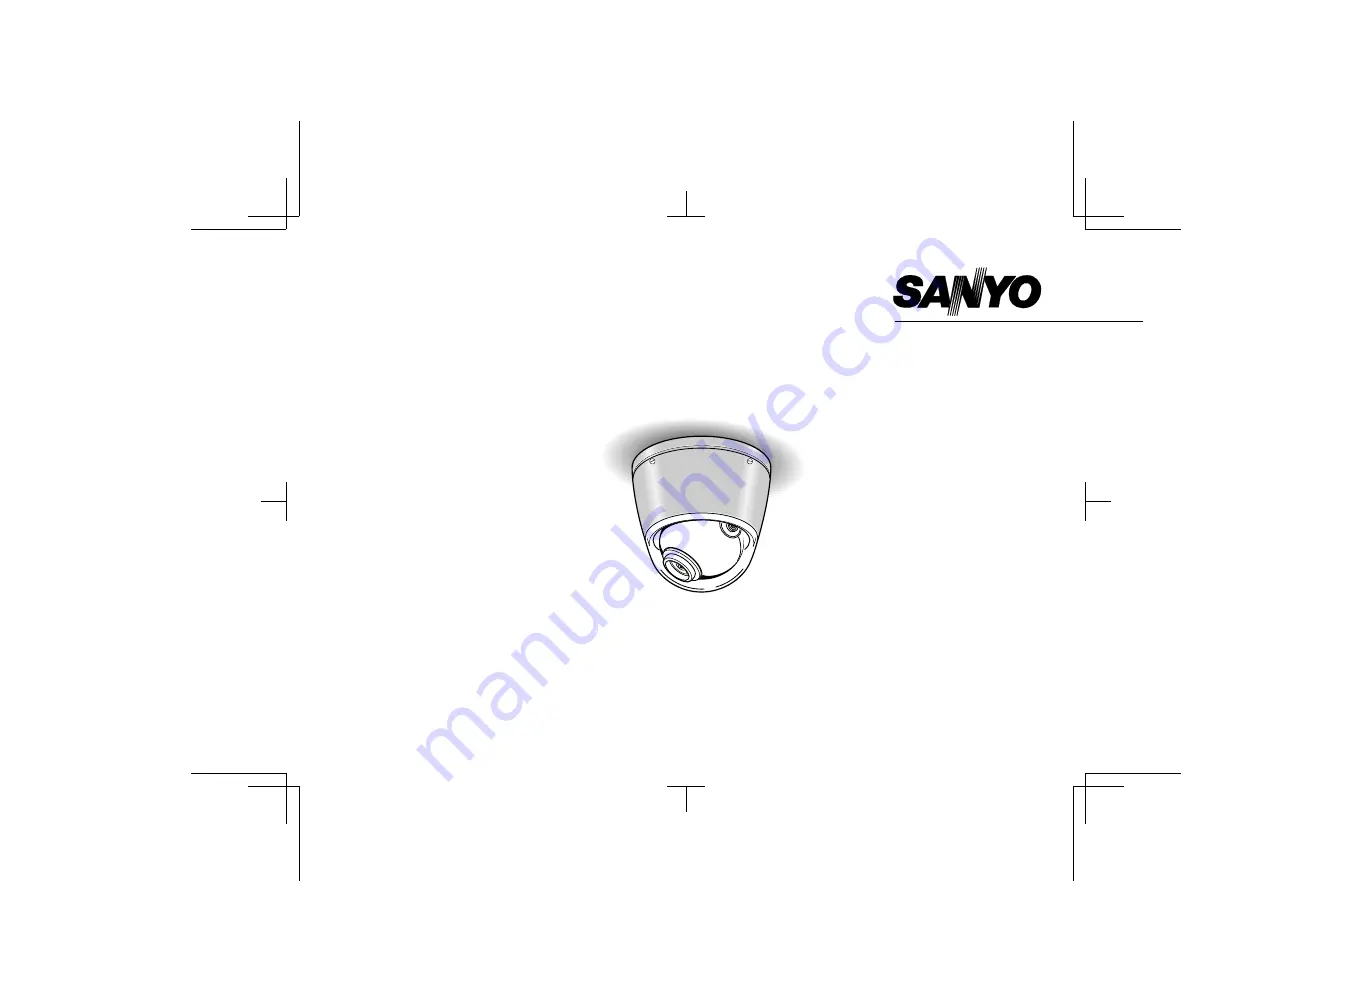
COLOUR CCD Camera

CCD-Farbkamera

Caméra CCD COULEUR

VCC-9612P

Über diese Bedienungsanleitung

Lesen Sie bitte vor der Montage und dem
Inbetriebnehmen der Kamera zuerst diese
Bedienungsanleitung sorgfältig durch und bewahren Sie
sie zum späteren Nachschlagen auf.

About this manual

Before installing  and using the camera, please read this
manual carefully. Be sure to keep it handy for later reference.

À propos de ce manuel

Avant d’installer et d’utiliser la caméra, veuillez lire ce
manuel attentivement. Gardez-le à portée de main
pour toute référence ultérieure.

L53D2/XE  GB  1998, 4, 14

Summary of Contents for VCB-9112P

Page 1: ...a zuerst diese Bedienungsanleitung sorgfältig durch und bewahren Sie sie zum späteren Nachschlagen auf About this manual Before installing and using the camera please read this manual carefully Be sure to keep it handy for later reference À propos de ce manuel Avant d installer et d utiliser la caméra veuillez lire ce manuel attentivement Gardez le à portée de main pour toute référence ultérieure ...

Page 2: ...in interline transfer method 1 3 CCD approx 470 000 picture elements Low smear anti blooming low lag no burning and no geometric distortion using the CCD solid state image device Built in Vari Focal type auto iris lens F 2 0 2 7 f 2 6 5 6 mm 100 solid state components giving excellent immunity to shock and vibration Not subject to interference from magnetic or electrostatic fields High sensitivity...

Page 3: ...dio speakers the magnetic field they generate will distort the image Protect from humidity and dust To prevent damages to the camera do not install it where there is greasy smoke or steam where the dampness may get too high or where there is a lot of dust Protect from high temperatures Do not install close to stoves or other heat generating devices such as spotlights etc or where it could be subje...

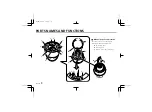
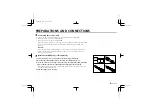
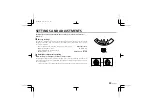
Page 4: ...B R 1 5 1 1 1 4 3 2 2 F G 9 7 A H I L J K M 6 8 C B A 1 0 Manual pan tilt and rotation The angle of the lens can be adjusted manually in ranges indicated below A Horizontally 45 B Vertically 60 C Rotation of the camera unit 35 L53D2 XE GB 1998 4 14 English 3 ...

Page 5: ...b to allow the coaxial cable to go through 6 12 V DC input terminal 12 V DC IN Connect DC connecting cord from the AC adaptor to the 12V DC IN terminal on the base Then plug the AC adaptor into an AC outlet WARNING This AC adaptor is specially conceived for this camera Never use another type of AC adaptor with this camera and do not use this AC adaptor to power other types of cameras Not for use w...

Page 6: ...gle and range the lens focus etc J Color adjustment B blue gain R red gain volume controls K WB white balance switch A Automatic white balance M Manual white balance To set the white balance manually set the WB switch to M then adjust the colour by turning the B and R volume controls L BLC backlight compensation switch 0 Backlight compensation off 1 Backlight compensation on For backlight compensa...

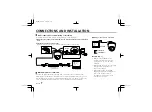
Page 7: ...9U cable will not transmit the signal properly when installed through conduits or through the air and therefore cannot be used Installing the BNC plug sold separately 1 Cut the extremity of the coaxial cable sold separately as illustrated 2 Insert the cable through the adaptor then turn the shielding mesh over 3 Loosen the center wire securing screw of the plug then install the cable in the BNC pl...

Page 8: ...n to view the image from each camera or by switching the image from each camera on the monitor screen For detailed information please refer to the installed devices instruction manuals Example of connection to a monitor CAUTION Fig 1 Make sure the AC adaptor is not connected to the wall outlet before connecting it to the 12 V DC input terminals When making the connections be careful to respect the...

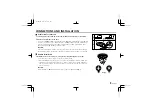
Page 9: ...ason the cable cannot be run behind the installation surface break off the tab C with nippers to allow the cable to go through Camera installation 1 Install the base on the ceiling etc using the four supplied tapping screws A This camera is not waterproof It cannot be installed outside When installing the base make sure to verify that the installation surface will allow full tightening of the scre...

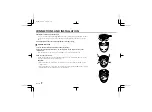
Page 10: ...mera unit of about 80 in the direction of the arrow shown on the illustration Turn the camera unit all the way until screw B on the base reaches the tab 3 Remove the camera unit To remove the camera unit carefully apply a slight force until the screw B goes over the tab then carefully remove the camera unit CAUTION When removing the camera unit be careful not to hurt yourself with the camera unit ...

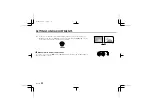
Page 11: ...center B WB white balance switch A automatic C BLC backlight compensation switch 0 OFF D LEVEL volume control All the way to the left Backlight compensation setting When the subject is backlight set the BLC switch to 1 ON The backlight compensation will measure the light in the center area of the image and the lens iris will be automatically set for optimum image quality The subject contained in t...

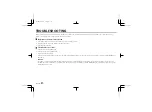
Page 12: ... a better image set the BLC switch to 1 ON then turn the LEVEL volume control to the right until the desired correction level is obtained Manual white balance adjustment To set the colors first set the WB switch to M then adjust as desired using the B and R color adjustment volume controls LEVEL L53D2 XE GB 1998 4 14 English 11 ...

Page 13: ... in side The range will be smaller and the subject larger W Zoom out side The range will be wider and the subject smaller 3 Loosen the focus ring knob then turn the ring towards infinity or N near as necessary 4 Repeat steps 2 and 3 until the desired image is obtained When finished tighten the zoom ring and the focus ring knobs Then install the secondary lens cover making sure it snaps in place an...

Page 14: ...e is not clear Is the monitor correctly adjusted Is the lens focus correctly adjusted Are the lens surfaces clean If there is dust or finger prints on the lens the image quality will deteriorate To clean the lens use a soft cloth or a commercially available lens cleaning set SERVICE This camera is a precision instruments and if treated with care it will provide years of satisfactory performance Ho...

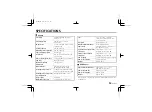
Page 15: ...adjustment Manual LEVEL volume control Gain control Automatic MONITOR output pin 1 0 Vp p 75Ω test point pin Lens F2 0 2 7 f 2 6 5 6 mm varifocal lens manual zoom and focus adjustment Iris system Mechanical auto iris Manual adjustment image angle range Horizontally pan 45 Vertically tilt 60 Rotation of the camera unit 35 Operational environmental conditions Temperature 10 C 50 C Humidity less than...

Page 16: ...SPECIFICATION DIMENSIONS Camera AC Adaptor 112mm 11mm 83 5mm 6 6 7 m m 110mm φ 83 5mm 4 3mm φ 6 75 50 55 Approx 1 8 m Approx 1 8 m mm L53D2 XE GB 1998 4 14 English 15 ...

Reviews: