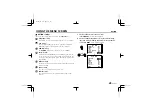
USING THE MENU SCREEN
OPTION/RS-485
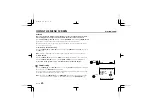
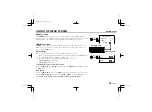
ADDRESS setting
If the
ADDRESS
setting on the screen is
0
, this means that the camera’s RS-485 address is
currently set to 0. If the address is changed using the address setting switches at the side of the
camera as shown in the illustration, the new address will be displayed on the screen.
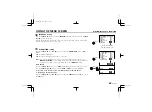
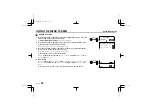
TERMINATE setting
The
DIP
switches need to be set when a computer, special controller, etc. connected to the
RS-485 connectors is used to control the camera. Make sure to turn the camera power off
before setting the
DIP
switches.
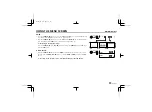
About SW No.
1-7:
To setup the camera address (only when using the RS-485 connector).
Switch 1 is the least significant bit (LSB) and switch 7 the most significant bit (MSB) (Down: 0,
Up: 1). This setting is done according to a binary code.
8:
To setup the termination (only when using the RS-485 connector).
OFF side (down):
Not terminated
ON side (up):
Terminated
☞
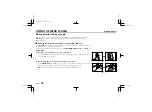
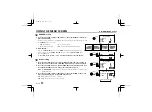
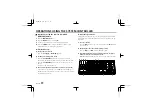
Returning the values to the default settings
Press the
CURSOR
(
l
, then
d
or
c
) button to change the
PRESET
setting to
ON
, then press
the
SET
button.
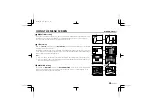
When finished
Press the
CURSOR
(
l
) button to select
BACK
(it will flash) at the bottom of the screen. Then
press the
CURSOR
(
d
or
c
) button to change
BACK
to
END
, and press the
SET
button.
☞
To return to the previous screen, select BACK then press the SET button.
MENU FOR RS-485
BAUD RATE 19200
ALARM ON
ADDRESS 0
CURSOR
SET
MENU BACK
CURSOR
SET
MENU END
(ADDRESS setting)
ON
1
2
3
4
5
6
7
8
ON
OFF
TERMINATE ON/OFF
L53R2/XE GB 2000, 3, 31
56
English


