English
36
Settings/
Adjustments
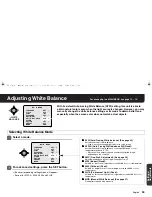
Adjusting White Balance
1
1
1
1
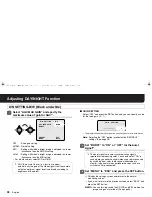
Select “AWC LOCK” – “SET”.
R
“SET” blinks.
2
2
2
2
Point a camera to a white paper or wall to project
an image on the whole screen, and press the SET
button.
R
The blinking of “SET” stops and illuminates, and white balance
adjustment will start. The adjustment will end after about 2
seconds when the blinking of “SET” restarts.
• If the adjustment does not yield a satisfactory result, press the
SET button again.
■
To perform fine adjustment of color
In the “AWC SETTING” screen, select “GO TO MWB” – “SET”, and
press the SET button.
R
The “MWB SETTING” screen appears. Specify values manually.
(See page 37)
3
3
3
3
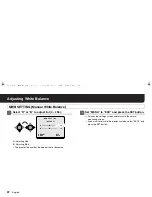
Set “MENU” to “END” and press the SET button.
R
Finishes the settings screen and returns to the normal
monitoring screen.
• If you want to return to the previous screen, select “BACK” and
press the SET button.
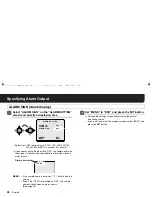
AWC SETTING (One-Push Adjustment)
AWC SETTING
GO TO MWB
SET
AWC LOCK
SET
SET
White paper or wall
MEMO: Transferring to the “MWB SETTING” through “GO TO
MWB”, white balance mode (see page 34) will be changed to
“MWB”.
,- ! #$! %&'()*+


