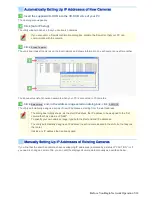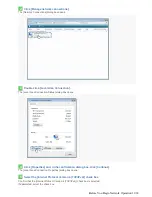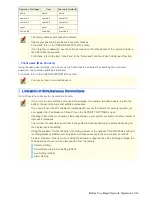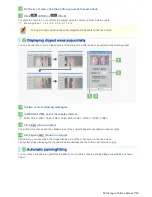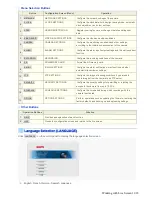
Click the desired button depending on the purpose of your operation. Then, the corresponding screen and panels
will appear.
For details, refer to the linked information.
DIGITAL PTZ
: Click this to use the digital PTZ function.
CLIENT SETTINGS
: Click this to select the live stream and streaming protocol for each user.
MENU
: Click this to display the configuration menu.
LANGUAGE
: Click this to display the language selection screen.
DISPLAY
: Click this to display the display control panel.
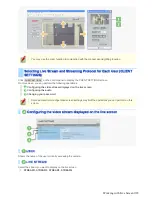
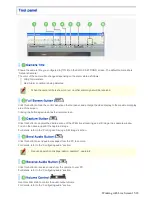
While monitoring the subject on the live screen, you can use the digital PTZ function to clip specific areas of the
subject in VGA size and perform the following operations just as when using a PTZ camera.
To perform this operation, you need to set [DIGITAL PTZ] to “ON” on the VIDEO & AUDIO SETTINGS screen
(administrator configuration screen).
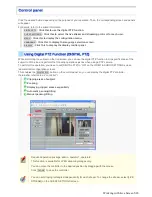
This enables the
DIGITAL PTZ
button on the control panel, so you can display the digital PTZ controller
(hereinafter referred to as “controller”).
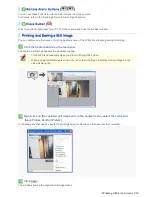
A
Clipping areas of subject
B
Zooming
C
Displaying clipped areas sequentially
D
Automatic panning/tilting
E
Manual panning/tilting
Required operation privilege: admin, operator1, operator2
This function is available for JPEG streaming images only.
You can move the controller to the desired position by dragging with the mouse.
Click
CLOSE
to close the controller.
You can set clipping rectangles independently for each stream. To change the stream, select [LIVE
STREAM] on the CLIENT SETTINGS screen.
Working with Live Screen 5/18

