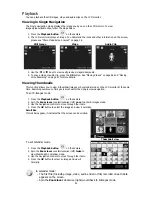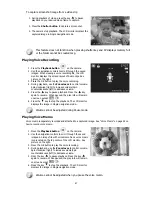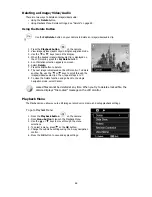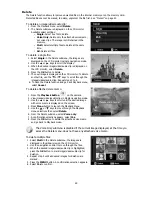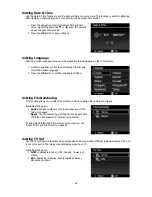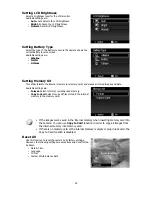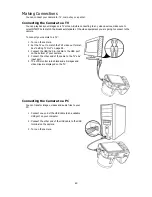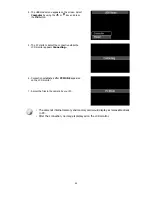
Using the Setup Menu
You can access the Setup menu whether you are in Record or Playback mode.
The Setup menu allows to configure general camera settings.
To go to Setup Menu:
1. Press
Menu
button to launch the Record/Playback Menu.
2. Use the
or
keys to switch the menu tab to
Setup
menu.
3. Use the
or
keys to move through the menu
selections.
4. To select an item, press the
OK
button or
key.
5. Change the submenu settings using the 4-way navigation
control.
6. Press the
OK
button to save and apply settings.
Setting Sounds
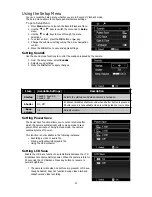
Use the Sound menu functions to control the sounds produced by the camera.
1. From the Setup menu, select
Sounds
.
2. Adjusts sound settings.
3. Press the
OK
button to apply changes.
Item
Available Settings
Description
Startup
Sound 1, Sound 2,
Sound 3, Off
Selects the startup sound when camera is turned on.
Shutter
On, Off
Enables or disables shutter sound when Shutter button is pressed.
Shutter sound is not available when recording videos or voice clips.
Beep
volume
0-4
Adjusts volume.
Setting Power Save
The Power Save function allows you to set an idle time after
which the camera automatically sets to sleep mode to save
power. After a minute of being in sleep mode, the camera
eventually turns off power.
This function is not available in the following instances:
•
Recording a video or audio file
•
Playing a slideshow/video/audio file
•
Using the USB connector
Setting LCD Save
Enable the LCD Save function to automatically decrease the LCD
brightness to conserve battery power. When the camera is idle for
20 seconds, the LCD darkens. Press any button to resume to
normal brightness.
•
The camera is idle when no buttons are pressed. LCD Save,
though enabled, does not function during video playback,
slideshow and video recording.
57
Summary of Contents for VPC-E2100
Page 79: ...Printed in china ...


