background image

- 8 -

EN

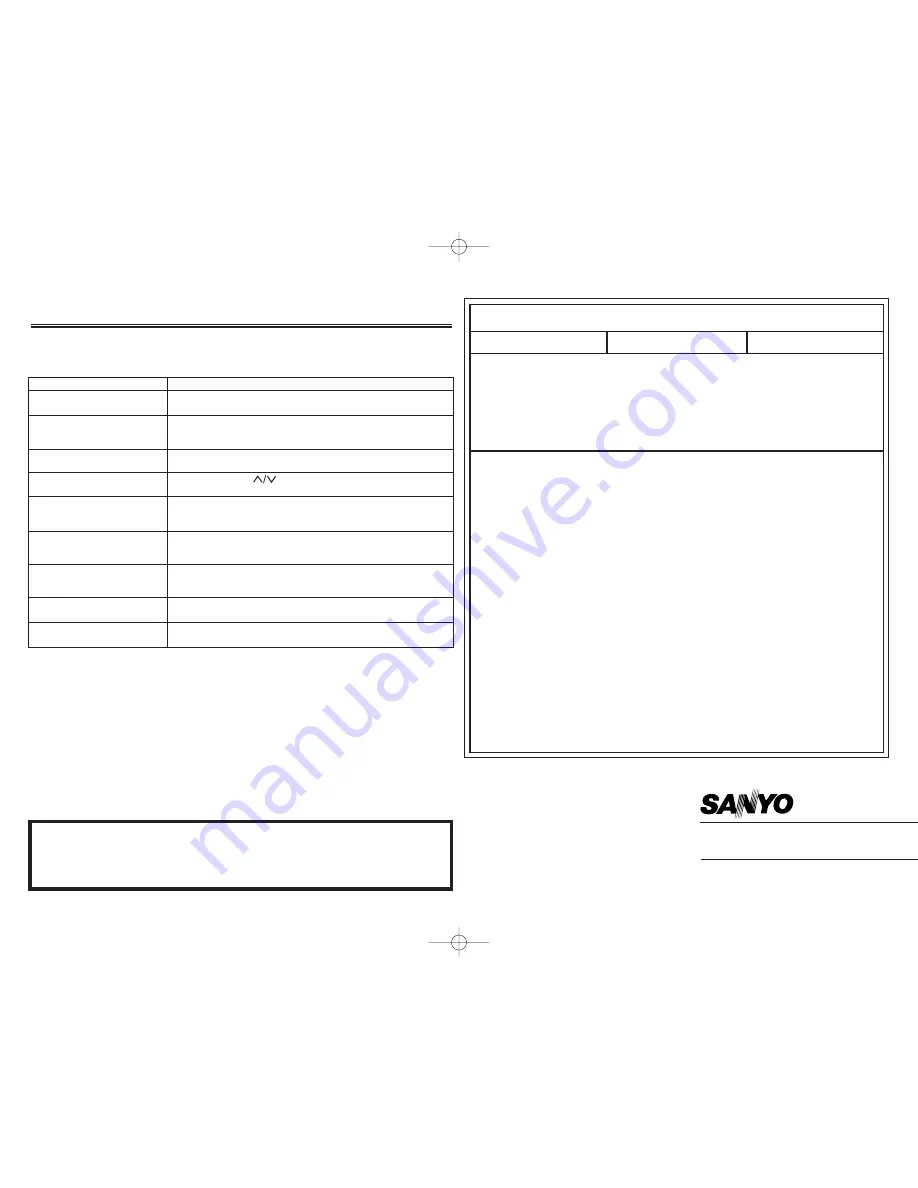
Limited Warranty

THIS WARRANTY IS VALID ONLY ON SANYO PRODUCTS PURCHASED FROM A WAL-MART STORE AND

USED IN THE UNITED STATES OF AMERICA, EXCLUDING HAWAII AND ALL U.S. TERRITORIES AND PROTEC-
TORATES. THIS WARRANTY APPLIES ONLY TO THE ORIGINAL RETAIL PURCHASER AND DOES NOT APPLY TO
PRODUCTS USED FOR ANY INDUSTRIAL, PROFESSIONAL OR COMMERCIAL PURPOSE.

Subject to the OBLIGATIONS and EXCLUSIONS below, SANYO Manufacturing Corporation (“SANYO”) warrants

this SANYO product against defects in materials and workmanship for the periods of LABOR and PARTS specified above.
SANYO will repair or replace (at its option) the product and any of its parts which fail to conform to this warranty with new
or refurbished products or parts.
The warranty period commences on the date the product was first purchased at retail from a Wal-Mart Store.

OBLIGATIONS

In order to obtain warranty service, the product must be delivered to and picked up from a Wal-Mart Store at the original
retail purchaser’s expense. The original dated bill of sale, or sales slip from a Wal-Mart Store must be submitted to a Wal-
Mart Store at the time warranty service is requested.

EXCLUSIONS

1. This warranty does not cover (A) the adjustment of customer-operated controls as explained in the appropriate model’s

instruction manual, or (B) the repair of any product whose serial number has been altered, defaced or removed.

2. This warranty shall not apply to the cabinet or cosmetic parts, broken or damaged video heads, batteries or routine main-

tenance.

3. This warranty does not apply to uncrating, setup, installation, removal of the product for repair or reinstallation of the

product after repair.

4. This warranty does not apply to repairs or replacements necessitated by any cause beyond the control of SANYO includ-

ing, but not limited to, any malfunction, defect or failure caused by or resulting from unauthorized service or parts,
improper maintenance, operation contrary to furnished instructions, shipping or transit accidents, modification or repair
by user or any third party, abuse, misuse, neglect, accident, incorrect line voltage, fire, flood or other Acts of God, or nor-
mal wear and tear.

The foregoing is in lieu of all other express warranties and SANYO does not assume or authorize any party to assume for
it any other obligation or liability.

THE DURATION OF ANY WARRANTIES WHICH MAY BE IMPLIED BY LAW (INCLUDING THE WARRANTIES OF MER-
CHANTABILITY AND FITNESS) IS LIMITED TO THE TERM OF THIS WARRANTY. IN NO EVENT SHALL SANYO OR
THE MANUFACTURER OF THE PRODUCT BE LIABLE FOR SPECIAL, INCIDENTAL OR CONSEQUENTIAL DAMAGES
ARISING FROM OWNERSHIP OR USE OF THIS PRODUCT, OR FOR ANY DELAY IN THE PERFORMANCE OF ITS
OBLIGATIONS UNDER THIS WARRANTY DUE TO CAUSES BEYOND ITS CONTROL.

SOME STATES DO NOT ALLOW LIMITATIONS ON HOW LONG AN IMPLIED WARRANTY LASTS AND/OR DO NOT
ALLOW THE EXCLUSION OR LIMITATION OF CONSEQUENTIAL DAMAGES, SO THE ABOVE LIMITATIONS AND
EXCLUSIONS MAY NOT APPLY TO YOU.

THIS WARRANTY GIVES YOU SPECIAL LEGAL RIGHTS. YOU MAY HAVE OTHER RIGHTS, WHICH VARY FROM
STATE TO STATE.

R03/12/18 (M)

LABOR 1 YEAR

PARTS 1 YEAR

CARRY-IN ONLY

Servicing

:

Should this product require service, refer to the SANYO VIDEO limited warranty.
If you do not have a convenient SANYO service station nearby, contact the SANYO
dealer where you purchased the unit. Be sure to give the model number and
explain the problem. The dealer will advise you how to obtain service.

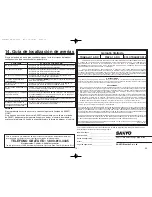
CORRECTIVE ACTION

• Make sure the power plug is connected to an AC outlet.
• Make sure the power is turned on.

• Make sure the timer recording is set correctly.
• Make sure the power is off.
• Make sure the VCR clock is set correctly.

• Make sure the tape has a record tab. If needed, cover the hole with

adhesive tape.

• Press 

[CHANNEL ]

to adjust tracking control for a better 

picture.

• Head cleaning may be necessary. Refer to “Auto Head Cleaning” on

page 7.

• Make sure the unit is not in the Menu mode.

• Change the RF output channel to CH4. Then select the same 

channel on the TV. Refer to “RF Output Channel” on page 1.

• Fine tune your TV.

• Re-check the ANT IN and ANT OUT connections. See page 1.
• Press 

[VCR/TV]

on the remote control so that the VCR/TV indicator

on the unit disappears.

• Make sure the power plug is connected to an AC outlet.
• Check batteries in remote control.

• You cannot copy a copyrighted video tape. You are experiencing copy

guard protection.

If this unit does not perform properly when operated as instructed in this Instruction
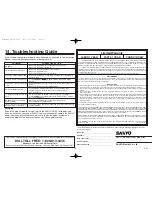
Manual, check this unit consulting the following checklist.

PROBLEM

No power.

Timer recording is impossible.

Cannot go into Recording mode.

Playback picture is partially noisy.

Cannot view a tape but the audio
is OK.

No or poor playback picture.

TV programs cannot be seen nor-
mally.

No operation from the infrared
Remote Control.

Video or color fades in and out when
making a copy of a video tape.

14. Troubleshooting Guide

For your protection in the event of theft or loss of this product, please keep the following information with a sales

receipt in a safe place.

Model No.___________________________________

Serial No. ___________________________________

Date of Purchase ____________________________

Purchase Price ______________________________

Where Purchased ____________________________

SANYO Manufacturing Corporation

SANYO Electric Co., Ltd.

For assistance in obtaining repairs and operational information, please contact the following Toll Free Number:

DIAL TOLL  FREE: 1-800-813-3435

Weekdays: 7:30 AM - 4:00 PM Central Time

Also, you may write to SANYO Manufacturing Corporation, 3333 Sanyo Road, Forrest City, Arkansas 72335.

 HJ420UD_EN/SP.QX33  05.1.14 14:06  Page 8

Summary of Contents for VWM-950

Page 1: ...nnel you want to view or record To play back a tape Follow the steps 1 to 2 above then play back a tape Refer to Playback on page 4 To view one channel while recording another 1 While you are recording on the unit press VCR TV 2 On the cable box select the channel you want to view Hints for Cable Box or Satellite Box ANT IN OUT RF cable supplied Back of VCR IN OUT E Back of TV Antenna or Cable TV ...

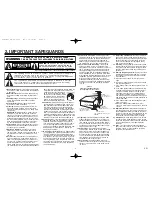
Page 2: ...rounding conductors location of antenna dis charge unit connection to grounding electrodes and requirements for the grounding electrode Fig A 14 Lightning For added protection for this video product during a lightning storm or when it is left unattended and unused for long periods of time unplug it from the wall outlet and discon nect the antenna or cable system This will pre vent damage to the vi...

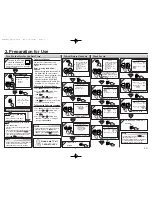
Page 3: ...UTE AM PM STOP PLAY STOP PLAY F FWD F FWD 3 3 CLOCK SET MONTH DAY YEAR 1 0 0 3 HOUR MINUTE AM PM STOP PLAY F FWD 4 4 CLOCK SET MONTH DAY YEAR 1 0 0 3 2 0 0 5 HOUR MINUTE AM PM STOP PLAY F FWD 5 5 CLOCK SET MONTH DAY YEAR 1 0 0 3 MON 2 0 0 5 HOUR MINUTE AM PM 0 5 STOP PLAY F FWD 6 6 CLOCK SET MONTH DAY YEAR 1 0 0 3 MON 2 0 0 5 HOUR MINUTE AM PM 0 5 4 0 STOP PLAY F FWD 7 7 CLOCK SET MONTH DAY YEAR 1...

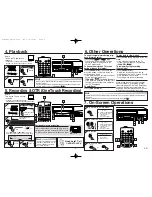
Page 4: ... frame If the picture begins to vibrate vertically during the still mode press CHANNEL to stabilize the picture If the picture is distorted or rolling verti cally adjust the vertical hold control on your TV if equipped Counter Reset Press C RESET EXIT To play back in slow motion Press SLOW during playback or the still mode If the noise bar appears on the TV screen you can reduce it by pressing CHA...

Page 5: ...he power 2 Press MENU to select the main menu 3 Press PLAY B B or C C STOP to select TIMER PROGRAM MING then press F FWD g g 4 Press PLAY B B or C C STOP to select the program number which you want to check The details of the program you selected will appear on the TV screen Press F FWD g g or h h REW to go the digit you want to change then press PLAY B B or C C STOP to enter correct numbers You m...

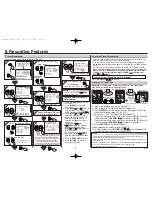
Page 6: ...elevision Sound Select TV STEREO or SAP 2 2 To exit the menu C RESET EXIT 2 2 AUDIO OUT B HIFI ON MONO F FWD Select HIFI or MONO STOP PLAY Time Search Index Search Auto Repeat WhenYou Receive or Record a Program Broadcast in MTS WhenYou Play Back aTape Recorded in Hi Fi Stereo Press twice SEARCH MODE Press once 0 01 9 59 1 minute 9 hours and 59 minutes 01 20 F FWD REW To rewind To fast forward 4 4...

Page 7: ...e is dry FCC Warning This equipment may generate or use radio frequency energy Changes or modifications to this equipment may cause harmful interference unless the modifications are expressly approved in the instruction manual The user could lose the authority to operate this equip ment if an unauthorized change or modi fication is made Important Copyright Information Unauthorized recording or use...

Page 8: ...S WARRANTY DUE TO CAUSES BEYOND ITS CONTROL SOME STATES DO NOT ALLOW LIMITATIONS ON HOW LONG AN IMPLIED WARRANTY LASTS AND OR DO NOT ALLOW THE EXCLUSION OR LIMITATION OF CONSEQUENTIAL DAMAGES SO THE ABOVE LIMITATIONS AND EXCLUSIONS MAY NOT APPLY TO YOU THIS WARRANTY GIVES YOU SPECIAL LEGAL RIGHTS YOU MAY HAVE OTHER RIGHTS WHICH VARY FROM STATE TO STATE R03 12 18 M LABOR 1 YEAR PARTS 1 YEAR CARRY I...

Page 9: ...video de una videocámara otra videograbadora o una fuente audiovisual reproductor de discos láser reproductor de discos de video etc POWER VCR TV TAPE IN MENU TIMER REC CHANNEL POWER L AUDIO R VIDEO AV INPUT Guía de inicio rápido Quick Setup Guide VWM 950 Toma VIDEO OUT Conecte el cable de video a la toma de entrada de video de una videocámara otra videograbadora o un TV Seleccione esta conexión c...

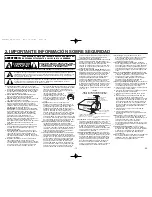
Page 10: ...obre la unidad del cable del interior de cobre de antena tamaño de los conductores tierra ubicación de la unidad de descarga de la antena conexión a los electrodos tierra y requerimientos de los electrodos tierra Fig A 14 Tormentas Para añadir una protección a este aparato de vídeo durante tormentas rayos etc o cuando es dejado desatendido y sin ser usado durante largos periodos de tiempo desenchú...

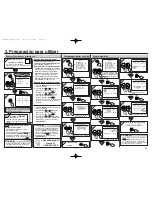
Page 11: ...RA MINUTO AM PM STOP PLAY STOP PLAY F FWD F FWD 3 3 AJUSTE DE RELOJ MES DIA AÑO 1 0 0 3 HORA MINUTO AM PM STOP PLAY F FWD 4 4 AJUSTE DE RELOJ MES DIA AÑO 1 0 0 3 2 0 0 5 HORA MINUTO AM PM STOP PLAY F FWD 5 5 AJUSTE DE RELOJ MES DIA AÑO 1 0 0 3 LUN 2 0 0 5 HORA MINUTO AM PM 0 5 STOP PLAY F FWD 6 6 AJUSTE DE RELOJ MES DIA AÑO 1 0 0 3 LUN 2 0 0 5 HORA MINUTO AM PM 0 5 4 0 STOP PLAY F FWD 7 7 AJUSTE D...

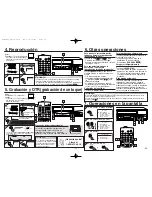
Page 12: ... a vibrar verticalmente duante el modo de imagen fija presione CHANNEL para estabilizar la imagen Si la imagen se distorsiona o avanza verticalmente ajuste el control de retención vertical en su TV si está equipado Reposición del contador Presione C RESET EXIT Para reproducir en cámara lenta Presione SLOW durante la reproducción o el modo de imagen fija Si aparecen barras de ruido en la pantalla d...

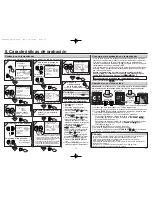
Page 13: ...cipal presionando MENU 3 Presione PLAY B B o C C STOP para selrccionar PROGRAMAR Después presione F FWD g g 4 Presione PLAY B B o C C STOP para seleccionar el número de programa que desea verificar Los detalles del programa seleccionado aparecerán en la pantalla de TV Presione F FWD g g o h h REW para ir a la cifra que desea cambiar Después entre los números correctos presionando PLAY B B o C C ST...

Page 14: ...EXIT 2 2 SALIDA DEL AUDIO B ESTEREO ON MONO F FWD Seleccione ESTEREO o MONO STOP PLAY Búsqueda de tiempo Búsqueda de índices Repetición automática Cuando reciba o grabe un programa transmitido en MTS Cuando reproduzca una cinta grabada en estéreo de alta fidelidad Presione dos veces SEARCH MODE Presione una ves 0 01 9 59 1 minuto 9 horas y 59 minutos 01 20 F FWD REW Para rebobinar Para el avance r...

Page 15: ...Advertencia de la FCC Este equipo puede generar o utilizar energía de radiofrecuencias Los cambios o modificaciones en este equipo pueden provocar interferencias peligrosas a menos que las modificaciones hayan sido aprobadas a título expreso en el manual de instrucciones El usuario puede perder la autoridad para utilizar este equipo si se hace un cambio o modificación no autorizado Importante info...

Page 16: ...o 2 Esta garantía no se aplica a para la caja o partes decorativas cabezales de vídeo rotos o dañados pilas o mantenimiento de rutina 3 Esta garantía no se aplica tampoco al desembalaje preparación instalación transporte del producto para su reparación o instalación del producto después de ser reparado 4 Esta garantía no se aplica a para reparaciones o reemplazos necesitados por cualquier causa má...

Reviews: