background image

Advanced Functions

14

Press 

MENU 

button to display the main menu.

Press down or up button to select 

Lock

 in the main

menu.Press OK button or right button to enter

sub-menu.

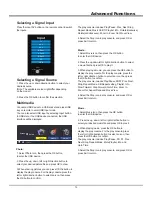
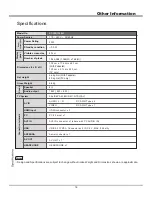
This function allows you to effectively stop anyone without

the correct password from watching TV.When you select

the Lock System is On, the menu is changed, the options

Include Set Password, Channel Lock and Key Lock.

Lock System: 

On/Off.

Set Password: 

Sets a new password for operating TV.

the default password is“0000”.

Channel Lock: 

Lock the program you set.

Key Lock: 

Lock buttons on the TV.
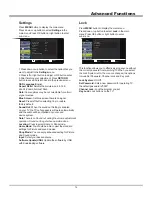
Lock

Press 

MENU

 button to display the main menu.

Press down or up button to select 

Settings

 in the 

main menu.Press OK button or right button to enter

sub-menu.

1.Press down or up button to select the option that you

want to adjust in the 

Settings

 menu.

2.Press left or right button to adjust or OK button enter.

3.After finishing your adjustment, Press 

RETURN

button to save and return back to the previous menu.
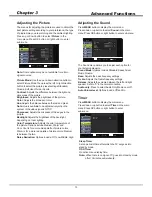
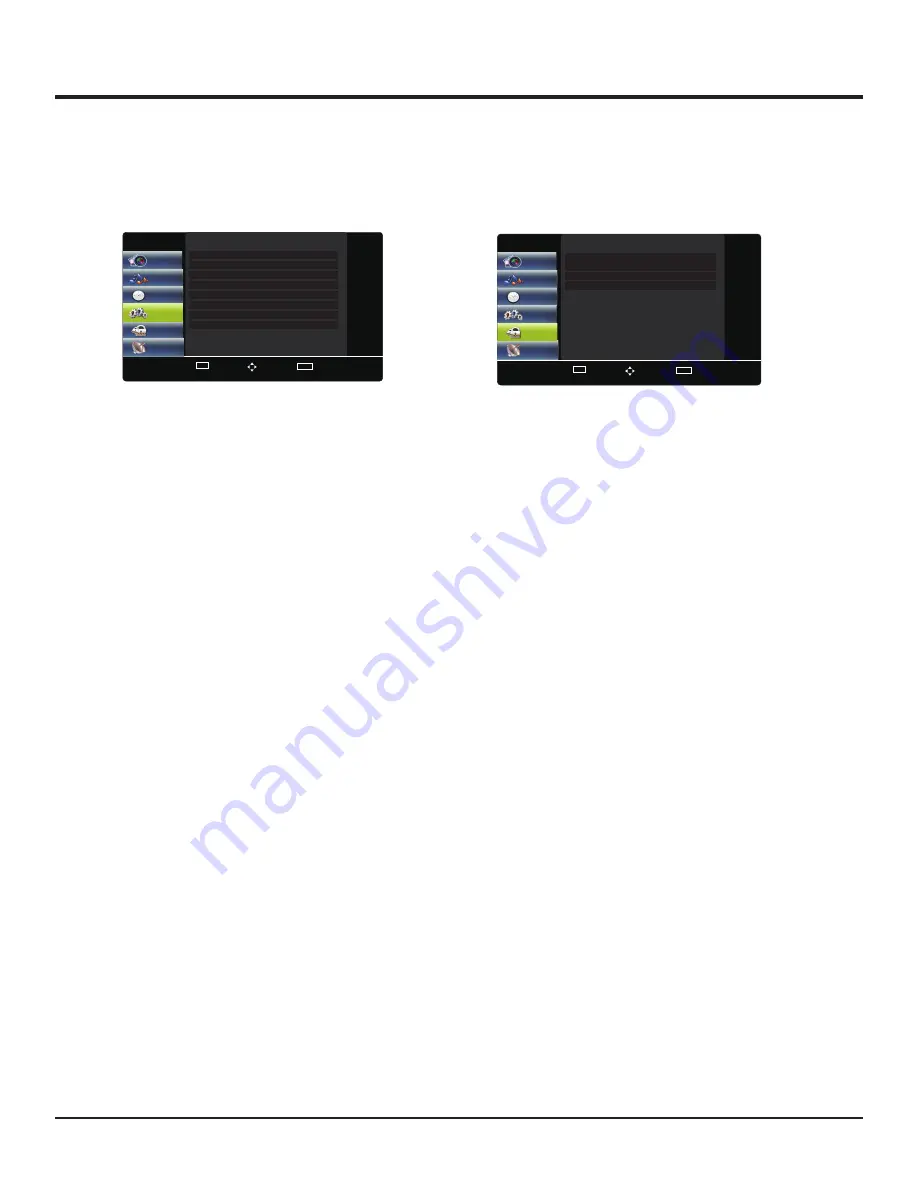
Settings

Aspect Ratio: 

Selects the picture size: 4:3,16:9,

Zoom1,Zoom2,Full,Just Scan.

 Note: 

Some options may be not selectable for certain

  signal sources.

Reset: 

Press left button selecting Yes to restore

factory default.

Sound Out: 

When the sound out Setting is enabled 

on your TV,the TV set's speakers will mute automatically 

and the audio will be outputted on your sound 

device system. 

Note

:

There is no Sound out during the volume adjustment 

operation. Sound can be get when operation done.

Location: 

Press to select Home or Shop mode.

Home Mode: 

You Would be able to view the standard

settings for Picture and sound modes.

Shop Mode:

 You can enjoy enhanced setting for Picture

and Sound modes.

Input

: Select your desired source.


Software Update(USB): 

Update the software by USB

with downloading software.

OSD Language:

English

Blue Screen: 

Set blue screen there is no signal.

OSD Language

Reset
Sound Out

English

Aspect Ratio

16:9

Blue Screen

Off

Off

Home

Location
Input
Software Update(USB)

OK

Access

Select

MENU

RETURN

Menu

LOCK

ANTENNA

PICTURE

SOUND

TIMER

SETTINGS

Lock System
Set Password
Channel Lock
Key Lock

LOCK

TIMER

OK

Access

Select

MENU

RETURN

Menu

SETTING

ANTENNA

PICTURE

SOUND

LOCK

Summary of Contents for XT-32S7200H

Page 1: ... Electronic Copy of this Manual or much further contents go to product page at our website www sanyoappliance in Thank you for purchasing this Sanyo product Please read these instructions carefully before operating this Product and retain them for future reference The images shown in this manual are for illustrative purposes only 41 mm 13 261 mm ...

Page 2: ...ia Troubleshooting Safety Precautions 3 17 18 Specifications Table of Contents ATTENTION This product is qualified for the BEE Star rating in the Home Mode The Objectives of Star Labeling Program is designed to promote energy efficient products and practices When the television is initially set up it is designed to meet the BEE Star Labeling requirements while maintaining optimum picture quality C...

Page 3: ...duct according to the method recommended by the manufacturer This is a safety feature When mounting the product on a wall or ceiling be sure to install the product according to the method recommended by the manufacturer This is a safety feature 3 Introduction 110 240 V 50 60 Hz Sanyo service center Sanyo service center ...

Page 4: ...hat the wall can support the weight of the TV set and wall mount assembly Follow the mounting instructions provided with the wall mount The TV set must be installed on a vertical wall Make sure to use only screws suitable for the material of the wall Make sure that the TV set cables are placed so that there is no danger of tripping over them All other safety instructions about our TV sets are also...

Page 5: ...ch of young children Operating Instructions 200mm 100mm AV Out Cable M4 8 Optional accessories Sanyo service center Sanyo Product page HD XT 32S7200H LED TV E mail helpline sanyoappliance in Need help Please Call at Toll Free No 1800 419 5088 To obtain a more detailed Electronic Copy of this Manual or much further contents go to product page at our website www sanyoappliance in Thank you for purch...

Page 6: ...e correct cable 75Ω coaxial and the correct terminating plug are required If a communal aerial system is used you may require the correct connection cable and plug between the wall aerial socket and the TV Your Sanyo Service Centre or dealer may be able to assist you in obtaining the correct aerial system for your particular area and the accessories required Any matters regarding aerial installati...

Page 7: ...nsor Otherwise distortion of image sound may occur or operation of other equipment may be interfered Note If your device has an HDMI connection we recommend you use that to get the best quality possible If the external device has a DVI output only use a DVI to HDMI adapter cable to connect to the HDMI terminal Connect the audio cable to the PC AUDIO IN jack on the TV Note For the audio receiver co...

Page 8: ...ow to yellow red to red white to white TV Some PC cable may not fit this TV properly Audio cable stereo mini plug PC cable analog RGB Headphone Cable AV2 IN PC AUDIO IN PC Introduction HEADPHONE Rear of the TV Recorder Player Rear of the TV External Equipment PC Computer HEADPHONE R L ...

Page 9: ... Brings up the menu system up down left and right direction buttons Highlights different items in the menu system and adjusts the menu controls Confirms your selection numeric buttons Enters channel numbers ASPECT Aspect Ratio Selects the picture size 4 3 16 9 Zoom1 Zoom2 Full and Just Scan Note Some options may not be selectable for certain signal sources OK When short press to select the desired...

Page 10: ...e TV may vary according to TV model Increases decreases the volume In the menu system they act like the right left direction buttons on the remote and adjust menu controls Note In some menus VOLUME UP also acts like the OK button on the remote 3 CHANNEL UP DOWN button 2 VOLUME UP DOWN button Turns the TV on or standby The TV is on press it bring up the main menu or press to return to the previous ...

Page 11: ...e turned on directly or be in standby Note For some models switch the TV on by pressing the power button If the power indicator lights up the TV set is in standby mode Press the button on the remote control or on the TV set to turn on the TV 2 Connect the power cable FIRST to the television THEN to a mains socket Note If the power cable is connected to the television please only connect the power ...

Page 12: ...direction button to select the Fine Tune option 2 Press the left or right direction button to fine tuning 3 Press Return key to return or Exit to close the menu You can use this function to Delete Rename Fav Skip the channel 1 Activate the Programme menu and press the up or down direction button to select the Programme Edit option 2 Press the right direction or OK button to enter the Programme Edi...

Page 13: ... Low Middle High Adjusting the Picture Press MENU button to display the main menu Press down or up button to select Sound in the main menu Press OK button or right button to enter sub menu Press MENU button to display the main menu Press down or up button to select Timer in the main menu Press OK button or right button to enter sub menu Sleep Timer Sets a period of time after which the TV set goes...

Page 14: ...ngs Aspect Ratio Selects the picture size 4 3 16 9 Zoom1 Zoom2 Full Just Scan Note Some options may be not selectable for certain signal sources Reset Press left button selecting Yes to restore factory default Sound Out When the sound out Setting is enabled on your TV the TV set s speakers will mute automatically and the audio will be outputted on your sound device system Note There is no Sound ou...

Page 15: ...ress OK or press Exit to return 1 Select Movie Icon then press the OK button to enter the USB device 2 Press the up down left or right direction button to select a movie file then press OK to play it 3 When playing a movie you can press the OK button to display the play console For the play console press the left or right direction button to select an icon then press the OK button to confirm The p...

Page 16: ... disk or a digital camera If the power supply is not sufficient or not stable you may encounter problems during operating or can not operate at all In this case please restart the device or unplug the device and plug it again and ensure that its power supply is normal Notes Note For coding files there are many kinds nonstandard coding method so this system can not be guaranteed to support the file...

Page 17: ...ress the mute button to restore sound 3 Change the sound system 4 Broadcasting failure may happen Normal picture no sound It is usually caused by local interference such as cars daylight lamps and hair driers Adjust the antenna to minimize the interference Unorderly ripples on the picture Perhaps the TV can not recognize the resolution set by the PC Suggest to change to the best resolution or othe...

Page 18: ...Speaker Audio output Design and Specifications are subject to change without notice Weight and Dimensions shown are approximate AV OUT AV IN TV System Connection terminals Sound Power Consumption Display panel VIDEO RCA PIN Type x 1 RCA PIN Type x 2 AUDIO L R PAL SECAM BG DK I NTSC AV HDMI input AV OUT x 1 HDMI connector x 3 PC 15 pins x 1 AV2 IN connector x 1 share with PC AUDIO IN Aerial connect...

Reviews: