


Using your TV
15
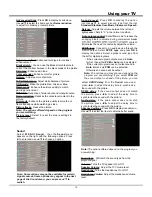
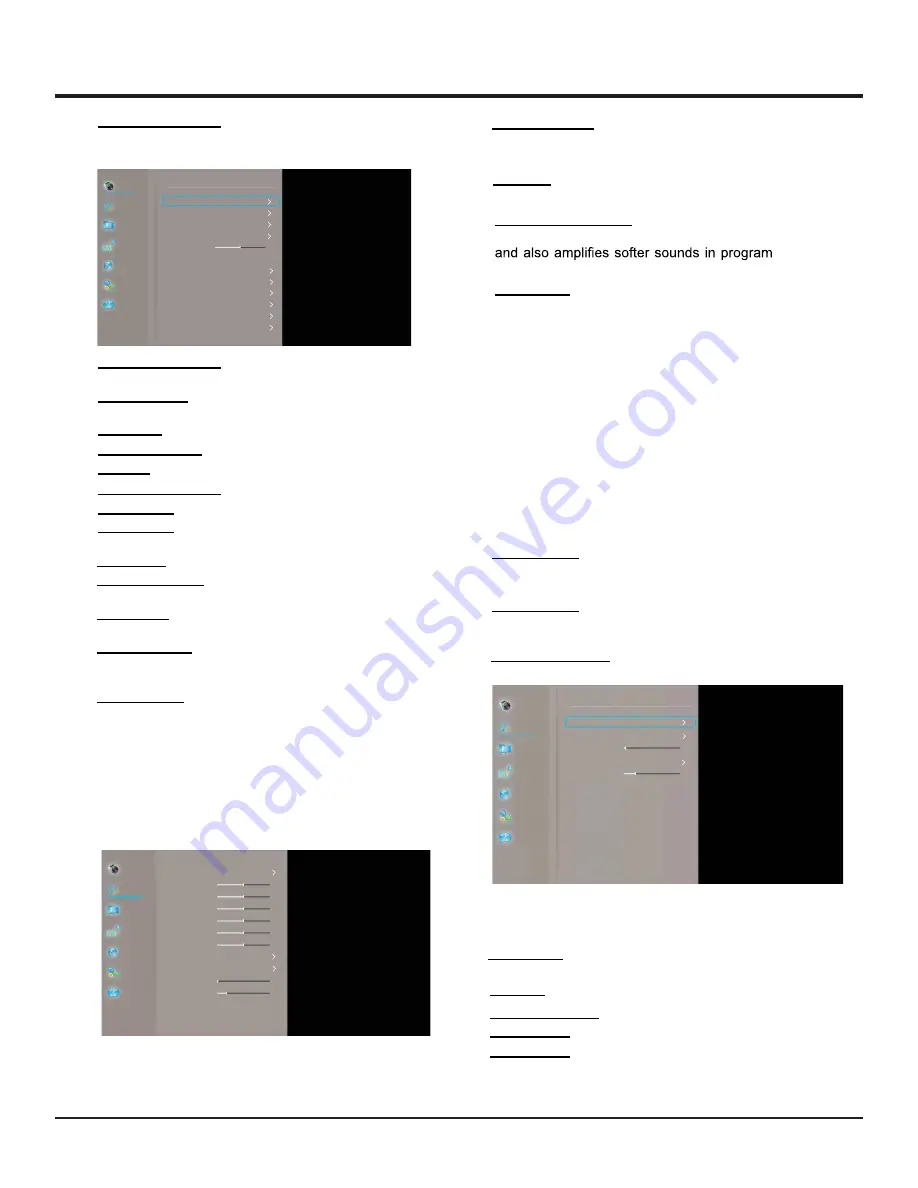
Advanced settings:
Dynamic contrast:
Advanced technique for contrast
enhancement.
Black stretch:
You can use the Black stretch feature to
correct the contrast balance in the black areas of the picture.
Skin tone:
Enhance skin tone.
RGB mode:
Make the picture Red, Green or Blue.
Game mode:
Enhance the picture quality to match
gaming environment.
MPEG NR:
Reduction of picture bulk and mosquito noise.
Noise reduction:
Reduces the noise level content in the
picture.
Film mode:
Enhance the picture quality to smooth out
frame transitions while watching a video.
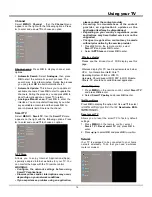
Balance:
Adjusts the volume between the left and
rightspeaker. Sets to “0 ”in the normal condition.
Picture freeze:
Freeze the picture.
Volume:
Turns the TV speaker On or Off.
Sound type:
Will catch the sound type from the
program signal.
Speaker Volume:
Adjust the TV Volume level.
Headphone:
Turns the Headphone On or Off.
Headphone Volume:
Adjust the Headphone Volume
level.
Color extender:
Enhance color for picture.
Gamma:
Adjust gamma of picture.
10P white balance:
Adjust white balance of picture.
Press
OK
to display its submenu.
Use
Ÿź
to select the items, such as
Noise reduction
,
to adjust for obtaining a clearer picture.
Note: The options offered depend on the program
you are watching.
Picture reset:
Select to reset the picture settings to
the factory default
.
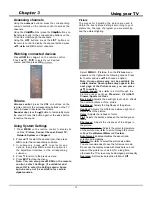
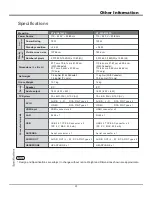
Sound
Select
M E N U > Sound
, then the
Sound
menu
appears on the right with the following options. Press
Ź
to enter and use
Ÿź
to choose an option.
Note: Some options may not be available for certain
signal sources. Some options may appear in the next
page of the Sound menu, you can press
Ÿź
to
switch.
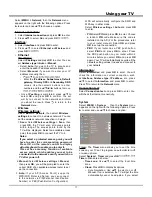
Sound preset:
Press
OK
to display the option
list. Use
Ÿź
to select a sound type from the list:
Standard,Stadium,User,Music,Cinema
and
Speech.
Auto volume control:
Select
On
mode to reduce the
annoying blasts in volume during commercial breaks
Eliminates the need to constantly adjust the volume.
SPDIF type:
Connect to an audio device through the
SPDIF output. Select
SPDIF type
and press
OK
to
content.
display the options. Select a proper sound type from
the list for digital programs.
- If the current program outputs sound in
Auto
format, then either
PCM
or
Auto
can be selected.
- If the current program does not output sound in
Auto
format, only
PCM
can be selected.
Otherwise no sound will be output.
Note:
The options you may choose depend on the
program you are watching. If you select
PCM
and
the sound output is ahead of the picture, you can
select
SPDIF delay
from the
Sound
menu and
press
ŻŹ
to adjust the delay time to synchronize
the sound with the picture.
SPDIF delay:
If the sound output does not match
the picture, press
ŻŹ
to adjust the delay time to
synchronize the sound with the picture.
Audio delay:
If the audio output does not match
the picture, press
ŻŹ
to adjust the delay time to
synchronize the sound with the picture.
Advanced settings:
Press
OK
to display its submenu.
Use
Ÿź
to select the items to obtain a better sound.
Note:
The options offered depend on the program you
are watching.
Picture
Sound
Channel
Smart TV
Network
System
Support
Picture
Sound
Channel
Smart TV
Network
System
Support
Picture
Sound
Channel
Smart TV
Network
System
Support
Advanced settings
Advanced settings
Sound preset
100Hz
300Hz
1KHz
3KHz
10KHz
Balance
Auto volume control
SPDIF type
SPDIF delay
Audio delay
Advanced settings
Standard
50
50
50
50
50
0
0
0
...
Dynamic contrast
Black stretch
Skin tone
Color extender
Gamma
10P white balance
RGB mode
Game mode
MPEG NR
Noise reduction
Film mode
Picture freeze
On
Volume
Speaker Volume
Headphone
Headphone Volume
30
20
On
Sound type
Mono
On
Off
PCM
On
On
0
On
Low
Low
Off
Off
Off
Off
...


