background image

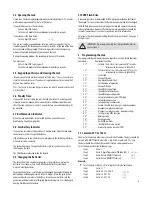
3.18 — Command 75: Adding Code Positions (cont.)

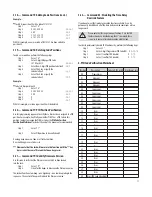
Example...

  To add User position 20 with a code of 21212121

    Step 1 

Enter: 7 5 *

    Step 2 

0 2 0 2 0 2 0 2  #      


    Step 3 

2 0  # 


    Step 4 

2 1 2 1 2 1 2 1  # 

    Step 5 

2 1 2 1 2 1 2 1  # 


With this example, a new user code of 21212121 has been added to

position 20.

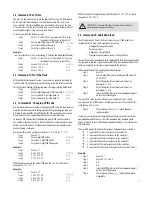
3.19 — Command 76: Deleting Code Positions

To add a user position, perform the following steps:

    Step 1 

Enter: 7 6 *

    Step 2 

Enter: 8-digit Manager PIN Code


(01, 02, or 03) # 


    Step 3 

Enter: New 2-digit PIN position to delete # 


    Step 4 

Enter: The # key is signify the


code deletion # 


    Step 5 

Enter: The # key is signify the


code deletion # 


Example...

  To delete User position 20

    Step 1 

Enter: 7 6 *

    Step 2 

0 2 0 2 0 2 0 2 # 

    Step 3 

2 0  # 


    Step 4 


    Step 5 


With this example, user code in position 20 will be deleted.

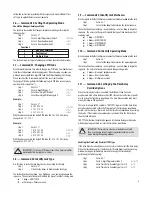
3.20 — Command 77: PIN Position Verification

Use this programming sequence to verify that a User has been assigned to a PIN 

position. For example, it will tell you whether PIN 07 has a PIN Code in this 

position. In order to manage the PIN User Codes, the 

PIN Code Position

Verification Worksheet 

located at the end of this document is recommended.

    Step 1 

Enter: 7 7 *

    Step 2 

Enter: PIN position to be verified and #

One long beep means no Code is set for that position.

One short beep means a Code is set.

*** Please note that the lock will remain in this function until the "*"key   

         is pressed or there are 10 seconds between key presses.

3.21 — Command 79: Identify Firmware Version

Use this code to verify that the firmware version that has been loaded

into the lock.

    Step 1 

Enter: 7 9 *

    Step 2 

Listen for the beeps to determine the firmware version.

The lock will emit one low beep – one high beep – one low beep to begin the 
sequence.  The next set of beeps will indicate the firmware version.

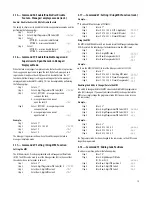
3.22 —  Command 83: Disabling the Time Delay


Override Feature

If you do not want the time delay override function available, it can be

permanently disabled and all of the time delay override commands will no 

longer work.

In order to permanently disable TDO functionality, perform the following steps:
    Step 1 

Enter: 8 3 *

    Step 2 

Enter: 8-digit Programmer PIN Code (00)    #       

    Step 3 

Enter: 1 (confirm TDO disable) 

              #       

    Step 4 

Enter: 1 (confirm TDO disable) 

              #       

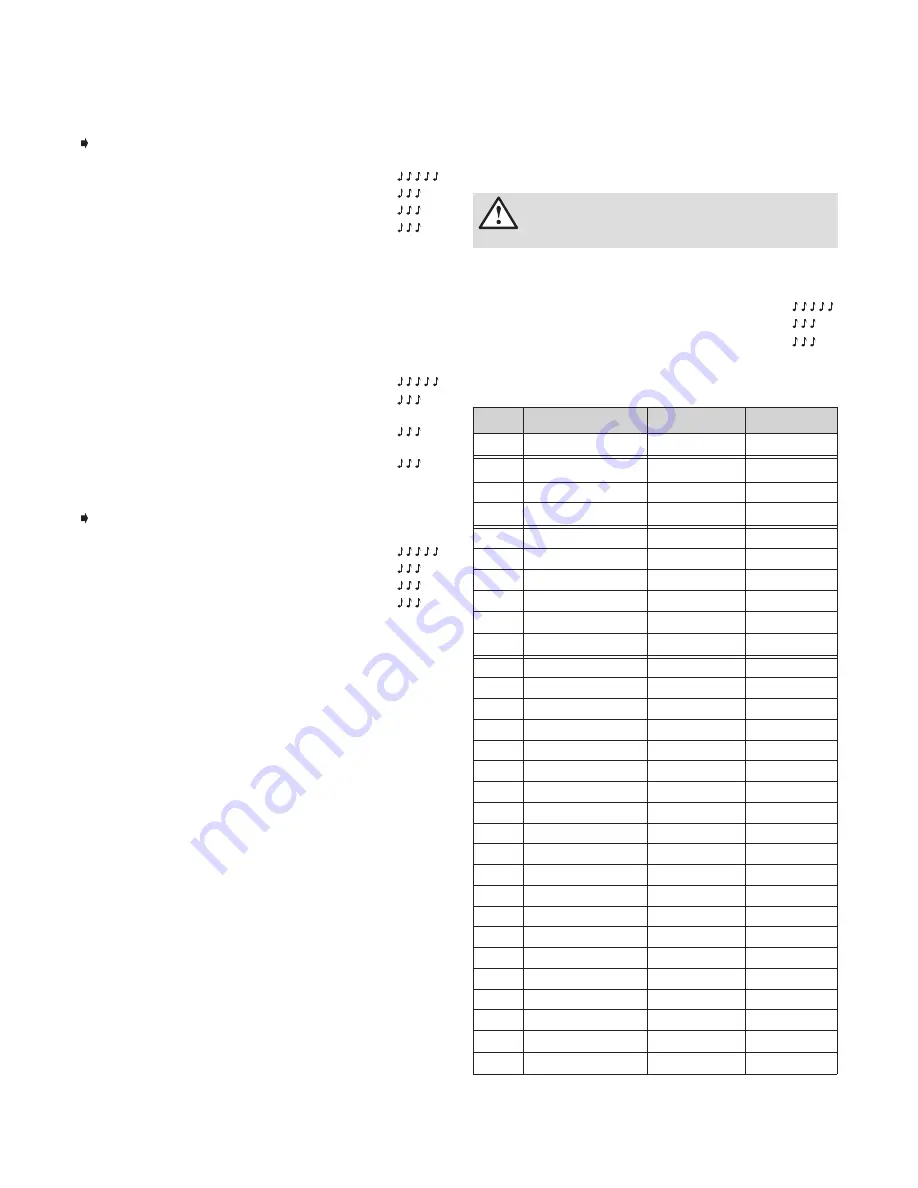
4. PIN Code Verification Worksheet

   Position            Description 

       Code Set? YES or NO     User Name / Init.

     00 

            Programmer 


     01 

              Manager 


     02 

              Manager 


     03 

              Manager 


     04 

             Supervisor 


     05 

             Supervisor 


     06 

             Supervisor 


     07 

             Supervisor 


     08 

             Supervisor 


     09 

             Supervisor 


    10 

                  User

    11 

                  User 


    12 

                  User 


    13 

                  User 


    14 

                  User 


    15 

                  User 


    16 

                  User 


    17 

                  User 


    18 

                  User 


    19 

                  User 


    20 

                  User 


    21 

                  User 


    22 

                  User 


    23 

                  User 


    24 

                  User 


    25 

                  User 


    26 

                  User 


    27 

                  User 


 28 

                  User 


    29           User / TDO Code (if enabled) 


         Please note that this is a permanent function.  Once the TDO        

        features have been disabled using the 83* command, there

is no way to ever use time delay override with the lock.

11

Summary of Contents for 3007 Direct Drive

Page 1: ... Drive The Sargent Greenleaf Audit Lock is designed to provide a high level of security combined with flexible features that allow multiple levels of control over normal operations Follow these instructions carefully to get the best possible use from your lock Document 630 888 Revised 5 23 16 ...

Page 2: ...approach works best for you All codes end with This signals the lock that you have finished entering all digits of the code This is a battery operated product 9 Volt Alkaline Duracell Batteries recommended Cables longer than 3 meters should not be connected to the keypad USB port A small musical note is used within these instructions to indicate the beep that the lock makes USB and AuditTrail was ...

Page 3: ...ing a PIN Code 8 3 8 Command 42 Identify LockType 8 3 9 Command 43 Identify Lock Mechanics 8 3 10 Command 44 Identify Operating Mode 8 3 11 Command 46 Setting Up theTime Delay Override Options 8 9 3 12 Command 47 Setting up theTime Delay 9 3 13 Command 48 Setting Up the OpeningWindow 9 3 14 Command 55 Enable Disable the Lock manager employee mode 9 3 15 Command 56 Enable Disable User Disable Featu...

Page 4: ...ering a PIN position and PIN Code which makes up an 8 digit User code followed by the key To open the lock use the factory setting for PIN position 10 with PIN Code 10101010 Enter 10101010 and the lock should open If lock does not open and beep patterns were heard after pressing the key reference Section 2 3 Beep Patterns to identify condition We recommend that Users change their PIN Codes immedia...

Page 5: ...nispressed Beep2 Lowerpitchthanbeep1 Action Condition Tone KeypadLED LED Color Duration Normalcondition Eachkeystroke 1 beep1 1cycle Lowbattery 2 beep1 Red 5cycles Batterytoolow 20 beep1 Red 1cycle Tamperindication 3 beep1 3 beep1 3 beep1 Red 2cycles Starttimedelay 3 quickbeep1 Red 1cycle Timedelaycountdown 1 beep1 Red Every10seconds Timedelayexpired 10 quickbeep1 Green 1cycle Openingwindow countd...

Page 6: ...carefully remove the keypad housing by lifting up the bottom edge of the keypad closest to the S G logo Move the spring clips under each battery to release the battery Insert the new batteries into the propercompartmentandmovethespringclipsbackintoplace Pressthekeypad housingfirmlybackontothebase 2 10 USB Flash Drive AconnectorportforarecommendedUSBflashdriveisprovidedonthefrontof thekeypad Thisco...

Page 7: ...of 0 2 0 2 0 2 0 2 has been changed to 2 1 2 1 2 1 2 1 Example Step 1 Enter 2 2 Step 2 1 0 1 0 1 0 1 0 Step 3 2 0 1 5 2 0 1 5 Step 4 2 0 1 5 2 0 1 5 With the lower left example the default PIN code of 1 0 1 0 1 0 1 0 has been changed to 2 0 1 5 2 0 1 5 3 5 Command 28 Audit Download The S G Audit Lock 2 0 AuditTrail can store as many as 1 000 events that include the time date Some examples of event...

Page 8: ...beep one low beep to begin the sequence The next set of beeps will indicate the type of lock mechanics that are being used 1 beep PIVOT BOLT 2 beeps DIRECT DRIVE 3 beeps MOTOR DRIVE 4 beeps MOTOR GEAR 3 10 Command 44 Identify Operating Mode Usethiscodetoverifythatthefirmwareversionthathasbeenloadedintothelock Step 1 Enter 4 4 Step 2 Listen for the beeps to determine the operating mode The lock wil...

Page 9: ...ngWindow If the time delay has already been set enter a User Code to start the time delay When the time delay expires the lock emits 10 rapid beeps and the opening window has begun immediately proceed to set the opening window minutes by performing the following steps Step 1 Enter 4 8 Step 2 Enter 8 digit Programmer PIN Code 00 Step 3 Enter Opening window minutes 1 99 Step 4 Enter Opening window m...

Page 10: ...ode has been lost or needs to be reset Step 1 Enter 6 7 Step 2 Enter 8 digit Programmer PIN Code 00 Step 3 Enter New 8 digit MRC value Step 4 Enter New 8 digit MRC value 3 17 Command 67 Setting Using MRC Function cont Example To add an MRC with a value of 98765432 Step 1 Enter 6 7 Step 2 Enter 0 0 1 2 3 4 5 6 PC 8 digit Code Step 3 Enter 9 8 7 6 5 4 3 2 new MRC value Step 4 Enter 9 8 7 6 5 4 3 2 n...

Page 11: ...et Pleasenotethatthelockwillremaininthisfunctionuntilthe key ispressedorthereare10secondsbetweenkeypresses 3 21 Command 79 Identify FirmwareVersion Use this code to verify that the firmware version that has been loaded into the lock Step 1 Enter 7 9 Step 2 Listen for the beeps to determine the firmware version The lock will emit one low beep one high beep one low beep to begin the sequence The nex...

Page 12: ...n designed with built in encryption or other security features will not work as expected with the USB Audit Lock 2 0 These drives typically require additional input from the end user before they can be used and this is not available through the keypad S G Confidential The information contained in this document is proprietary to Sargent Greenleaf Inc Publication or duplication of this copyrighted d...

Reviews: