TA2020B & IR2110B Installation Guide
8
Check the
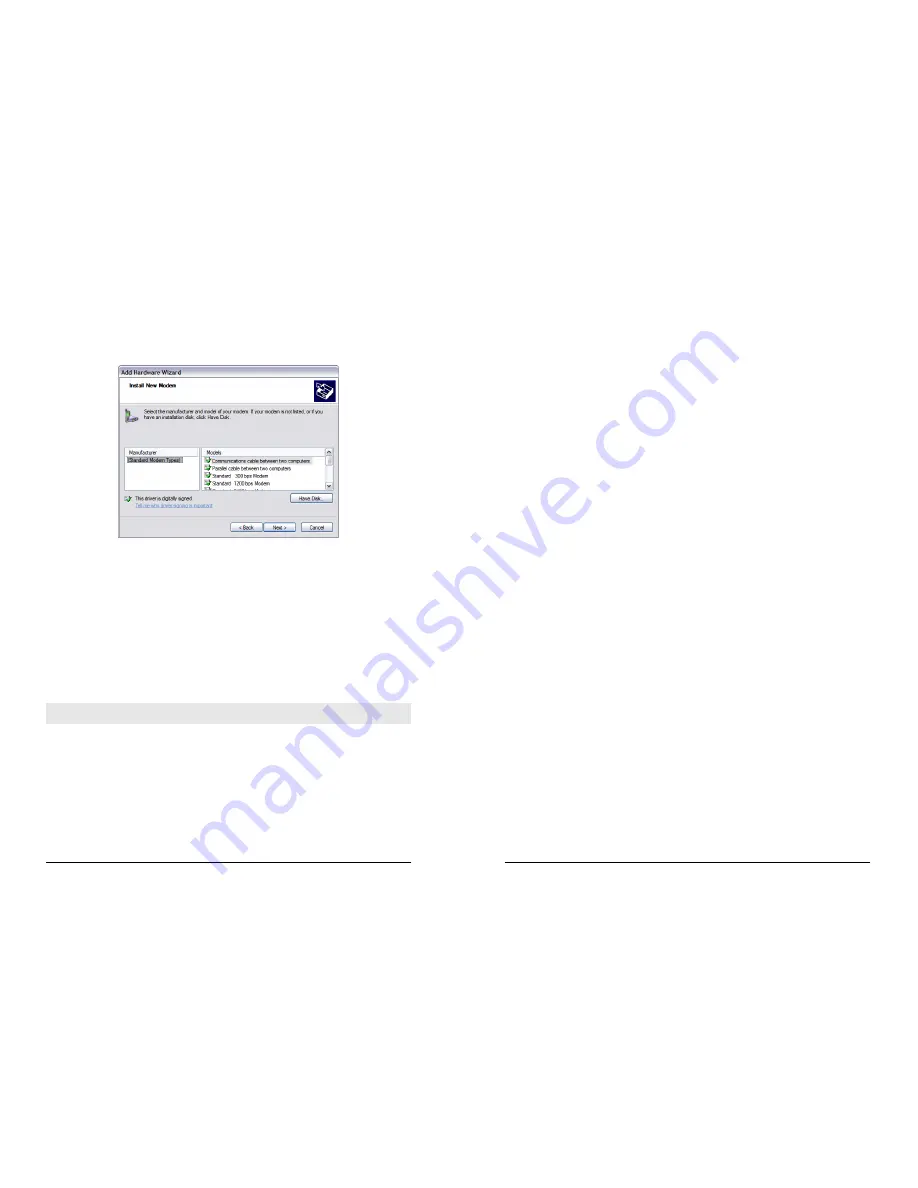
Don't detect my modem, I will select it from a list
option before clicking
Next >
to display the following dialog screen:
This screen lists the manufacturers and models of modem currently available on your
system. Click on
Have Disk…
.
Use the
Browse
button to locate the SARIAN_MULTI_PORT.INF file that was
downloaded earlier. A list of routers will appear in the Models list.
Each entry in the list is the same driver, set up for a different COM port. Choose the entry
corresponding to the COM port your router is connected to, and click
Next >
. The wizard
will ask you which COM port you wish to install the modem on.
Select the appropriate port and click
Next >
, and Windows will install the driver. Once
installation is complete click
Finish
to return to the Phone and Modem Options dialog,
where your unit will be listed:
Click on the
OK
button if you are satisfied with the installation.
Note: During the installation you may receive a warning that the driver is not digitally
signed. Click on
Continue Installation
to install the driver.
TA2020B & IR2110B Installation Guide
9
Step 2 – Creating a new Dial-Up Network connection
You now need to create a new DUN connection through which you can access your unit.
If you are planning to connect the unit directly to your PC for configuration purposes,
connect it to the appropriate COM port now using a suitable serial cable.
If you wish to configure a remote unit, make sure it is connected to a suitable ISDN line
and make a note of the ISDN number.
From the Windows Start menu, select
All Programs
>
Accessories
>
Communications
>
New Connection Wizard
. You will be presented with the New Connection Wizard
introduction screen. Click on
Next >
to proceed to the Network Connection Type dialog
box.
Select the
Connect to the network at my workplace
radio-button then click on
Next >
:
Select the
Dial-up connection
radio-button then click on
Next >
.
From the Select a Device dialog, select the unit you have just installed and make sure that
any other devices in the list are unchecked. Click
Next >
.
You must now enter a name for the connection. It is helpful to choose a name that you will
easily remember such as “My Local Sarian” or “TA2020B - Bristol Office”. Click
Next >
.
The next dialog allows you to fill in the phone number for the connection.
If the connection is being created for direct local access using a COM port, you should set
the phone number to 123. This number will be intercepted by the unit and recognised as
an attempt to connect locally.
If the connection is being created for remote access, enter the correct ISDN telephone
number (including the area code) for the remote unit.
When you have done this click
Next >
. The final dialog screen will confirm that the
connection has been created and includes a check box to allow you to create a shortcut
on your desktop if necessary. Click on
Finish
to complete the task.


