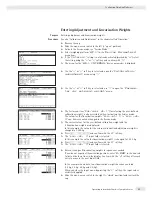
Entering Adjustment and Linearization Weights
Purpose
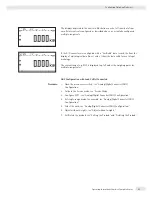
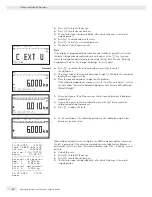
Entering adjustment and linearization weights.
Procedure
See also “Calibration and Adjustment“ in the chapter called “Operation“.
t
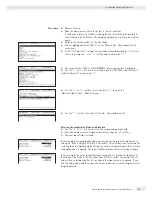
Remove the cap.
t
Slide the menu access switch to the left (= “open“ position).
t
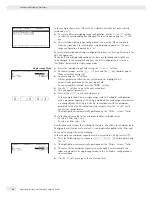
Activate the Service mode, see “Service Mode.“
t
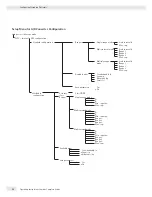
Select weighing platform “
WP 1
“ in the “
Device Parameters
“
menu item.
t
If the “
Internal
“ setting is not already activated (marked by “
o
“), select
the setting using the “
Q
“ or “
q
“ soft key and confi rm with “
O
.“
y
The menu for the “
WP-1 INTERNAL
“ device parameters is displayed.
t
Use the “
Q
“ or “
q
“ soft key to select and open the “
Calibration/
adjustment
“ menu using “
O
.“
t
Use the “
Q
“ or “
q
“ soft key to select and use “
O
“ to open the “
Parame-
ter for external weight
“ menu.
t
The fi rst menu item “
Cal/adj. wt.:
“ (for selecting the user-defi ned
calibration weight), is also accessible without activating the Service mode.
The values for the linearization weights “
Lin.-wt. 1
“ to “
Lin.-wt.
4
“ can, however, only be changed in the Service mode.
y
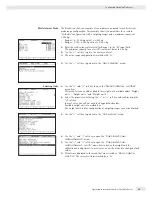
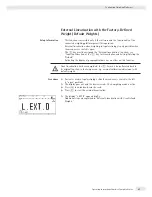
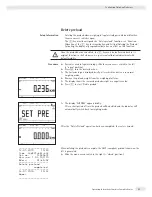
The current values for the user-defi ned calibration weight and the
4 linearization weights are displayed.
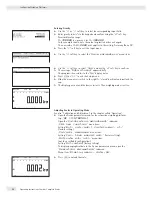
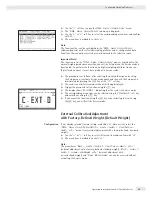
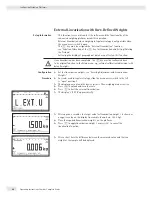
In this example, the value for the external, user-defi ned adjustment weight is
changed to 6.000 kg.
t
Press
6.000
and confi rm with the “
l
“ soft key.
y
The “
Lin.-wt. 1
“ input fi eld is selected.
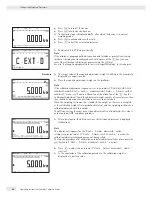
In this example, the value for linearization weight 1 is changed to 1.500 kg.
t
Press
1.500
and confi rm with the “
l
“ soft key.
y
The “
Lin.-wt. 2
“ input fi eld is selected.
t
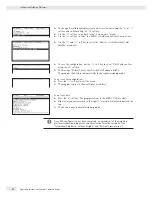
Enter or change all linearization weights in sequence as needed.
If you do not require all linearization positions, enter “
0.000
“ in the unused
fi elds to hide these lines in the display. Confi rm with the “
l
“ soft key after each
entry to move to the next input fi eld.
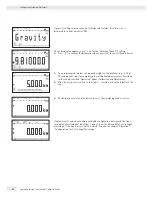
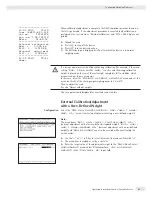
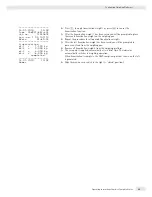
In the example shown here, four linearization weights have been entered
(1.5 kg, 3.0 kg, 4.5 kg and 6.0 kg).
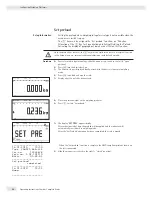
When you close the input menu by pressing the “
o
“ soft key, the input values
are directly applied.
t
Slide the menu access switch to the right (= “closed“ position) and reattach the
cap.
Operating Instructions Combics Complete Scales
37
Confi guring Weighing Platforms
Summary of Contents for Combics CAH3
Page 130: ...130 Operating Instructions Combics Complete Scales Declarations of Conformity ...
Page 131: ...Operating Instructions Combics Complete Scales 131 Declarations of Conformity ...
Page 132: ...132 Operating Instructions Combics Complete Scales Test Certificate ...
Page 133: ...Operating Instructions Combics Complete Scales 133 Plates and Markings ...
Page 134: ...134 Operating Instructions Combics Complete Scales Plates and Markings ...
Page 135: ...Operating Instructions Combics Complete Scales 135 Plates and Markings ...
Page 136: ...136 Operating Instructions Combics Complete Scales Plates and Markings ...
Page 139: ...Operating Instructions Combics Complete Scales 139 ...
Page 144: ......
Page 146: ......
Page 147: ......


