Device Parameters
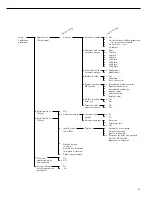
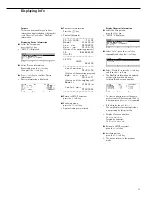
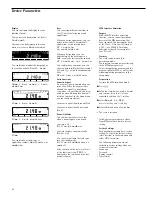
Password
You can enter a password to block
access to the operating menu and to
the functions for ID code input and
exact calibration weight input.
For details, see “Setting the Device
Parameters” in the chapter entitled
“Configuration.”
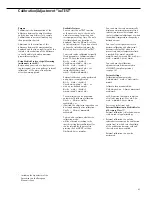
User ID
You can enter your own personal
password (20 characters max.)
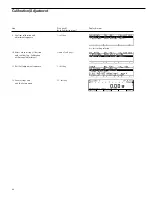
Clock
ISO/GMP printouts in particular must
be generated with the date and time
stamp of the specific measurement.
This date and time stamp is optional
on other printouts.
For details, see “Setting the Device
Parameters” in the chapter entitled
“Configuration”.
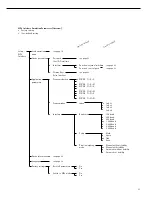
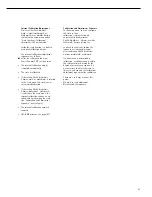
Interface
Purpose
This item enables you to set the
parameters for the following interfaces:
– Serial interface port
– External switch function
Serial communications port
You can set the serial communications
port to use for the following modes:
–
SBI
–
XBPI
–
YDPO1IS
–
YDP02
–
YDP03
–
YDPO1IS-Label
–
YDPO2IS
–
YDPO2IS-Label
–
Universal
–
YDPO4IS
–
YDPO4IS-Label
Universal Remote Switch
You can connect an external universal
remote switch (foot switch) to one of
the two serial ports. Then you can assign
one of the following functions
to be performed when the switch is acti-
vated:
–
Print key
–
Tare key
–
Cal key
–
F1 function key
–
CF key
–
F2 function key
–
Bar code scanner
,
PC keyboard
(Special adapter necessary/
Order no. YCC01-0024M01)
“PC Keyboard” Functions
The alphanumeric key codes imple-
mented are for a German keyboard
layout only (“Z” in the first row instead
of “Y”, for example).
Some of alphanumeric keys are used
with the [Shift] key:
a-z, A-Z, 0-9, Space,„,.\+#<>!”$@%
&/();=:_?*”
Function key:
PC keyboard
Balance
F1
t
key
F2
H
key
F3
Soft key 6
F4
Soft key 5
F5
Soft key 4
F6
Soft key 3
F7
Soft key 2
F8
Soft key 1
F9
Display
F10
Escape
F11
p
key (print)
F12
t
key
Return
Soft key 1
Backspace
Escape
Up Cursor
Soft key 3
Left Cursor
Soft key 4
Down Cursor
Soft key 2
Right Cursor
Soft key 1
POS1 (HOME)
Soft key 6
ESC
Escape
p
key
The “Num Lock” und “Caps Lock” keys
are not supported. There is no country-
specific option for switching these keys
to a different function.
Control Port Function
You can connect either a checkweighing
display or an external universal switch
to the serial communications port on
the scale (factory setting).
To do so, you need to configure the
interface for
input
or
output.
Pin Assignment Chart of the Female
Interface Connector
Pin Function: Input
15
p
key; see “Universal switch”
16
t
key
17 Soft key 6 (Cal)
18 Soft key (F1)
19
c
key
Pin Function: Output
15 “External switch” (see above)
16 Control port 1: lighter
17 Control port 2: equal
18 Control port 3: heavier
19 Control port 4: “set”
For further information on the pin
assignment chart, see the section on
“Pin Assignment Charts” in the chapter
entitled “Overview.”
41


