3 Installation
3.1 Scope of Delivery
Item
Quantity
Large weighing pan:
d
233 mm
1
USB cable, 3 m
1
AC adapter YPS07-USB
1
Ex-link converter
1
Link cable from converter to scale
1
3.2 Unpacking the Device
Procedure
t
Open the packaging, making sure to remove all parts
carefully.
t
After unpacking the device, check it immediately for any
external damage.
t
If the device is stored temporarily: Store the device
according to the ambient conditions (for ambient
conditions, see Chapter “9.1 General Data”, page 15).
t
Save all parts of the original packaging for any future
transport. All cables should be unplugged when
transporting.
3.3 Selecting a Setup Location
Select the right setup location:
− Set up the device on a stable, even surface that is not
exposed to vibrations.
− Maintain free access to the device at all times.
Choose a location that is not subject to the following negative
influences:
− Heat (heater or direct sunlight)
− Drafts from open windows, AC systems, and doors
− Extreme vibrations during weighing
− Heavy “traffic areas” (personnel)
− Extremely high humidity
− Electromagnetic fields
− Extremely dry air
Acclimatization
Condensation from humidity can form on the surfaces of a
cold device when it is brought into a warm area. You should
therefore let a device that has been disconnected from its
power source acclimatize for approximately two hours
before reconnecting it to the supply voltage.
3.4 Installing the Scale
NOTICE
The device must be disconnected from the power supply for
all assembly work.
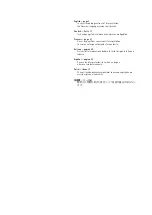
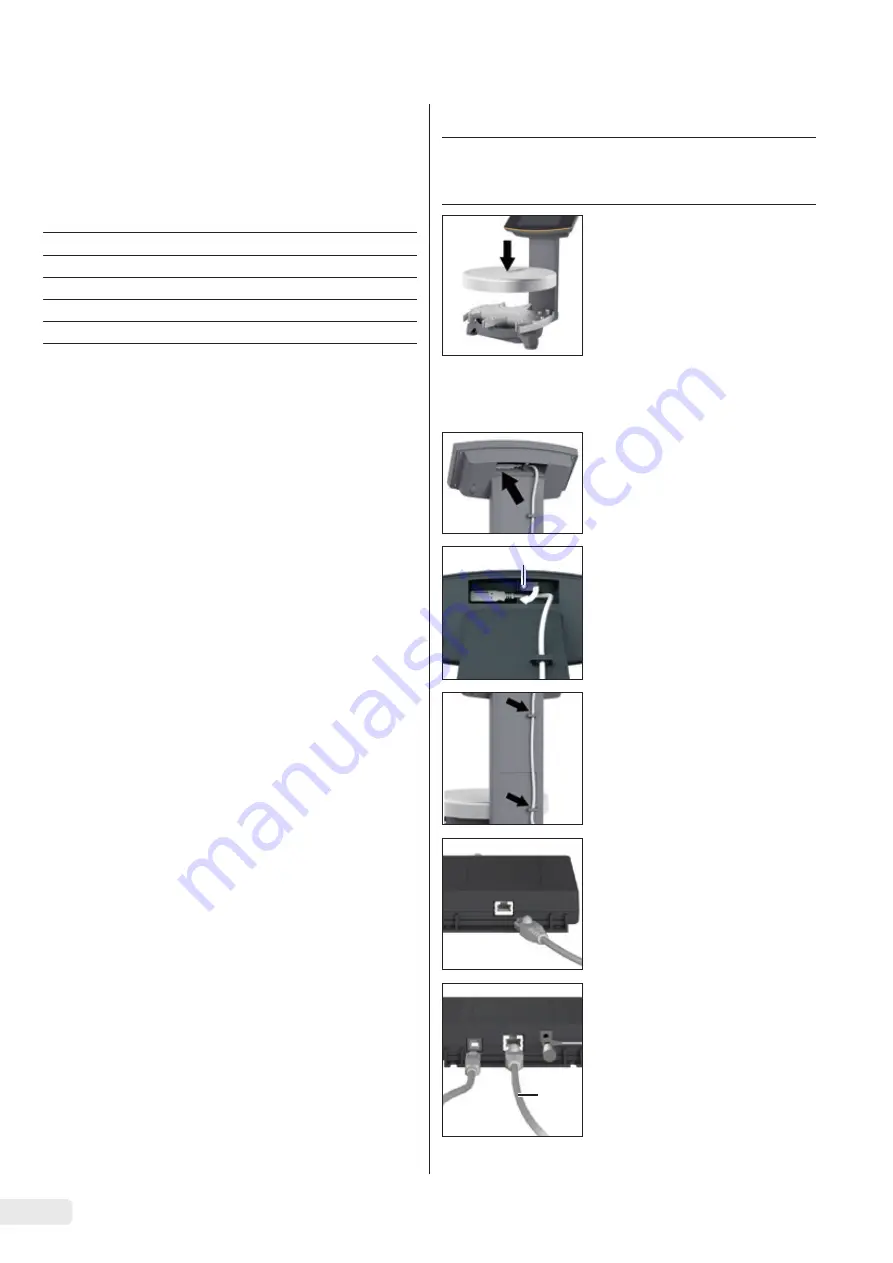
t
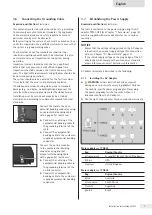
Place the weighing pan onto the
scale from above.
3.5 Connecting the Scale
t
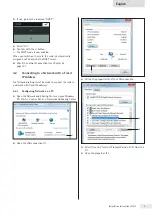
Insert the link cable plug into
the socket on the back of the
display.
t
Loosen the screw (1) on the lock.
t
Swivel the lock over the link
cable.
t
Re-tighten the lock screw.
t
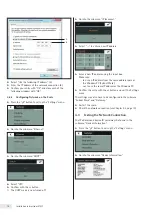
Lay the link cable through the
cable holders on the back of the
scale.
t
Connect the link cable to the
ex-link converter.
1
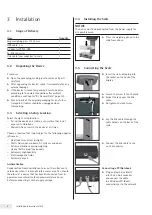
Connecting a PC/Notebook
t
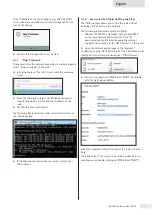
Plug an Ethernet cable (1)
into the Ex-Link converter
and connect the cable
to a Windows PC (direct
connection) or to the network.
1
6
Installation Instructions VIS1Y


