18
Replacing the Strain Gauge System
1.
QC7CCE...
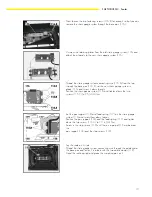
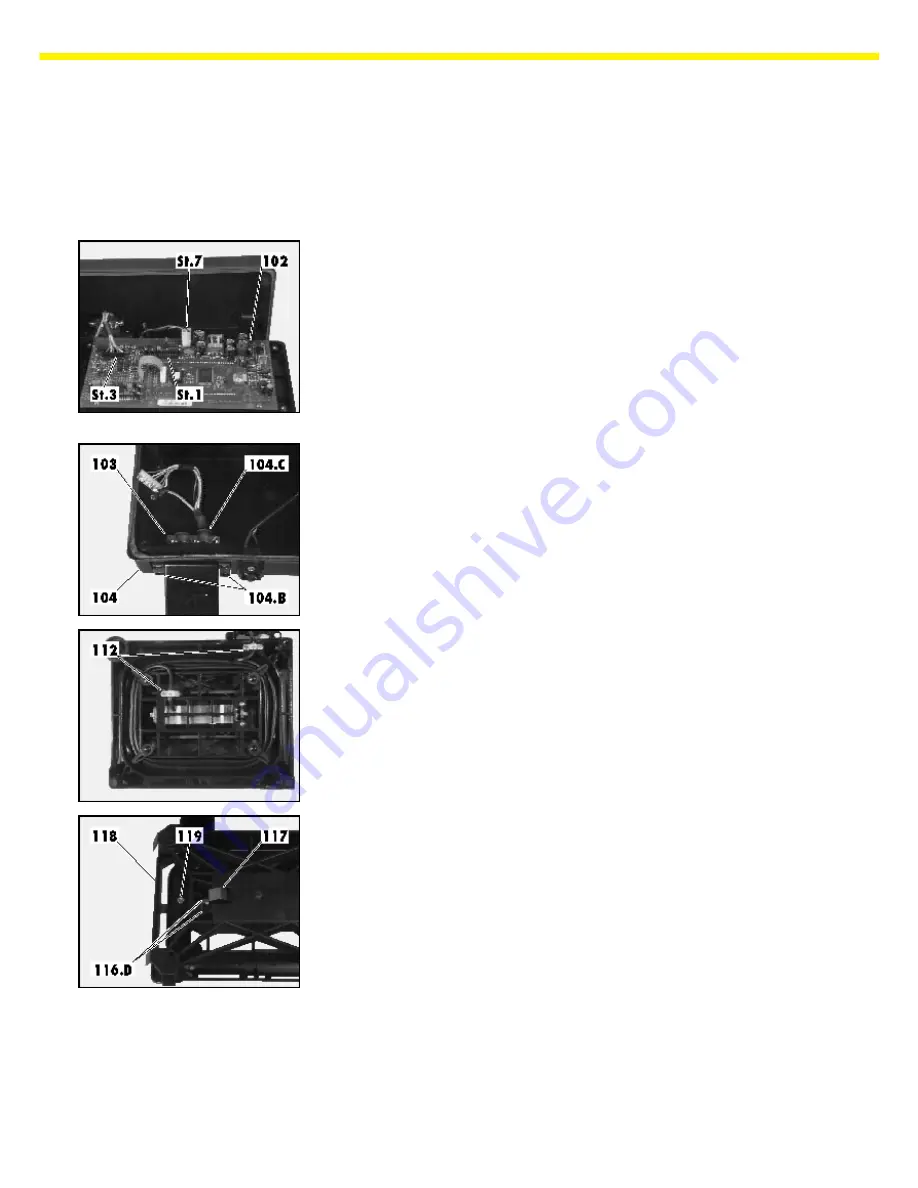
– Open the display unit.
– Disconnect the data output, power supply and connecting cables that
lead to the main PCB.
– Remove the front panel together with the main PCB (102) and place them
to one side.
– Unscrew the two retainers (104.B) from the rear panel of the display
unit (104).
– Unscrew the cable clamp (103) and pull the strain gauge System with
washer (104.C) from the rear panel of the display unit (104), and place
the display unit casing (104) to one side.
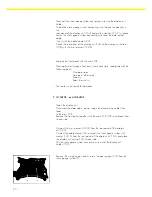
– Pull the strain gauge System connecting wire out of the display unit
holder (108).
– Remove the weighing pan and lay the scale on its side.
– Unscrew the cable clamp (112) and pull the strain gauge System
connecting wire out of the cable guide under the base pan.
– Stand the scale upright.
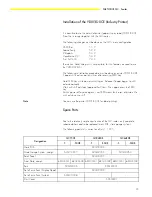
– Remove the stop screws (119) from the pan support (118).
– Loosen the fastening screws (116.D) on the pan support (118) far
enough
so that you can remove the pan support (118) with the load spring (117)
from the strain gauge system (116).
Summary of Contents for QC34EDE-S
Page 2: ...2...


